ATTUATORI .
- PNEUMATIC ACTUATORS AND ACCESSORIES -
UsermanING ISSUE .10 March 2004
GT ATTUATORI S.r.l. REA MI 1558400 FAX (02) 90390368
V.le Europa 17 - 20090 Cusago Partita IVA e Cod.Fisc.12449540157 TEL (02) 90390322
Milan - ITALY- E-mail g.trevisan@iol.it
www.gtrevisan.it
PAG. 8 OF 20
INSTALLATION
OPERATION &
MAINTENANCE MANUAL
CAUTION:
BE SURE THAT ALL PARTS ARE STILL WITHIN FACTORY SET
TOLERANCES BEFORE ASSEMBLY
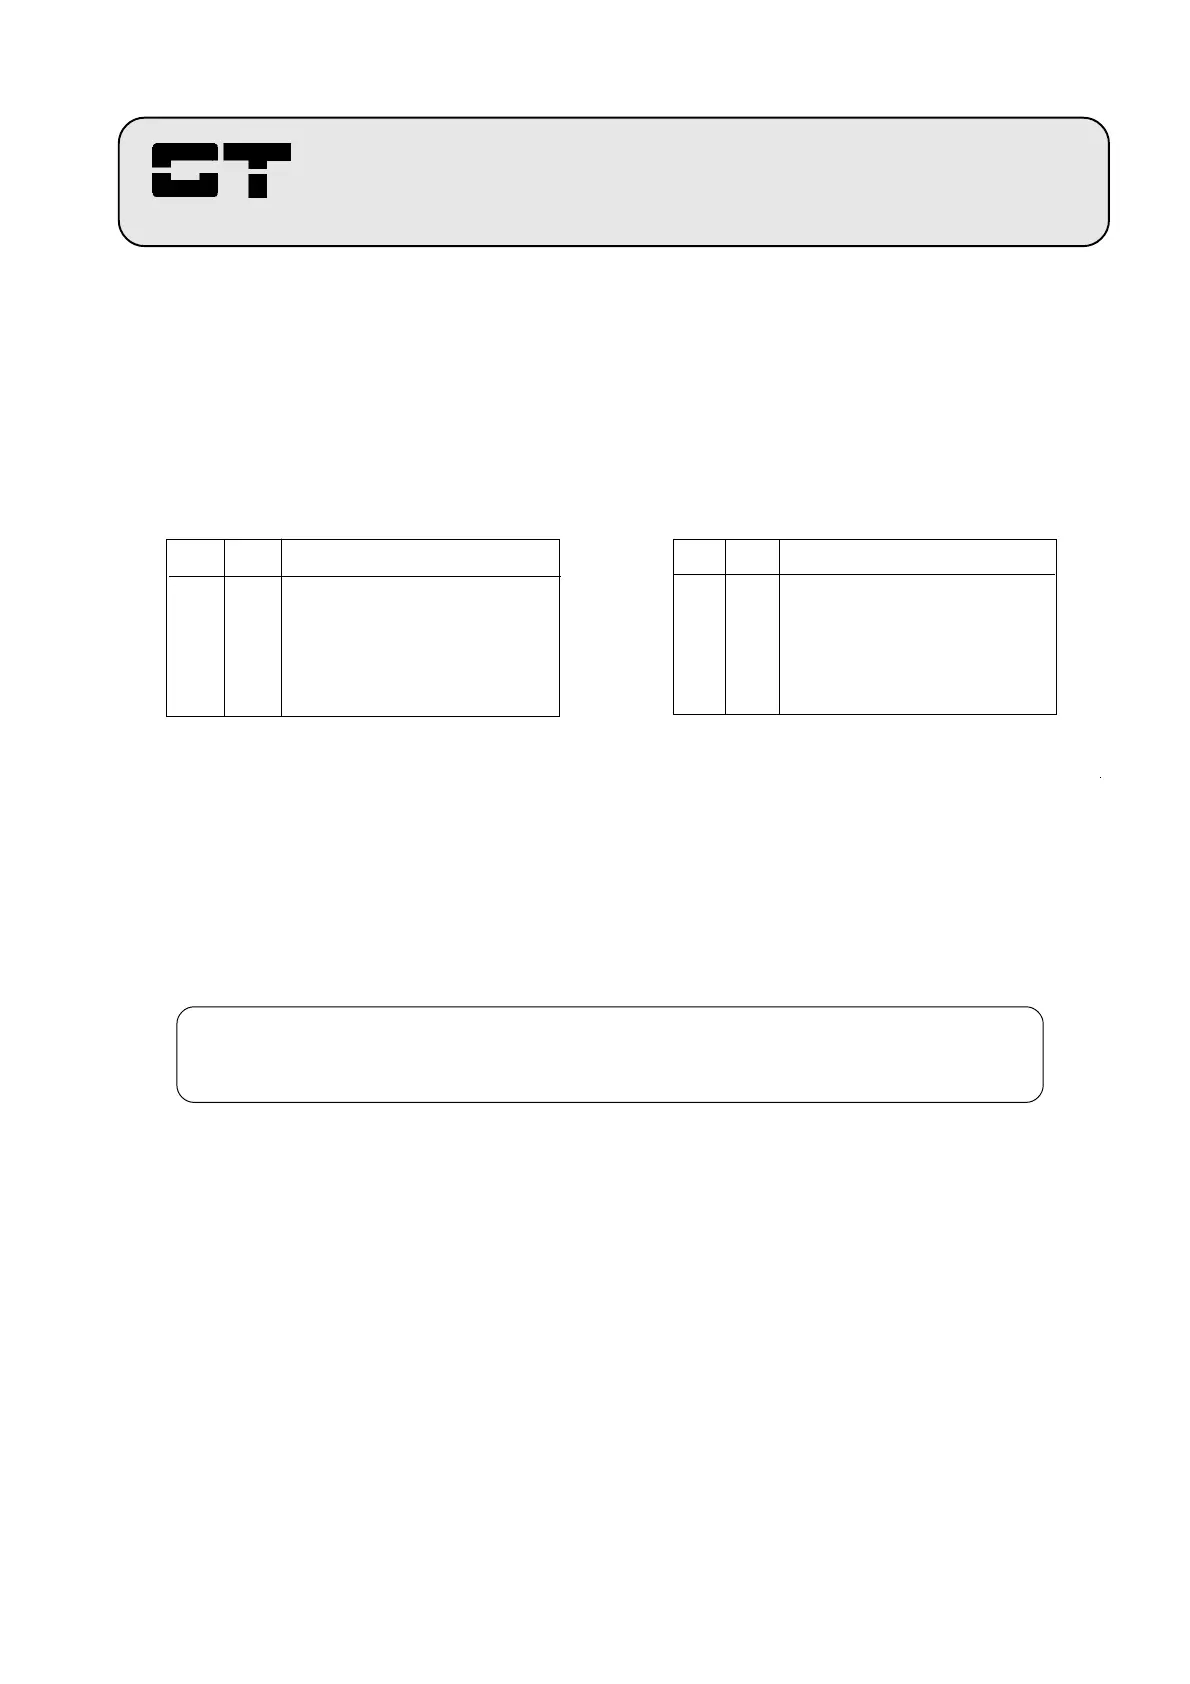
# Q.ty Description
1 2 O-Ring (Piston)
2 2 O-Ring (End Cap)
3 1 O-Ring (Shaft Upper)
4 1 O-Ring (Shaft Lower)
5 2 O-Ring (Travel Stops)
TABLE 2A : O-RINGS SET
# Q.ty Description
1 2 Piston Guide Skate
2 2 Piston Guide Ring
3 1 Shaft (Upper Guide)
4 1 Shaft (Lower Guide)
5 1 Shaft (Upper Washer)
TABLE 2B : SERIE GUIDE
5.6 - Remove snap ring and delrin washer from top of pinion. Place the actuator between two blocks of wood
so that the pinion is free to be removed through the bottom of the actuator body.
Using a rubber mallet, lightly tap the top of the pinion. When the pinion is loose from the body remove
the pinion through the bottom (See figure 5).
The O-Rings and guide kits contains the following items:
6.0 ASSEMBLY PROCEDURE
6.1 - Inspect all wear surfaces for excessive wear or possible damage
6.2 - Make sure all metallic parts are clean and free of any nicks or burrs.
6.3 - Lubricate the inside bore of the cylinder body, ORings seats, pistons and pinion wear surfaces with
ESSO MULTI-PURPOSE GREASE E compatible grease, suitable for use from -30°C through + 140°C.
NOTE: All O-Rings should be replaced as a matter of service policy if the actuator has been in
service..
6.4 - Install wear surface skates and bearings on pistons and pinion, and install O-Rings on pistons,
pinions and end caps.
6.5 - Insert pinion into actuator body. Install pinion washer and snap ring (seeger).
6.6 - Insert pistons into cylinder body until the pistons begin to mesh with the pinion.
 Loading...