B
B
X
X
/
/
B
B
X
X
G
G
-
-
1
1
0
0
0
0
0
0
S
S
e
e
r
r
i
i
e
e
s
s
G
G
r
r
o
o
o
o
v
v
e
e
M
M
e
e
a
a
s
s
u
u
r
r
e
e
m
m
e
e
n
n
t
t
G
G
a
a
g
g
e
e
O
O
p
p
e
e
r
r
a
a
t
t
i
i
o
o
n
n
M
M
a
a
n
n
u
u
a
a
l
l
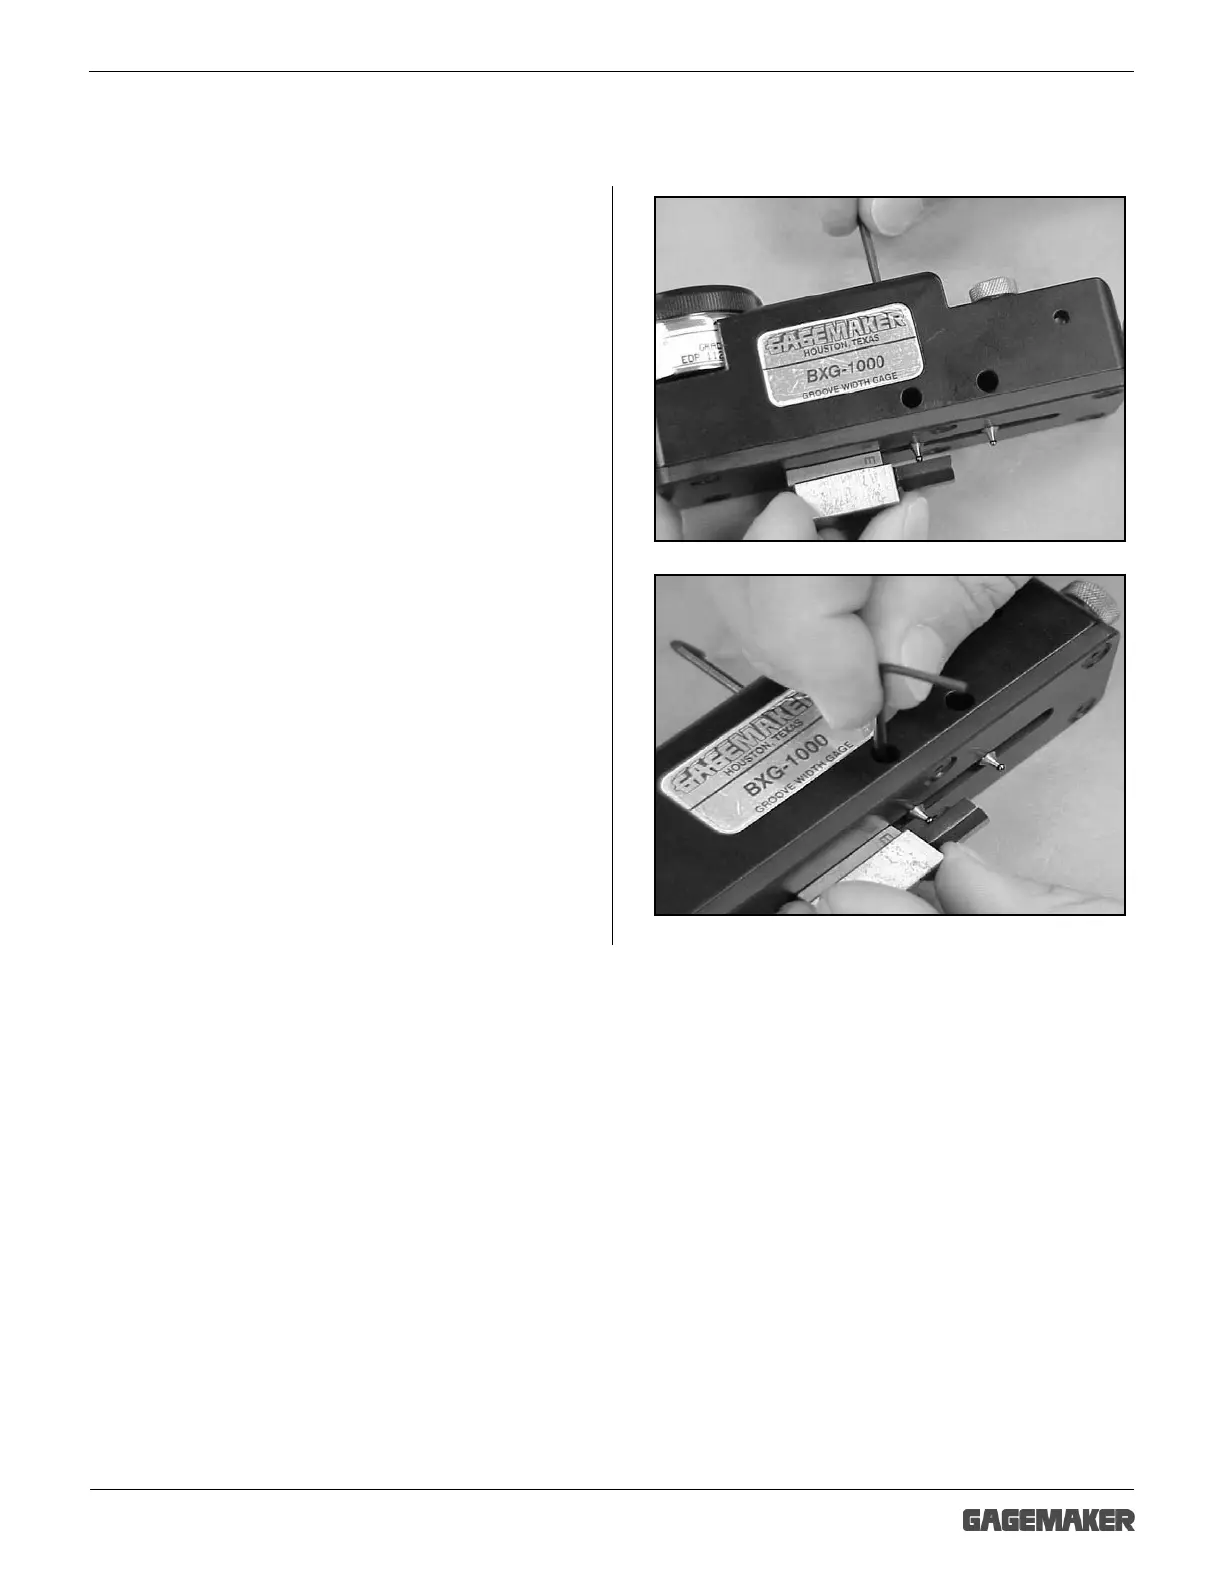
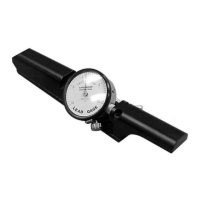
Setting Up the BXG-1000 Gage (continued)
5. Using a 3/32” hex wrench and proper gage
blocks, adjust the height of the contact points
as follows:
• For setting with the MIC TRAC and TF-
BX blocks – adjustment is approximately ½
the groove depth.
• For setting with a micrometer or gage
blocks: adjustment is .157” from the face of
the gage.
6. Tighten the front and rear lock screws.