B
B
X
X
/
/
B
B
X
X
G
G
-
-
1
1
0
0
0
0
0
0
S
S
e
e
r
r
i
i
e
e
s
s
G
G
r
r
o
o
o
o
v
v
e
e
M
M
e
e
a
a
s
s
u
u
r
r
e
e
m
m
e
e
n
n
t
t
G
G
a
a
g
g
e
e
O
O
p
p
e
e
r
r
a
a
t
t
i
i
o
o
n
n
M
M
a
a
n
n
u
u
a
a
l
l
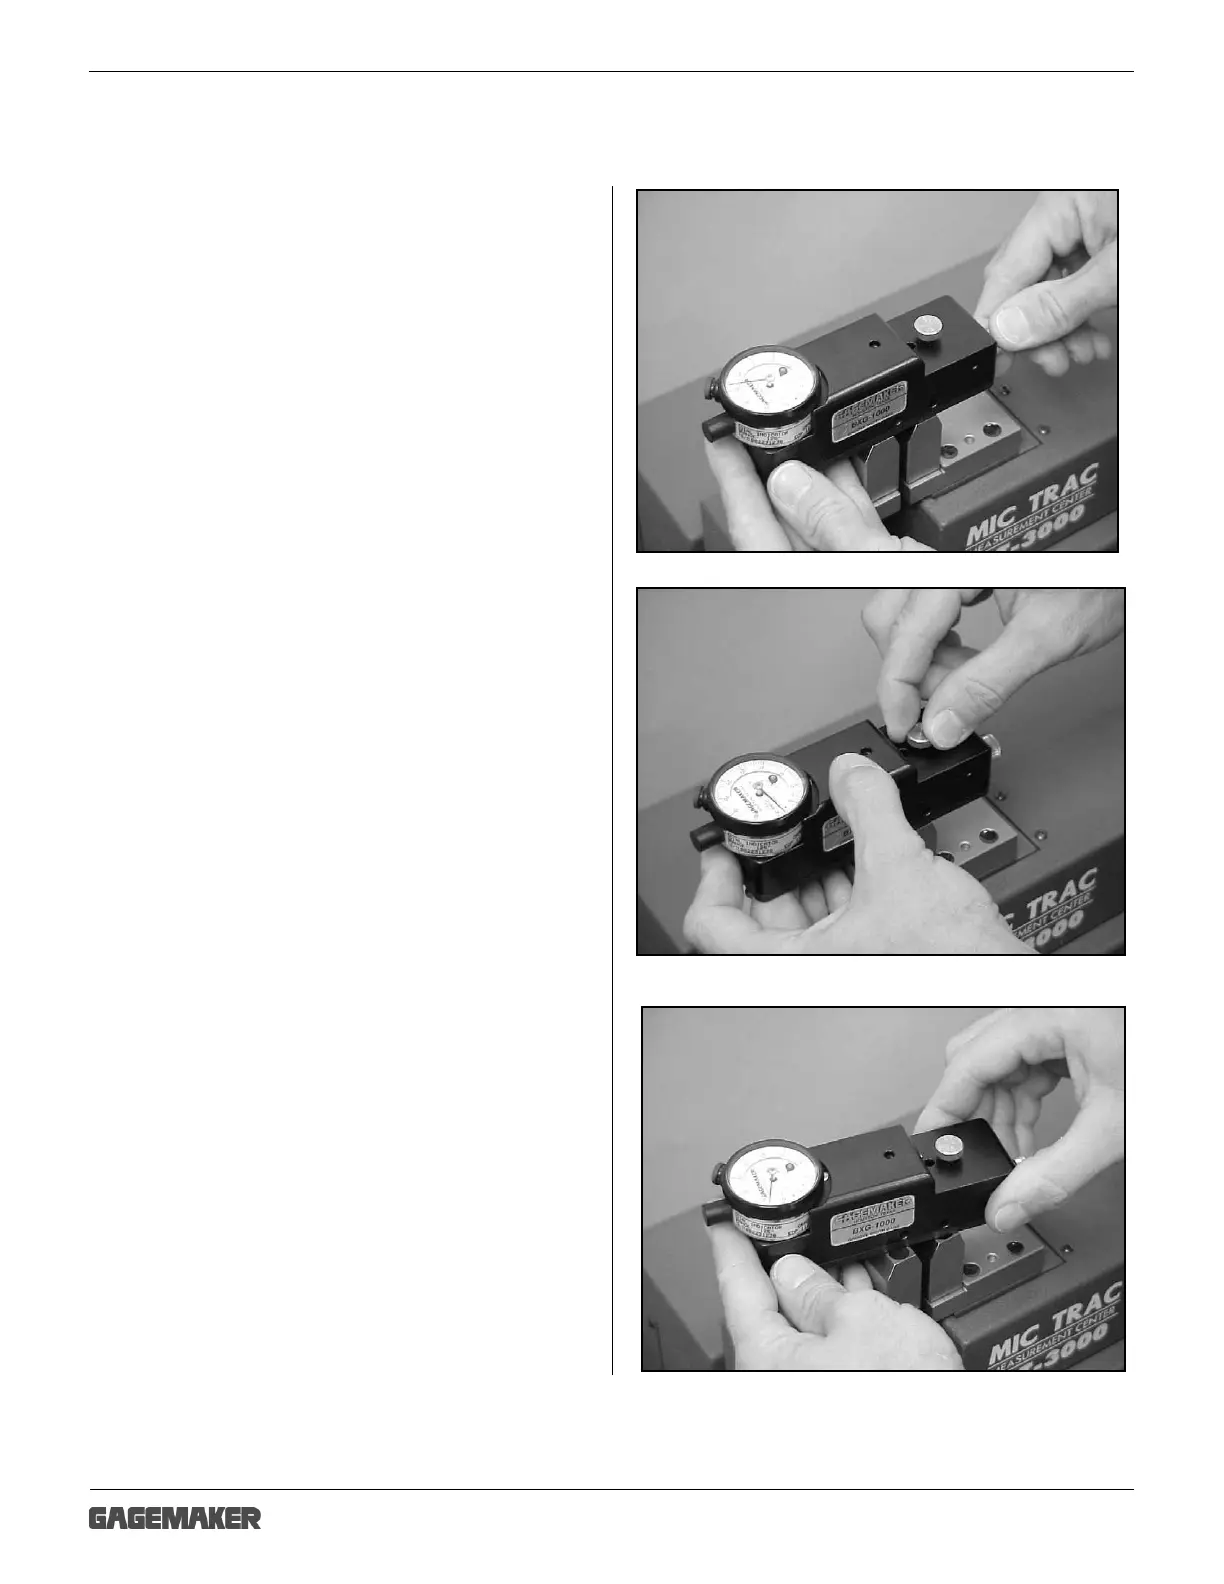
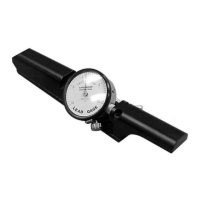
Zeroing the BXG-1000 Gage Using the MIC TRAC (continued)
12. Place the BXG-1000 gage on the setting
blocks, positioning the contact points between
the setting blocks.
13. Adjust the rear contact point until both contact
points touch the inside of the MIC TRAC setting
blocks.
14. Continue to turn the contact point adjustment
knob until the indicator has approximately
0.010” to 0.020” of preload.
15. Tighten the rear contact point lock knob.
16. While maintaining pressure against the rear
contact point and setting block, sweep the gage
back and forth to locate the smallest indicator
reading.
Note: Use the rear contact point as a pivot.