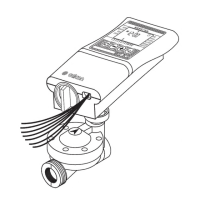
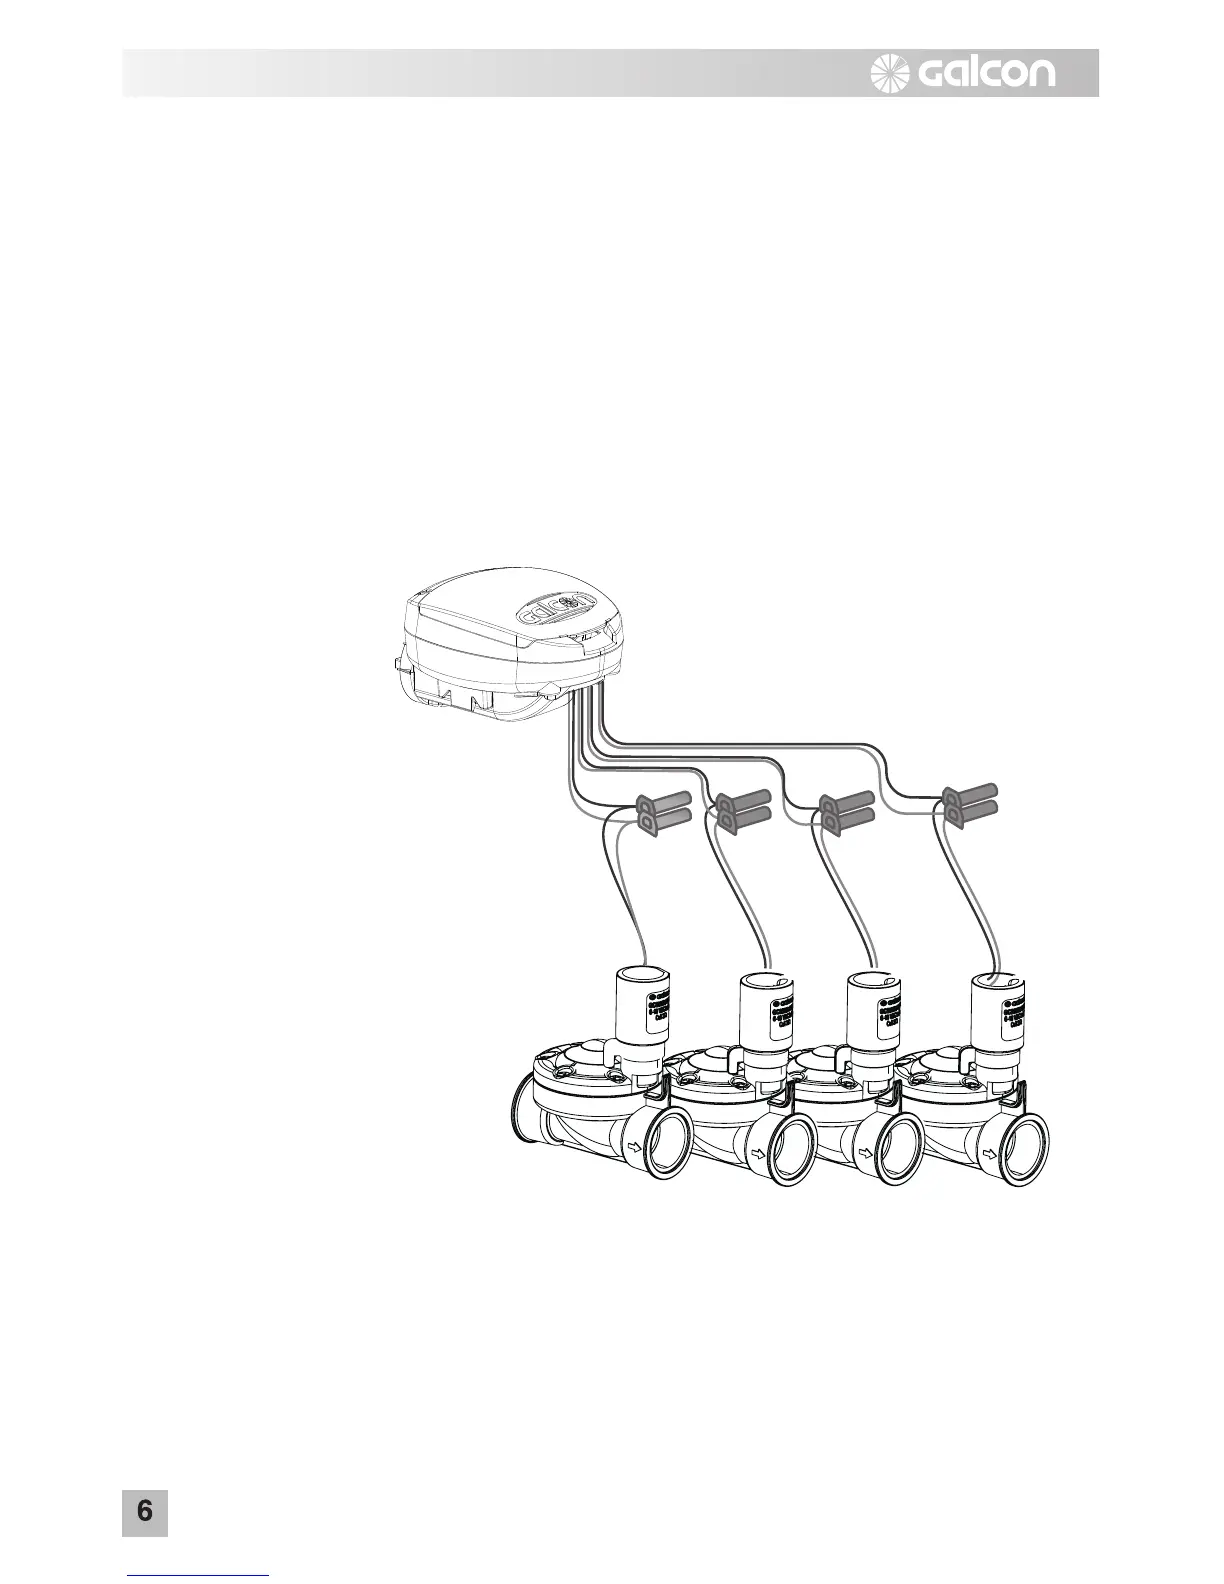
2.5 Wiring the solenoids
NOTE: Each zone requires a dedicated pair of wires from the controller.
The four and six station controllers have red and black pairs of wires numbered for
each valve. Notice there are 2 extra sets of wires. One set of wires (black and red)
is stamped with the letter M representing the master valve, and one set of wires
(yellow) with the letter S representing the rain sensor connection. Connect
each of the controller wire sets (each with red and black) to each solenoid wire (red
and black).
Connect the red wirefrom the controller to the red wire on the solenoidsand each of
the black wires from the controller to each black wire on the solenoids using
waterproof connectors.
NOTE: If you install a master valve, it will open automatically with each valve.No
special programming needed.
NOTE: Do not strip the master valve or sensor wires unless using master valve or
rain sensor.
NOTE: The solenoid operates only with standard 2-way normally closed valves.
 Loading...