Mealstream Ovens Pt. No. 32Z3403 Issue 16
Page 31
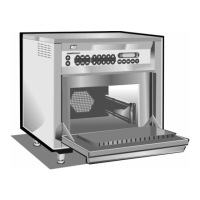
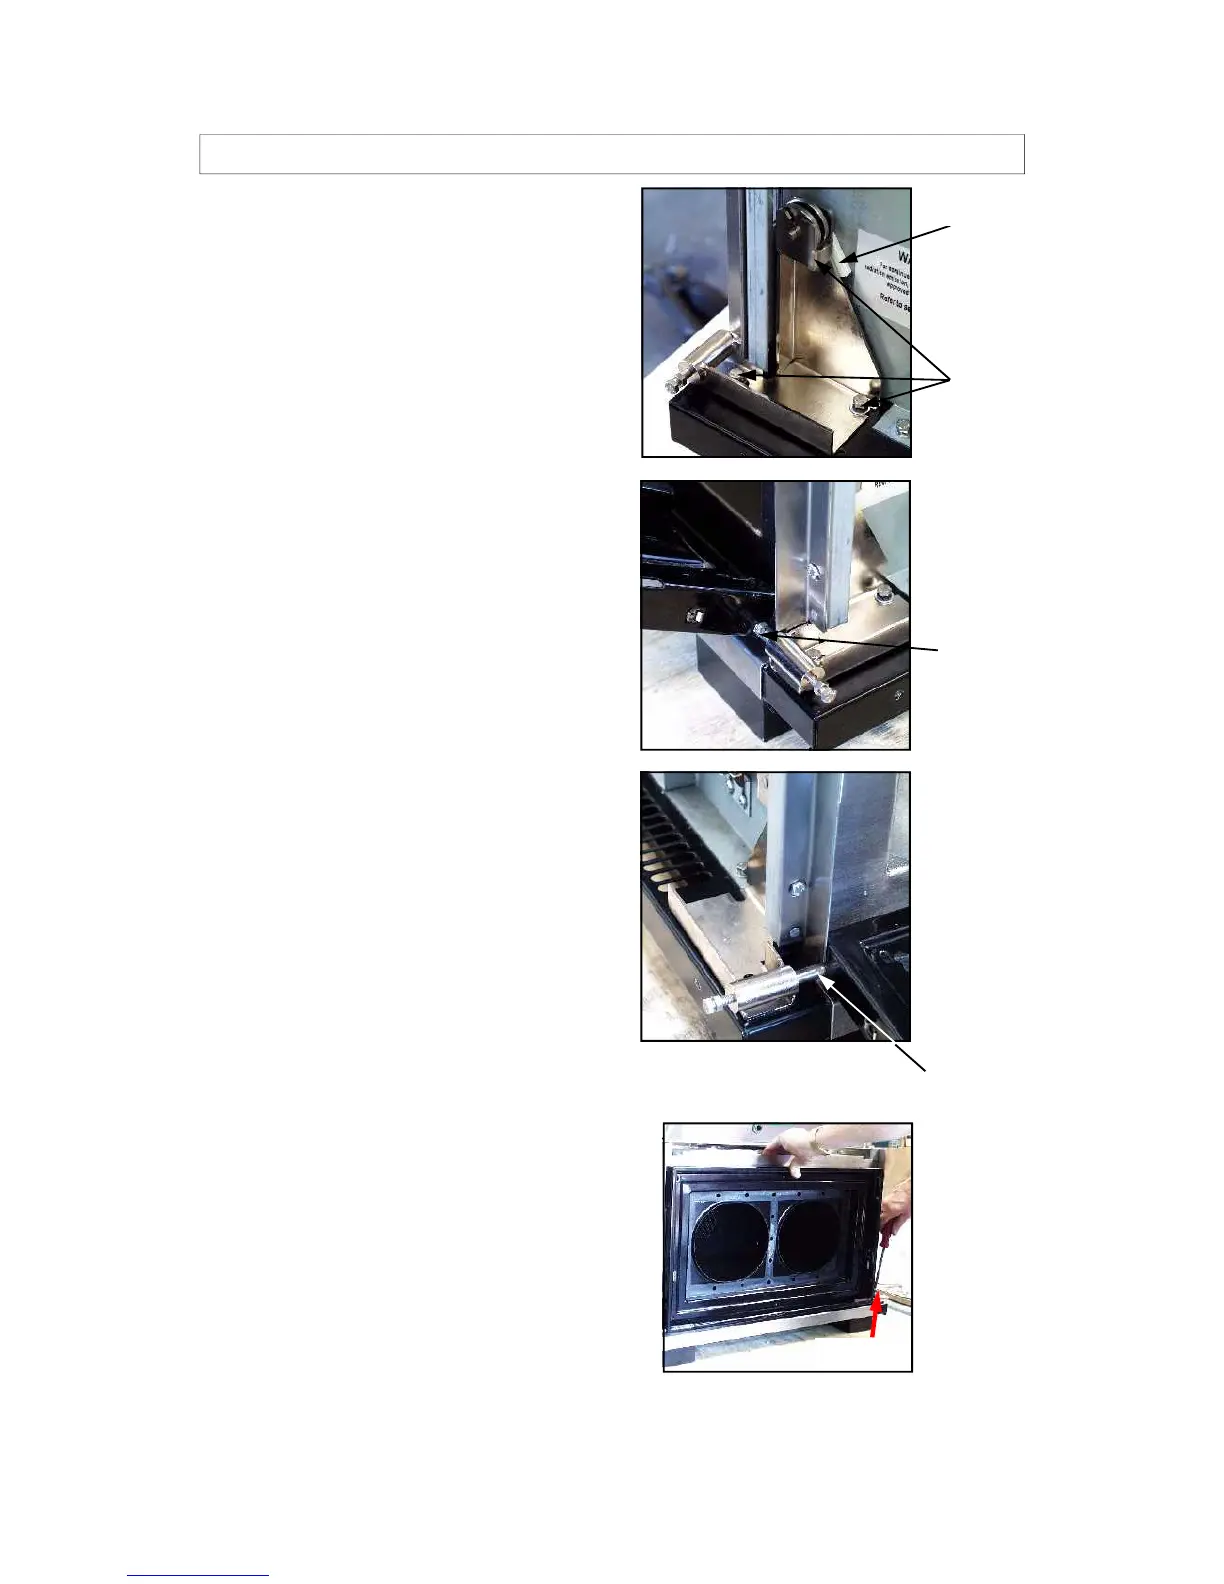
Pivot pin
Pivot pin
Spacer
Hinge
fixings
1. Visually check all parts to be used.
2. Fit right hand side (RHS) Hinge assy. to base
assy. loosely fit in place with bottom bolts, 2 off
M5 x 10mm, 2 off M5 flat washer, 2 off M5
shockproof washer.
Fit a spacer to fill gap between Hinge assy and
Inner side panel, loosely fit spacer in place
with 1 off M5 bolt x 16mm, 1 off M5 flat
washer, 1 off M5 shakeproof washer.
3. Insert (RHS) Pivot pin of door frame into (RHS)
Hinge assy. Place door frame against cavity
face and slide on (LHS) Hinge assy to the
(LHS) Pivot pin of door frame,
4. Fit Left hand side (LHS) Hinge assy to base
assy, loosely fit in place with bottom bolts, 2 off
M5 x 10mm, 2 off M5 flat washer, 2 off M5
shockproof washer. Fit spacer to fill gap
between Hinge assy. and Inner side panel,
loosely fit spacer in place with 1 off M5 bolt x
16mm, 1 off M5 flat washer, 1 off M5
shakeproof washer.
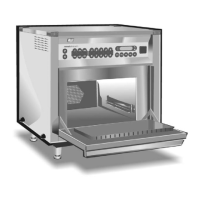
PROCEDURE FOR BUILDING AND FITTING MEALSTREAM DOOR (2)
5. With the door frame held firmly against cavity
tighten fixing bolts to secure (RHS) and (LHS)
Hinge Assy to base.
Note:
Do not tighten bolt securing hinge to inner side
panel.
Hinge
 Loading...