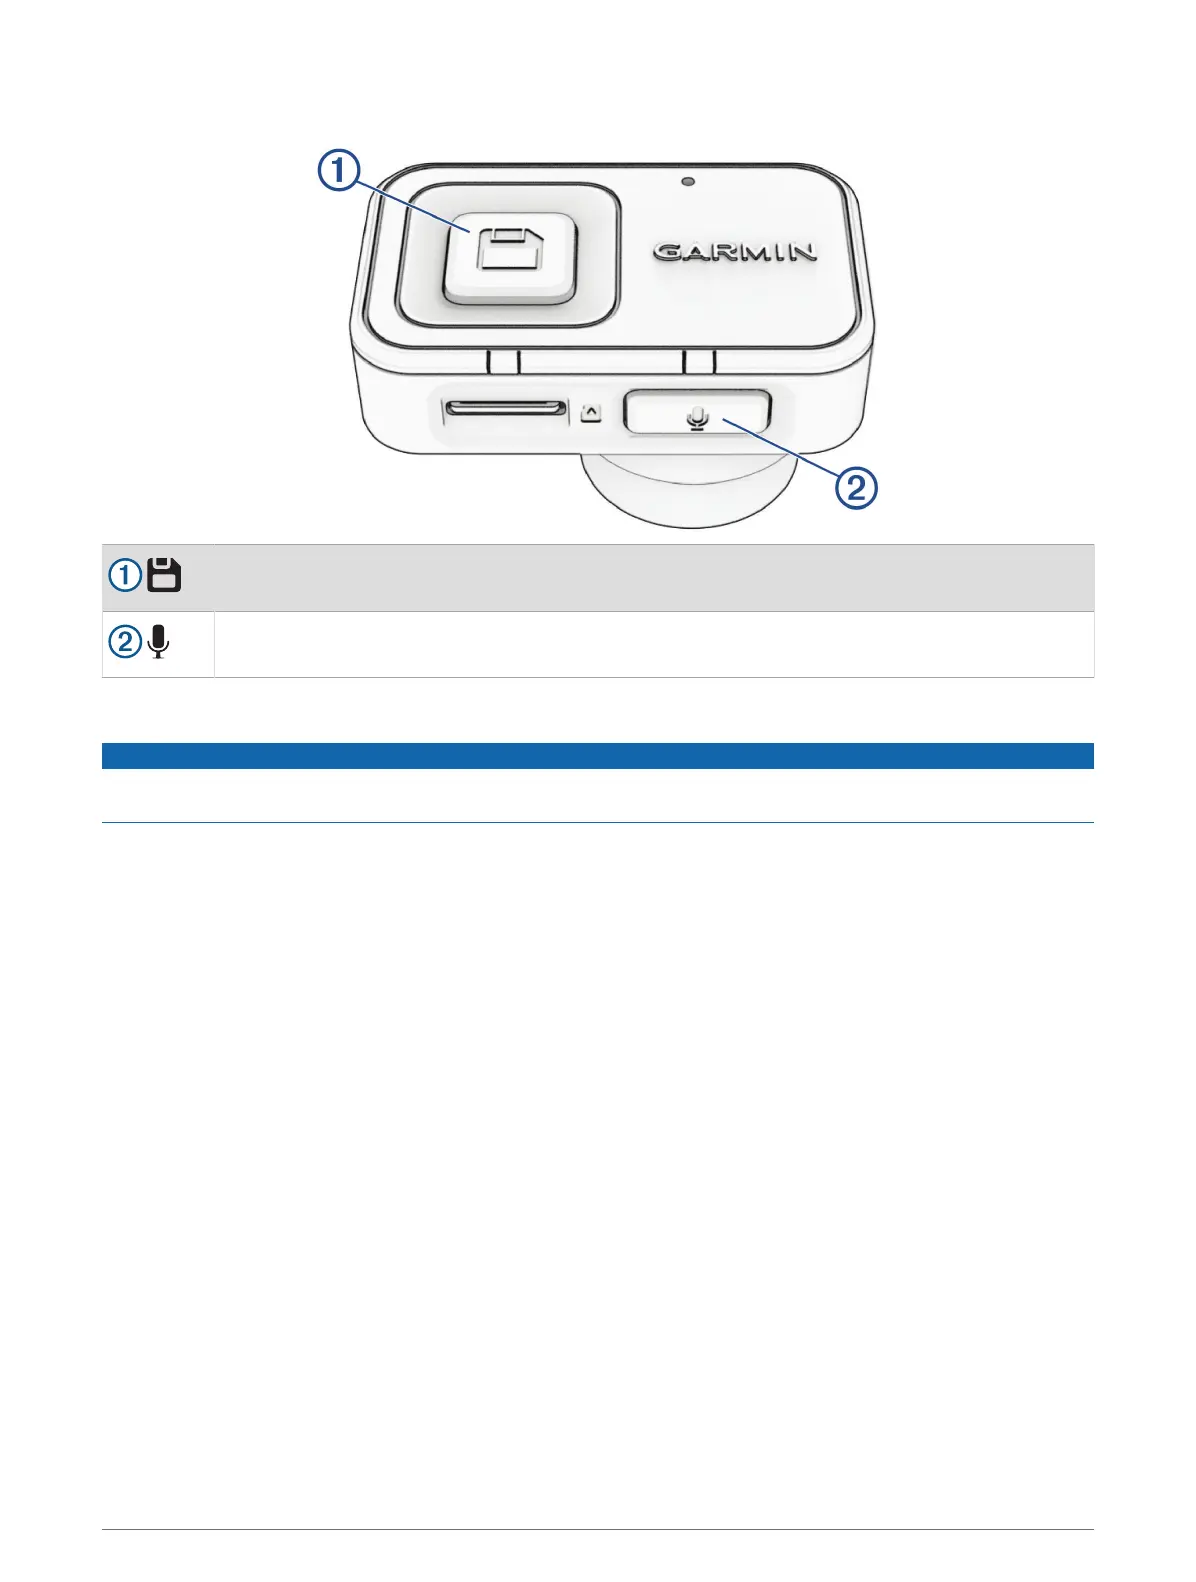
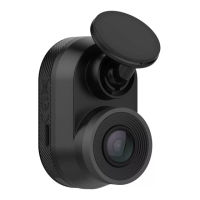
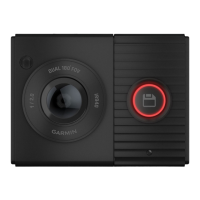
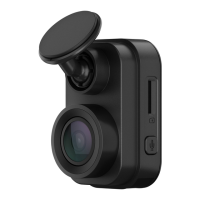
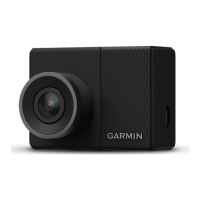
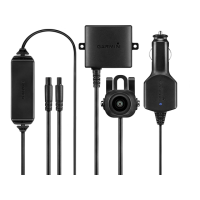
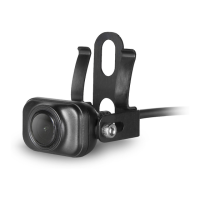
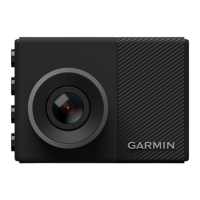
Device Overview
Press to save a video clip.
Hold to enter pairing mode (Pairing with Your Smartphone, page5).
Press to enable or disable audio recording.
Hold to format the memory card (Formatting the Memory Card, page5).
Installing the Camera on Your Windshield
NOTICE
The adhesive mount is intended for a long-term installation and can be difficult to remove. You should carefully
consider the mounting location before you install the mount.
Before you can install the adhesive mount onto your windshield, you should review the windshield mounting
considerations.
For the best results, the ambient temperature should be from 21° to 38°C (from 70° to 100°F) while installing the
camera on your windshield. The adhesive may not bond correctly if the temperature is outside this range. If you
need to install the camera at lower temperatures, you must clear all snow, ice, and moisture from the windshield
and warm the windshield using the vehicle defroster before installing the camera.
The camera attaches to the windshield using the included adhesive mount.
1 Clean the inside of the windshield using water or alcohol, and a lint-free cloth.
The windshield must be free of dust, wax, oils, or coatings.
2 Hold the camera in the desired mounting location on the windshield, and verify the camera has a clear,
unimpeded view.
TIP: You can use the live view feature in the Garmin Drive
™
app to see the field of view from the camera
(Viewing the Live View Camera Feed, page8).
2 Getting Started


 To Next Page