8
Tighten the screws to 5 kgf-cm (4.3 lbf-in).
9
Reconnect the upper link to the steering servo housing
(Reconnecting the Upper Link to the Mount Base, page 23).
Removing the Coil Cable from the Steering Servo
Housing
Before you can remove the coil cable, you must disconnect the
power cable from the steering servo housing (Removing the
Power Cable from the Steering Servo Housing, page 21).
1
Using a 4 mm hex bit or screwdriver, remove the three
screws that secure the coil cable block to the steering servo
housing.
2
Pull the coil cable block away from the steering servo
housing to remove it.
CAUTION
The coil cable block connects to the PCB in the steering
servo housing. When removing the block take care to avoid
damaging the connector on the PCB.
Reconnecting the Coil Cable
1
If you are replacing the coil cable, remove the coil cable from
the shaft cap (Removing the Coil Cable from the Shaft Cap,
page 22).
2
If necessary, install the replacement coil cable in the shaft
cap (Installing the Coil Cable in the Shaft Cap, page 22).
3
Place the coil cable block over the connector on the steering
servo housing, and push it into place, taking care to avoid
damaging the connector.
4
Using a 4 mm hex bit or screwdriver, insert and tighten the
three screws to secure the coil cable block to the steering
servo housing.
5
tighten the three screws to 20 kgf-cm (17.4 lbf-in)
6
Reconnect the power cable (Reconnecting the Power Cable,
page 21).
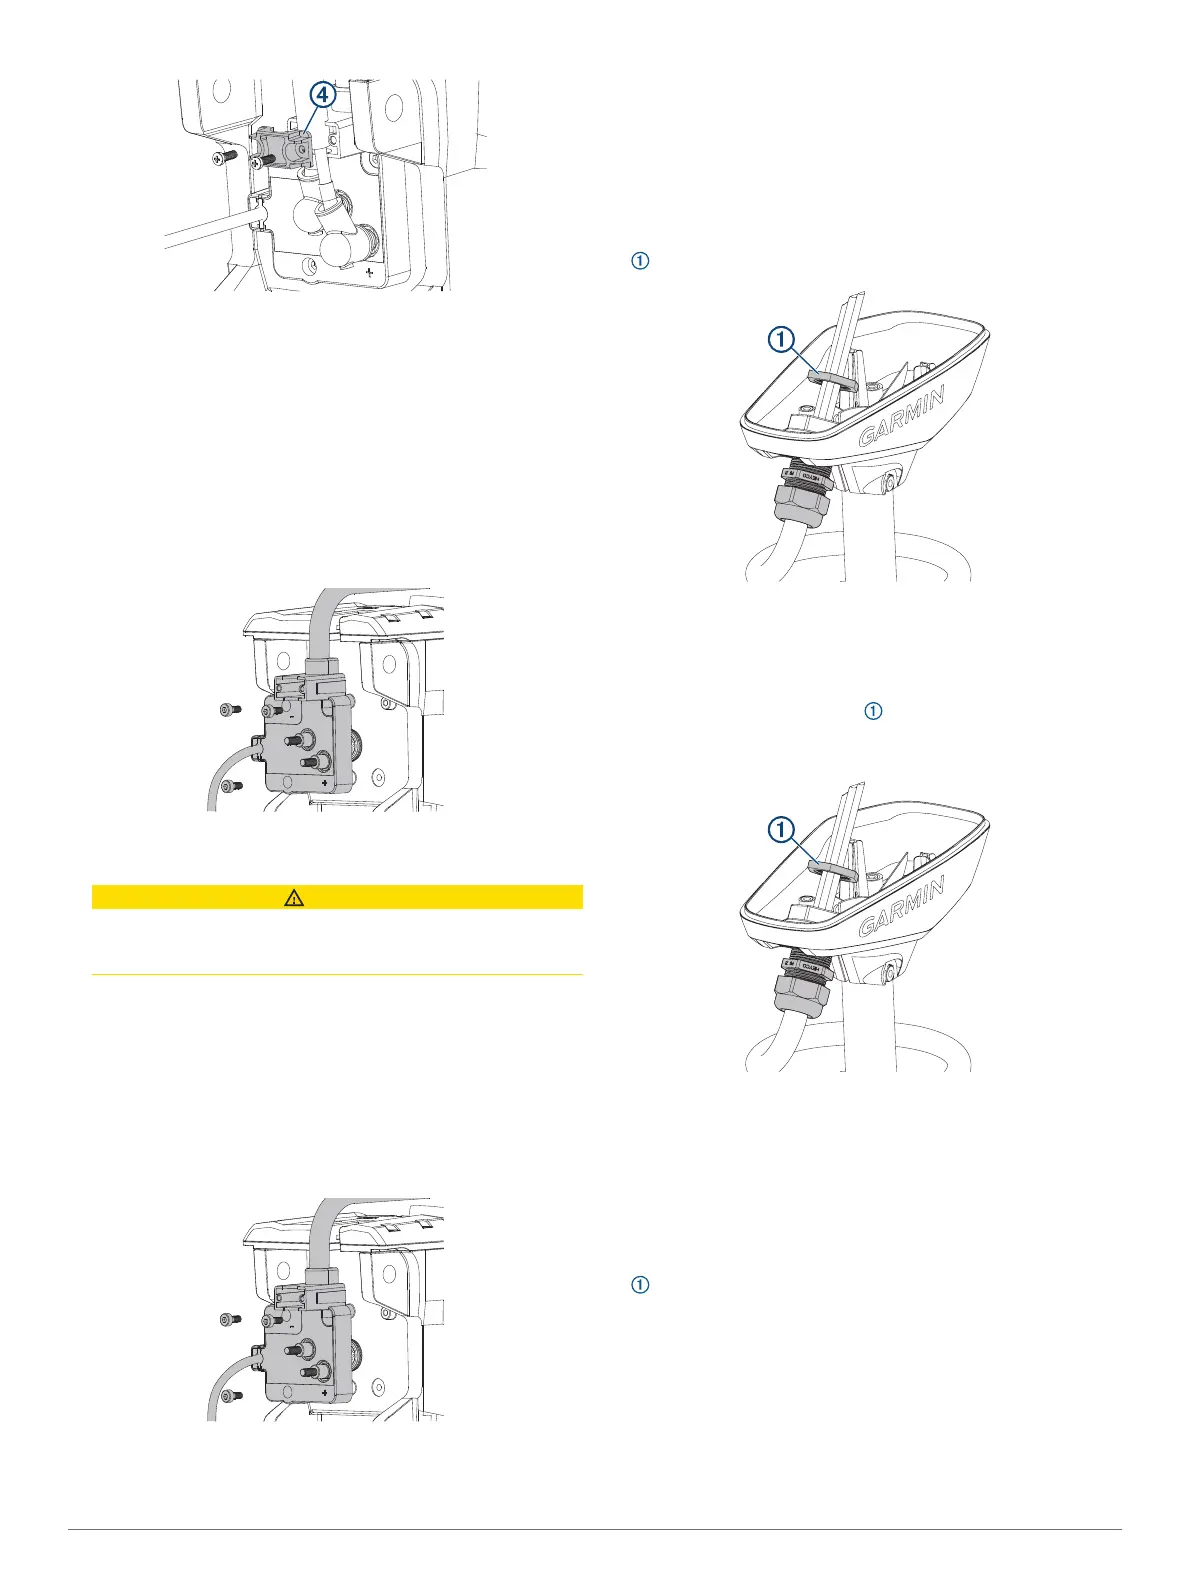
Removing the Coil Cable from the Shaft Cap
Before you can remove the coil cable from the shaft cap, you
must disconnect the cables in the shaft cap (Disconnecting the
Cables in the Shaft Cap, page 11).
1
Using a 36 mm or adjustable wrench, remove the plastic nut
on the coil-cable connector inside the shaft cap.
2
Pull the coil cable out of the shaft cap to remove it.
Installing the Coil Cable in the Shaft Cap
1
Feed the cables from the existing or replacement coil cable
into the hole on the shaft cap.
2
Using the existing plastic nut or the nut provided with the
replacement coil cable, secure the coil-cable connector to the
shaft cap.
3
Using a 36 mm or adjustable wrench, tighten the plastic nut
on the coil-cable connector inside the shaft cap
Replacing the Display Panel
Before you can remove the display panel from the upper link of
the mount, you must disconnect the upper link of the mount from
the steering servo housing (Disconnecting the Upper Link of the
Mount, page 17).
1
Using a #0 Phillips screwdriver, remove the position sensor
from the upper link of the mount.
22