1
If it is still connected, remove the pull cable from the latching
mechanism (Removing the Pull Cable, page 9).
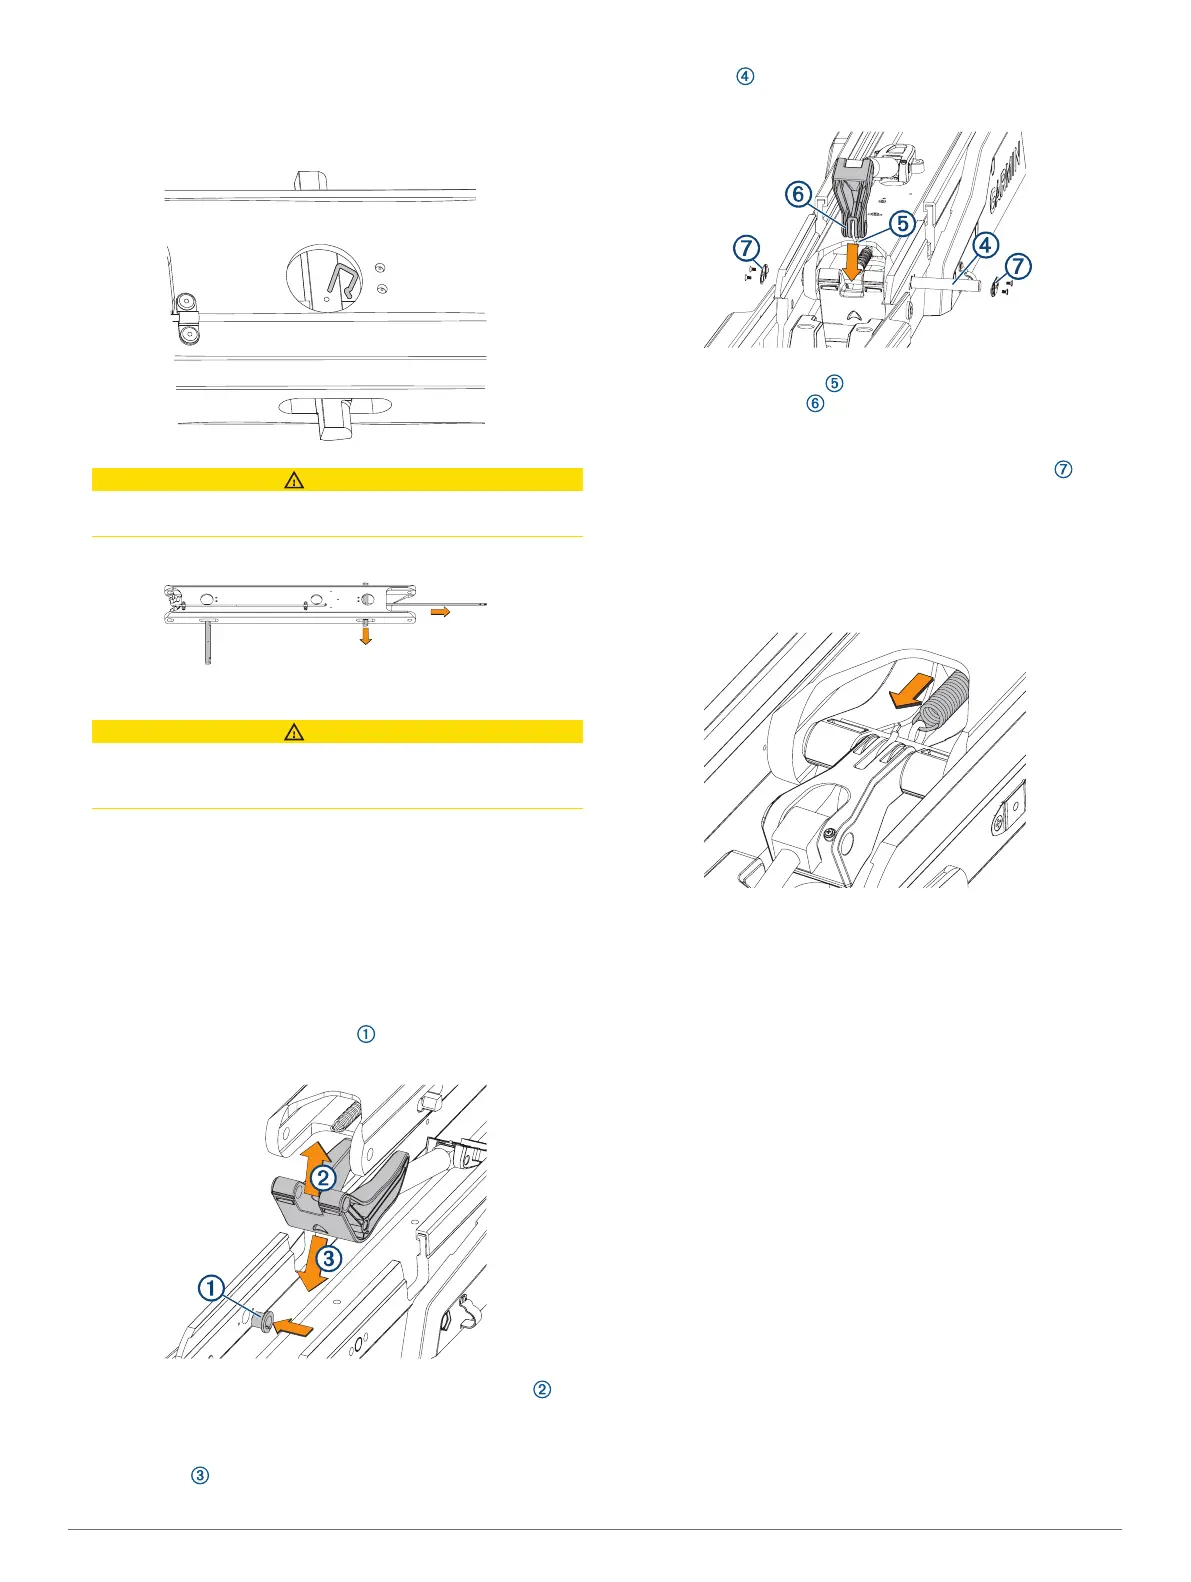
2
Using a pair of needle-nose pliers, remove the pins that
secure the latch bars to the central rod.
CAUTION
Take note of the orientation of the latch pins prior to removing
them. Installing the latch pins incorrectly may cause damage.
3
Slide the central rod out of either end of the lower link.
4
Slide the two latch bars out of the lower link.
CAUTION
Take note of the orientation of the latch bars prior to
removing them. Installing the latch bars incorrectly may
cause damage.
5
Apply a silicon-based lubricating grease to the replacement
latch bars.
6
Insert the replacement latch bars into the lower link, with the
rounded ends of the latch bars facing the hinge end of the
lower link.
7
Insert the replacement rod into either end of the lower link,
feeding it through the holes in the two latch bars.
8
Reinstall the pins to secure the latch bars to the central rod.
Reconnecting the Lower Link to the Mount Base
1
If necessary, install the bushings in the mount base from
the inside.
2
Insert the lower gas spring assembly into the lower link ,
with the shaft stabilizer pointing toward the front of the lower
link.
3
Insert the combined lower link and lower gas spring into the
mount base .
4
Push the pin into the mount base, feeding it through one
side of the lower link and shaft stabilizer.
5
Holding the spring hook towards the lower link, place the
upper gas spring arm into the shaft stabilizer, and push
the pin the rest of the way through all of the parts, until it is
flush with the sides of the mount base.
6
Using a #2 Phillips screwdriver, install the pin covers on
the sides of the mount base.
7
Rotate the lower link up so you can access the latching
mechanism.
8
Using needle-nose pliers, connect the spring from the
latching mechanism to the hook on the base of the gas
spring.
9
Install the steering servo on the mount (Connecting the
Steering Servo to the Mount, page 19).
Replacing the Mount Base
1
Remove the steering servo from the mount (Removing the
Steering Servo from the Mount, page 17).
2
Remove the upper link from the mount base (Removing the
Upper Link from the Mount Base, page 23).
3
Remove the lower link from the mount base (Removing the
Lower Link from the Mount Base, page 23).
4
Uninstall the fasteners that secure the mount base to the
boat.
5
Secure the replacement mount base to the deck of the boat,
replacing the existing mounting hardware if necessary.
6
Install the lower link on the mount base (Reconnecting the
Lower Link to the Mount Base, page 24).
7
Install the upper link on the mount base (Reconnecting the
Upper Link to the Mount Base, page 23).
8
Install the steering servo on the mount (Connecting the
Steering Servo to the Mount, page 19).
Replacing the Mount Shrouds
1
Using a 4 mm hex bit or wrench, remove the screws that
secure the mount shrouds to the mount base.
24