Installation
Posr IrusrarlATloN
Curcxour
Once the unit
is
installed,
complete
the
checkout
procedure
to
verify
proper
operation.
Refer
to
the User's Guide for
operatirrg instructions.
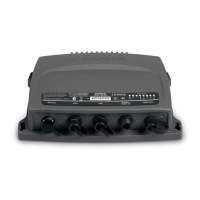
Mounting /
Wiring
Check
Verify
that
all
cables are
properly
sccured
and
shields
are
connected to the rear of thc
mounting
frame.
Chcck tlre movement
of thc aircrafi controls to verify
that
there is no
interf-erence.
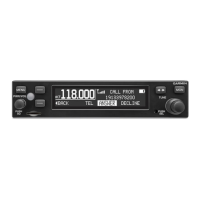
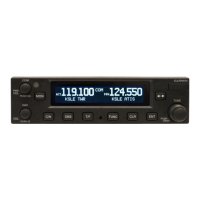
Receivcr
/ Transnritter
Operation
Tunc
the unit to a local ficqucncy
and verily thc receivcr
output
produces
a clear
and
understandable
audio output.
Verify
the
transrnittcr
by contacting
another
station
and
getting
a
report ol-
rcliablc
ctlrnrtturricatiorrs.
Antenna
Check
The
antenna VSWR
catr bc checked
using an inline watt nretcr in thc
antenrra coax using
frequencics
near
both
cnds of
the band. The
VSWR
should
be
<2:1,
and is not to excced
3:1.
A VSWR of
2:l
will cause a drop in
output power
of
approxirnately
l2o/o. and 3:l causes
approxinrately
a 26'% drop.
Interfercncc
Check
Check
the SL40
while
operating thc othcr
avionics and
elcotrical
systems on thc aircraft to
vcrify
that no significant intcrt'ercttce
cxists,
and
that tlre
SL40
does
not cause
significant
interl'erencc
with
other
systcms. Pcrlbrmance
should be checked using
low,
high, and nrid
band
fiequencics. Repcat during the
flight test fbr equipnicnt
that is
not
checked
on
the
ground.
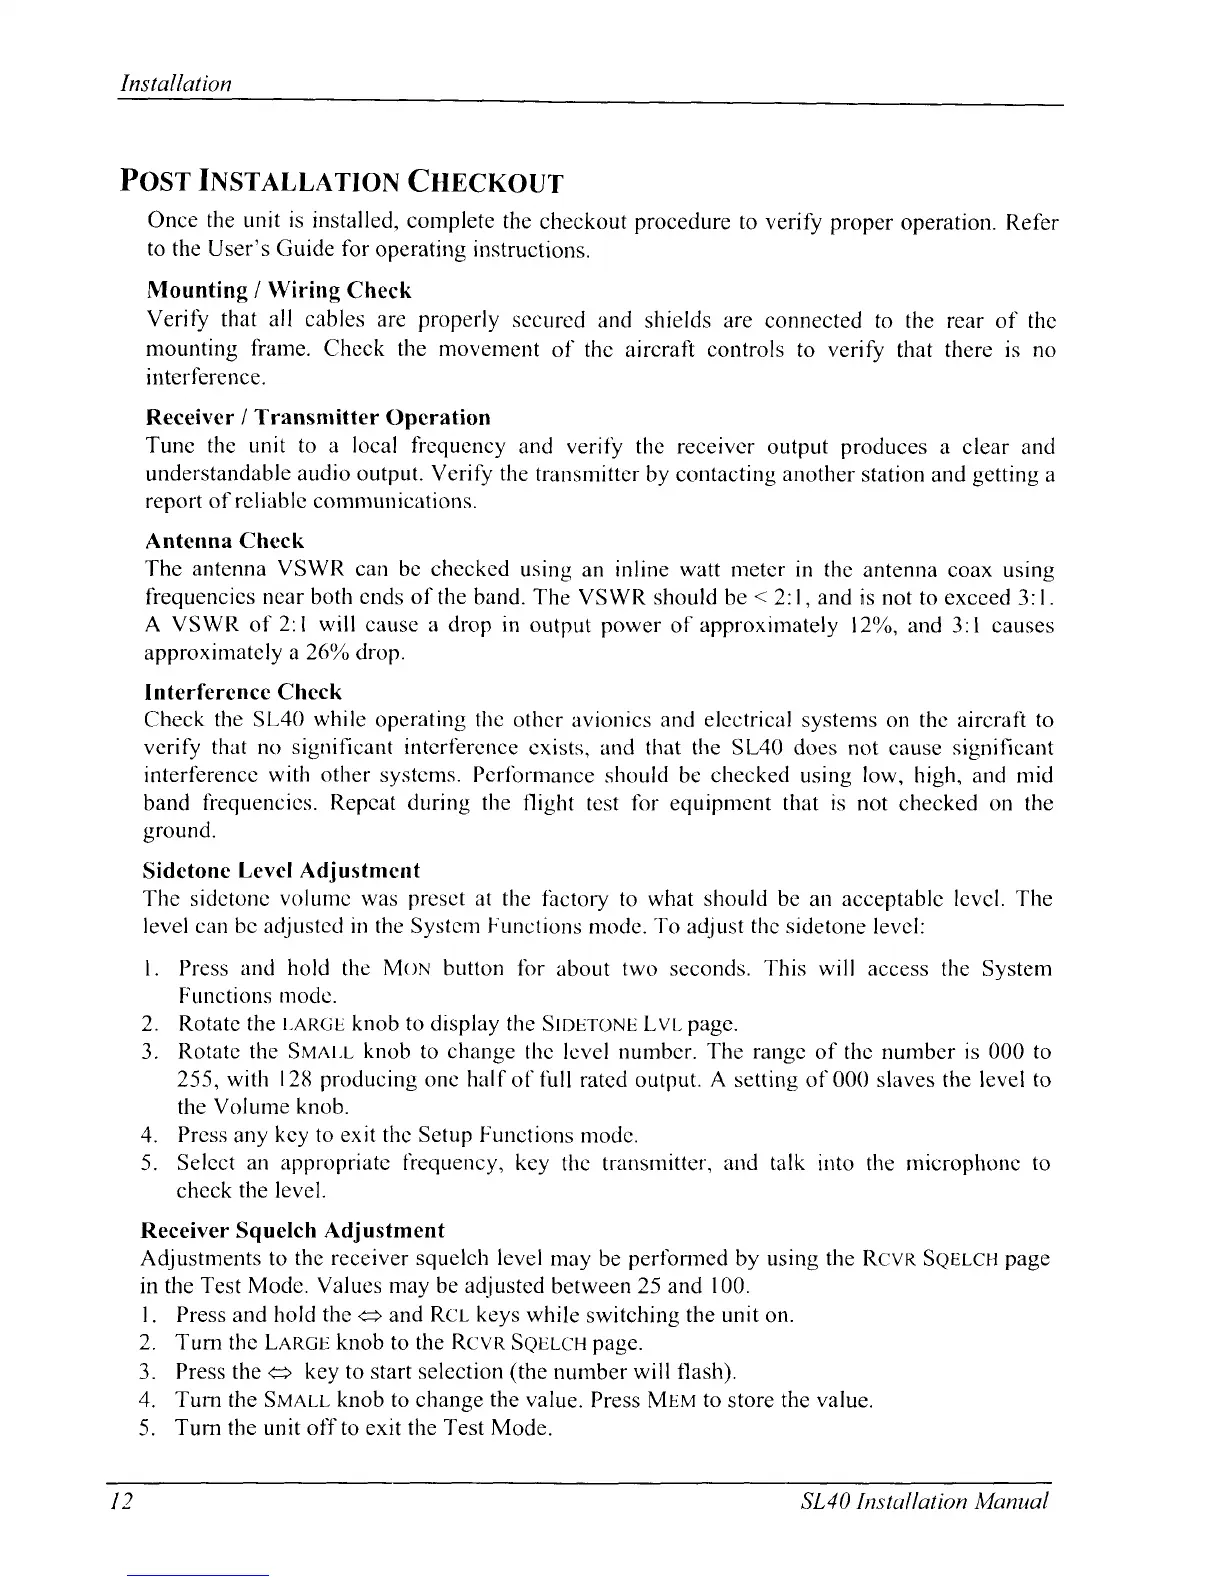
Sidctone
Levcl
Adjustmcnt
The sidctonc
volumc was
presct
at the factory to what should be
an
acceptablc lcvcl. The
level can bc acljustcd in the Systcm Functions
modc.
To
adjust
thc
sidetone levcl:
l. Press
and hold
the MttN br-rtton for
about
two
seconds.
This will
access the System
Functions modc.
2. Rotatc
the
t-Rncrr
knob to display the
SroeroNB Lvt.
page.
3.
Rotatc the Sn,lnt.l
knotr
to change
thc lcvel
nunrbcr. The rangc
of thc number
is 000 to
25-5,
with
l2tS prodLrcing
onc half
of
full
ratcd output.
A
setting of 000 slaves the level
to
the Volurne
knob.
4.
Prcss
any
kcy to exit thc Setup Functions
modc.
5.
Selcct
an appropriatc
fieqLrency, key
thc transmitter,
and talk
into the microphonc
to
chcck
the
level.
Receiver Squelch
Adjustment
Adjustments to
the receiver squelch level
may
be
pertbnned
by using the
Rcvn Sgalcn
page
in the
Test Mode. Values may be adjusted
betrveen 25 and
100.
l. Press and hold
the
<> and Rcl
keys
while
switching
the unit
on.
2. Turn
thc
LeRcr knob to the Rcvn
SqucH
page.
3. Press the <+
key to start selection
(the
nurnber will flash).
4. Turn the Svall knob to change
the
value.
Press MEv
to
store the
value.
5.
Turn the unit off to exit the Test Mode.
l2
SL40 Instal I ation Manual