Replacing the Cadence Sensor Battery
NOTE: Use these instructions for product models that have a coin slot on the battery door.
The device uses one CR2032 battery. The LED flashes red to indicate a low battery level after two revolutions.
1 Locate the circular battery cover on the back of the sensor.
2 Twist the cover counter-clockwise until the marker points to unlocked and the cover is loose enough to
remove.
3 Remove the cover and the battery .
4 Wait 30 seconds.
5 Insert the new battery into the cover, observing polarity.
NOTE: Do not damage or lose the O-ring gasket.
6 Twist the cover clockwise until the marker points to locked.
NOTE: The LED flashes red and green for a few seconds after battery replacement. When the LED flashes
green and then stops flashing, the device is active and ready to send data.
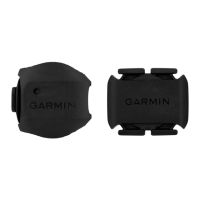
Speed Sensor 2 and Cadence Sensor 2 Specifications
Battery type User-replaceable CR2032, 3V
Battery life Approximately 12 mo. at 1hr./day
Speed sensor storage Up to 300 hr. of activity data
Operating temperature range From -20º to 60ºC (from -4º to 140ºF)
Wireless frequency/protocol 2.4 GHz @ 4 dBm nominal
Water rating IEC 60529 IPX7
1
1
The device withstands incidental exposure to water of up to 1m for up to 30min. For more information, go to www.garmin.com/waterrating.
6 Device Information