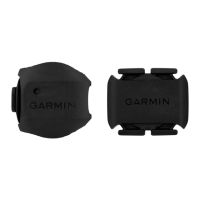
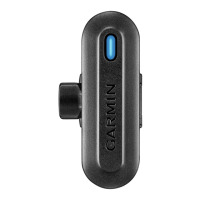
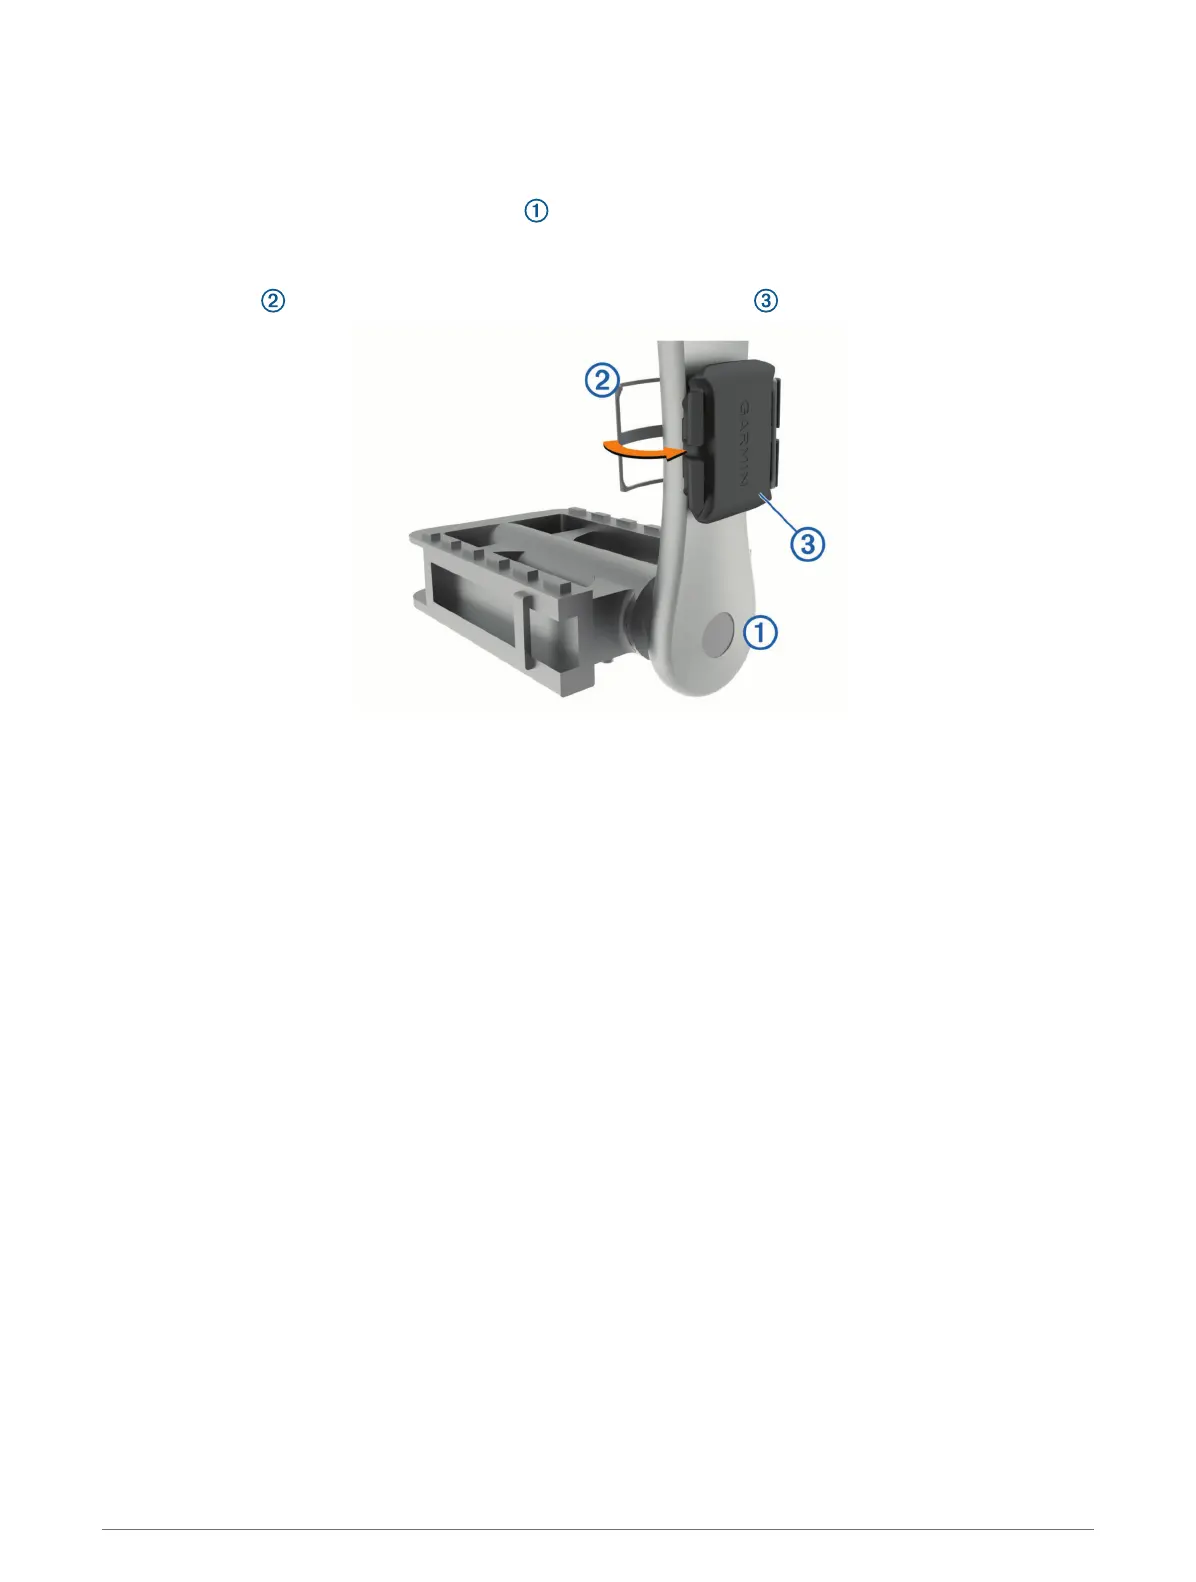
Installing the Cadence Sensor
NOTE: If you do not have this sensor, you can skip this task.
TIP: Garmin recommends you secure your bike on a stand while installing the sensor.
1 Select the band size that fits your crank arm securely.
The band you select should be the smallest one that stretches across the crank arm.
2 On the non-drive side, place and hold the flat side of the cadence sensor on the inside of the crank arm.
3 Pull the bands around the crank arm, and attach them to the hooks on the sensor.
4 Rotate the crank arm to check for clearance.
The sensor and bands should not contact any part of your bike or shoe.
NOTE: The LED flashes green for five seconds to indicate activity after two revolutions.
5 Take a 15minute test ride and inspect the sensor and bands to ensure there is no evidence of damage.
Pairing the Sensors with Your Device
The first time you connect a wireless sensor to your device using ANT+
®
or Bluetooth
®
technology, you must pair
the device and sensor. After they are paired, the device connects to the sensor automatically when you start an
activity and the sensor is active and within range.
NOTE: The pairing instructions differ for each Garmin compatible device. See your owner's manual.
• Bring the Garmin compatible device within 3m (10 ft.) of the sensor.
• Stay 10m (33 ft.) away from other wireless sensors while pairing.
• Rotate the crank arm or wheel two revolutions to wake up the sensor.
The LED flashes green for five seconds to indicate activity. The LED flashes red to indicate a low battery
level.
• If available, pair the sensor using ANT+ technology.
NOTE: The sensor can pair with up to two Bluetooth devices and any number of ANT+ devices.
After you pair the first time, your Garmin compatible device automatically recognizes the wireless sensor each
time it is activated.
2 Introduction