Introduction
WARNING
See the Important Safety and Product Information guide in the product box for product warnings and other
important information.
Always consult your physician before you begin or modify any exercise program.
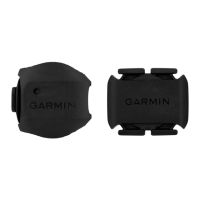
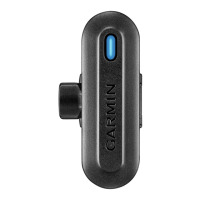
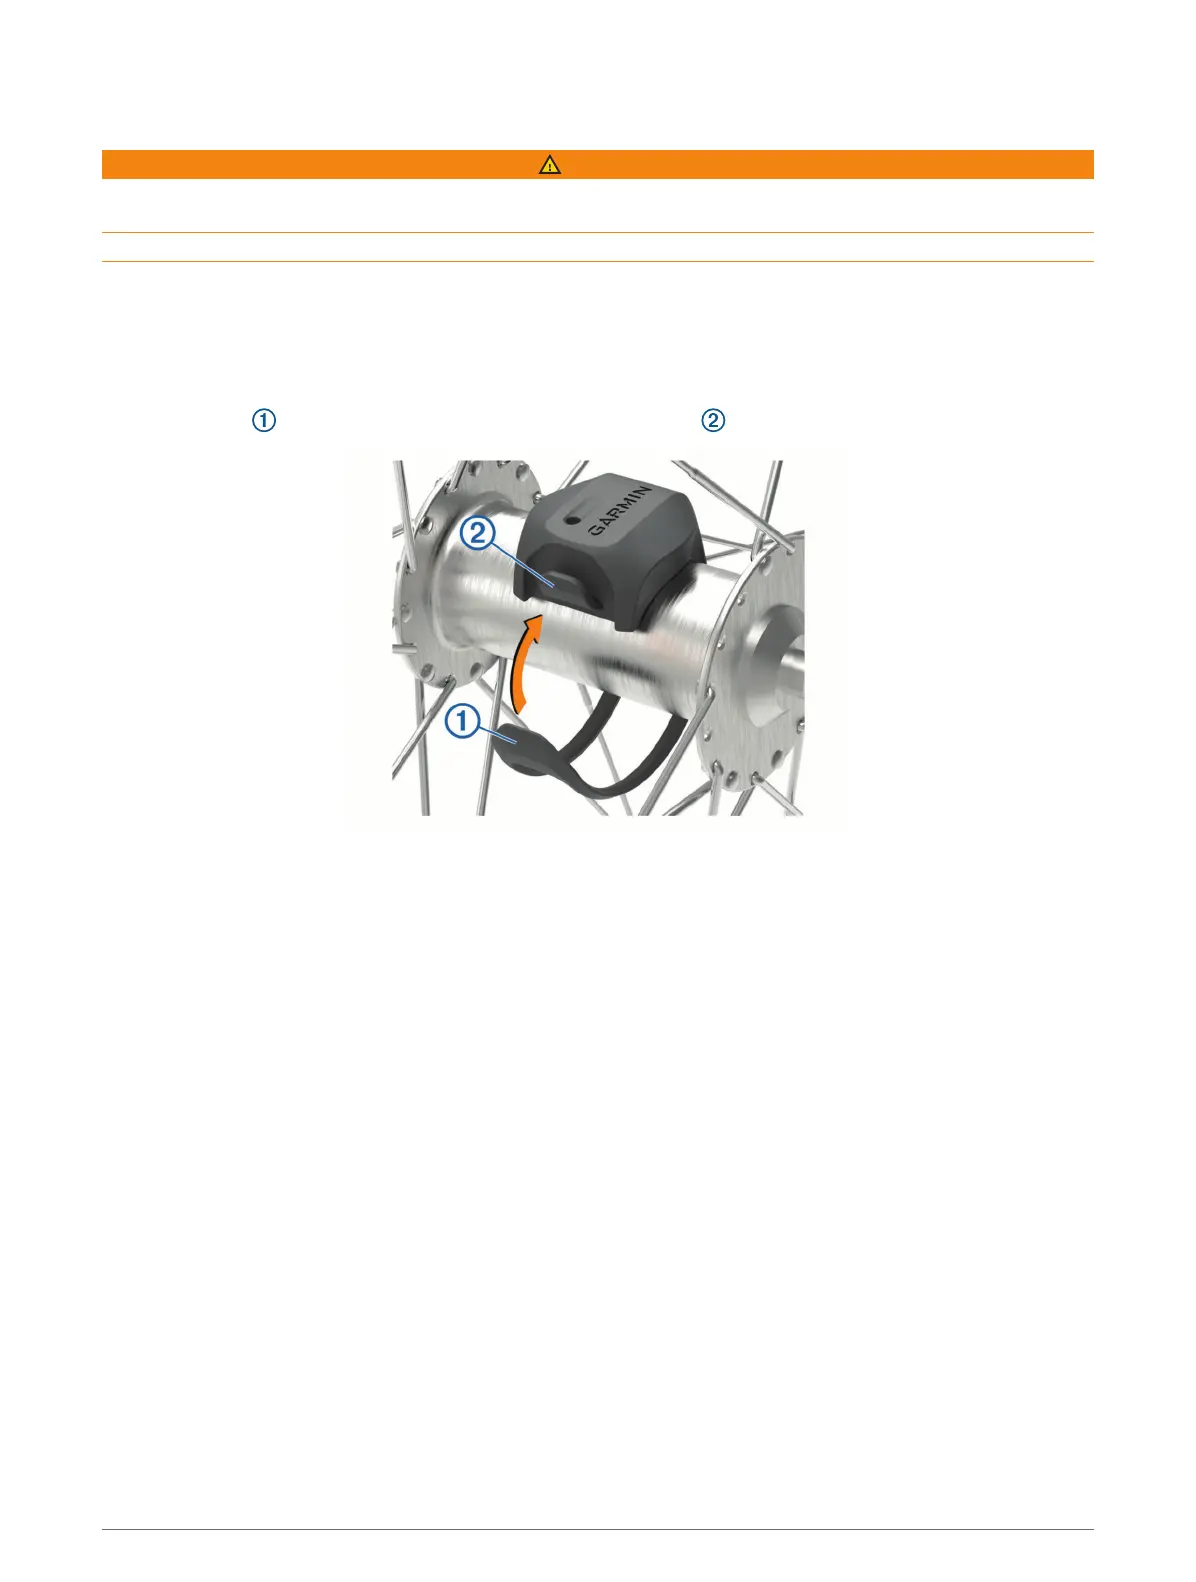
Installing the Speed Sensor
NOTE: If you do not have this sensor, you can skip this task.
TIP: Garmin
®
recommends you secure your bike on a stand while installing the sensor.
1 Place and hold the speed sensor on top of the wheel hub.
2 Pull the strap around the wheel hub, and attach it to the hook on the sensor.
The sensor may be tilted when installed on an asymmetrical hub. This does not affect operation.
3 Rotate the wheel to check for clearance.
The sensor should not contact other parts of your bike.
NOTE: The LED flashes green for five seconds to indicate activity after two revolutions.
Introduction 1