Device Information
User Replaceable Batteries
WARNING
See the Important Safety and Product Information guide in the product box for product warnings and other
important information.
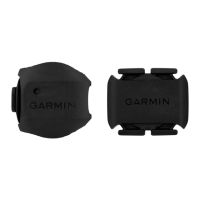
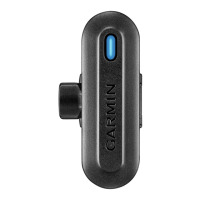
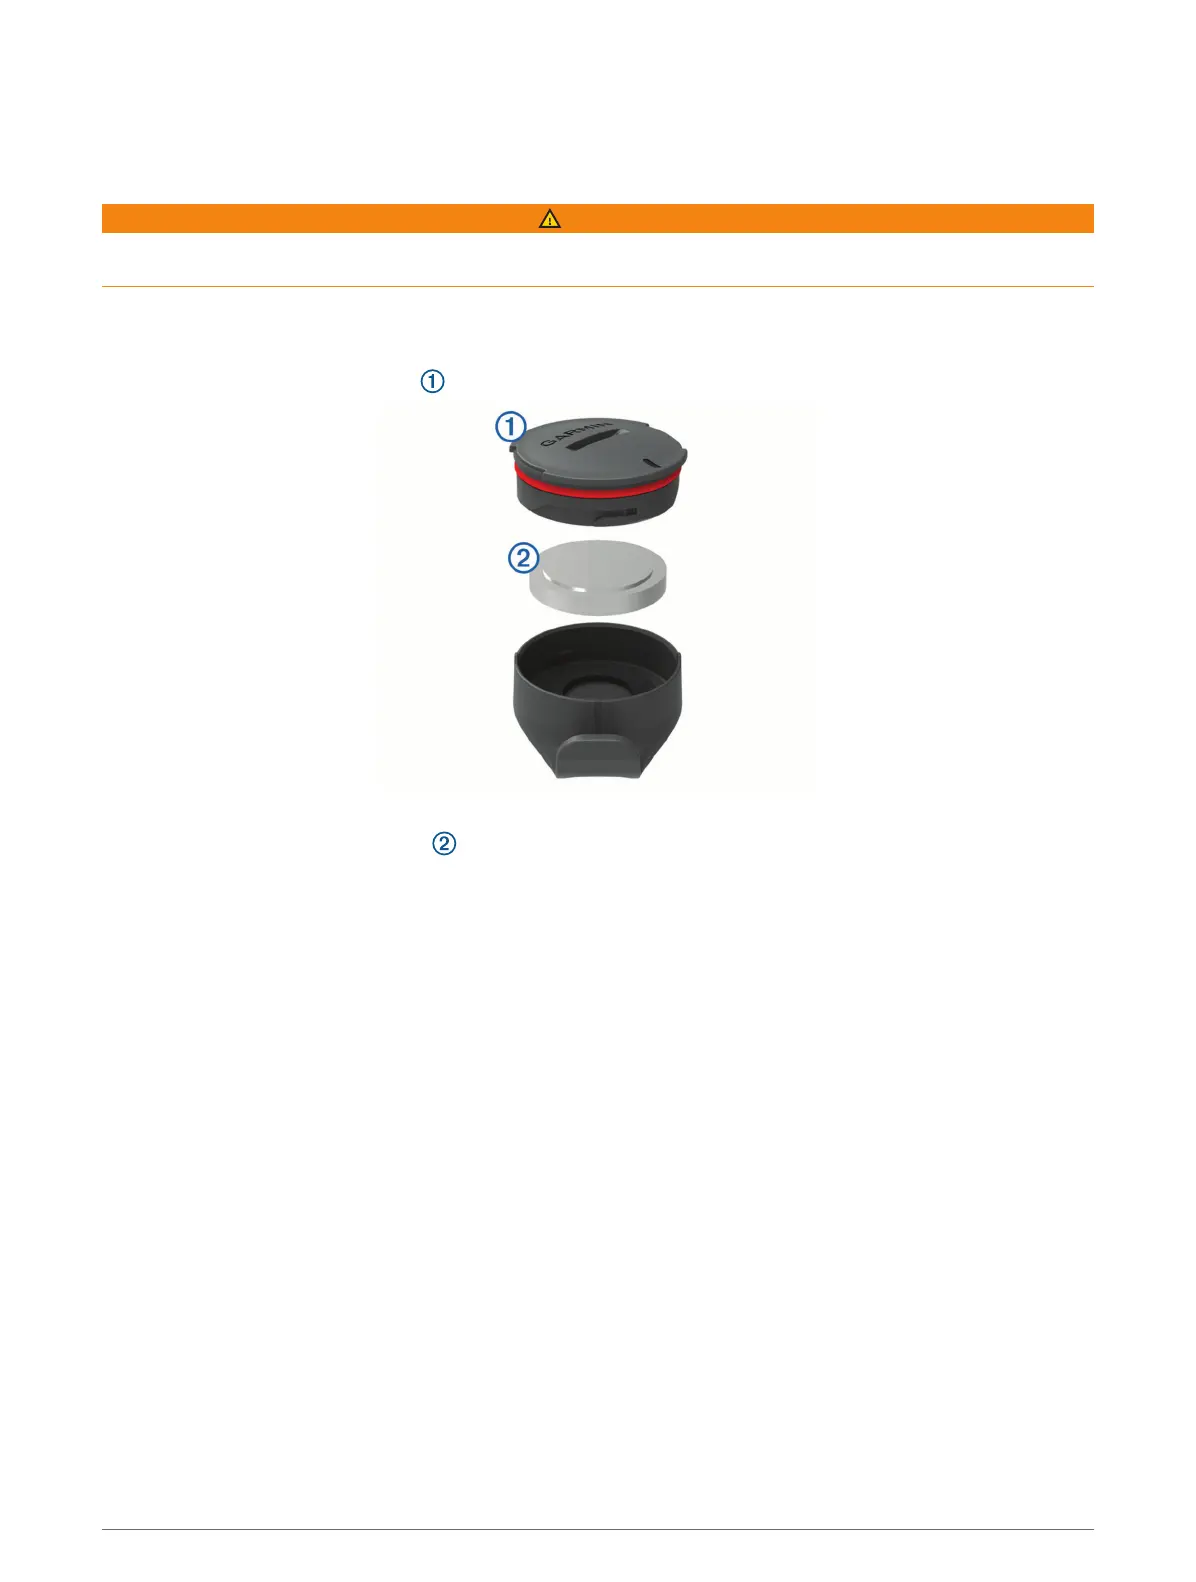
Replacing the Speed Sensor Battery
The device uses one CR2032 battery. The LED flashes red to indicate a low battery level after two revolutions.
1 Locate the circular battery cover on the front of the sensor.
2 Twist the cover counter-clockwise until the cover is loose enough to remove.
3 Remove the cover and the battery .
4 Wait 30 seconds.
5 Insert the new battery into the cover, observing polarity.
NOTE: Do not damage or lose the O-ring gasket.
6 Twist the cover clockwise so that the marker on the cover aligns with the marker on the case.
NOTE: The LED flashes red and green for a few seconds after battery replacement. When the LED flashes
green and then stops flashing, the device is active and ready to send data.
4 Device Information