12
Gates Corporation
OPERATING INSTRUCTIONS
mouth opening). Adjust the RETRACT PULSE
TIMER knob clockwise for a larger retract position
(larger mouth opening).
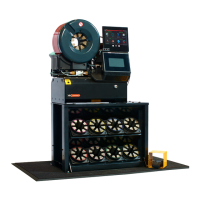
• Press and hold bottom yellow RETRACT button
until mouth clears coupling.
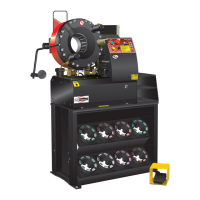
6.INSTALL ASSEMBLY INTO CRIMPER
HEAD.
•
Insert straight assemblies through either front or
back of crimper head. If a bent tube is being
crimped, it must be crimped by loading assembly
from the rear of crimper.
• Adjust front of ferrule approximately 1/8" from
edge of die shoe.
IMPORTANT: For GS couplings, make sure top of
ferrule rests against hex or round shoulder of locking
collar to ensure proper crimp.
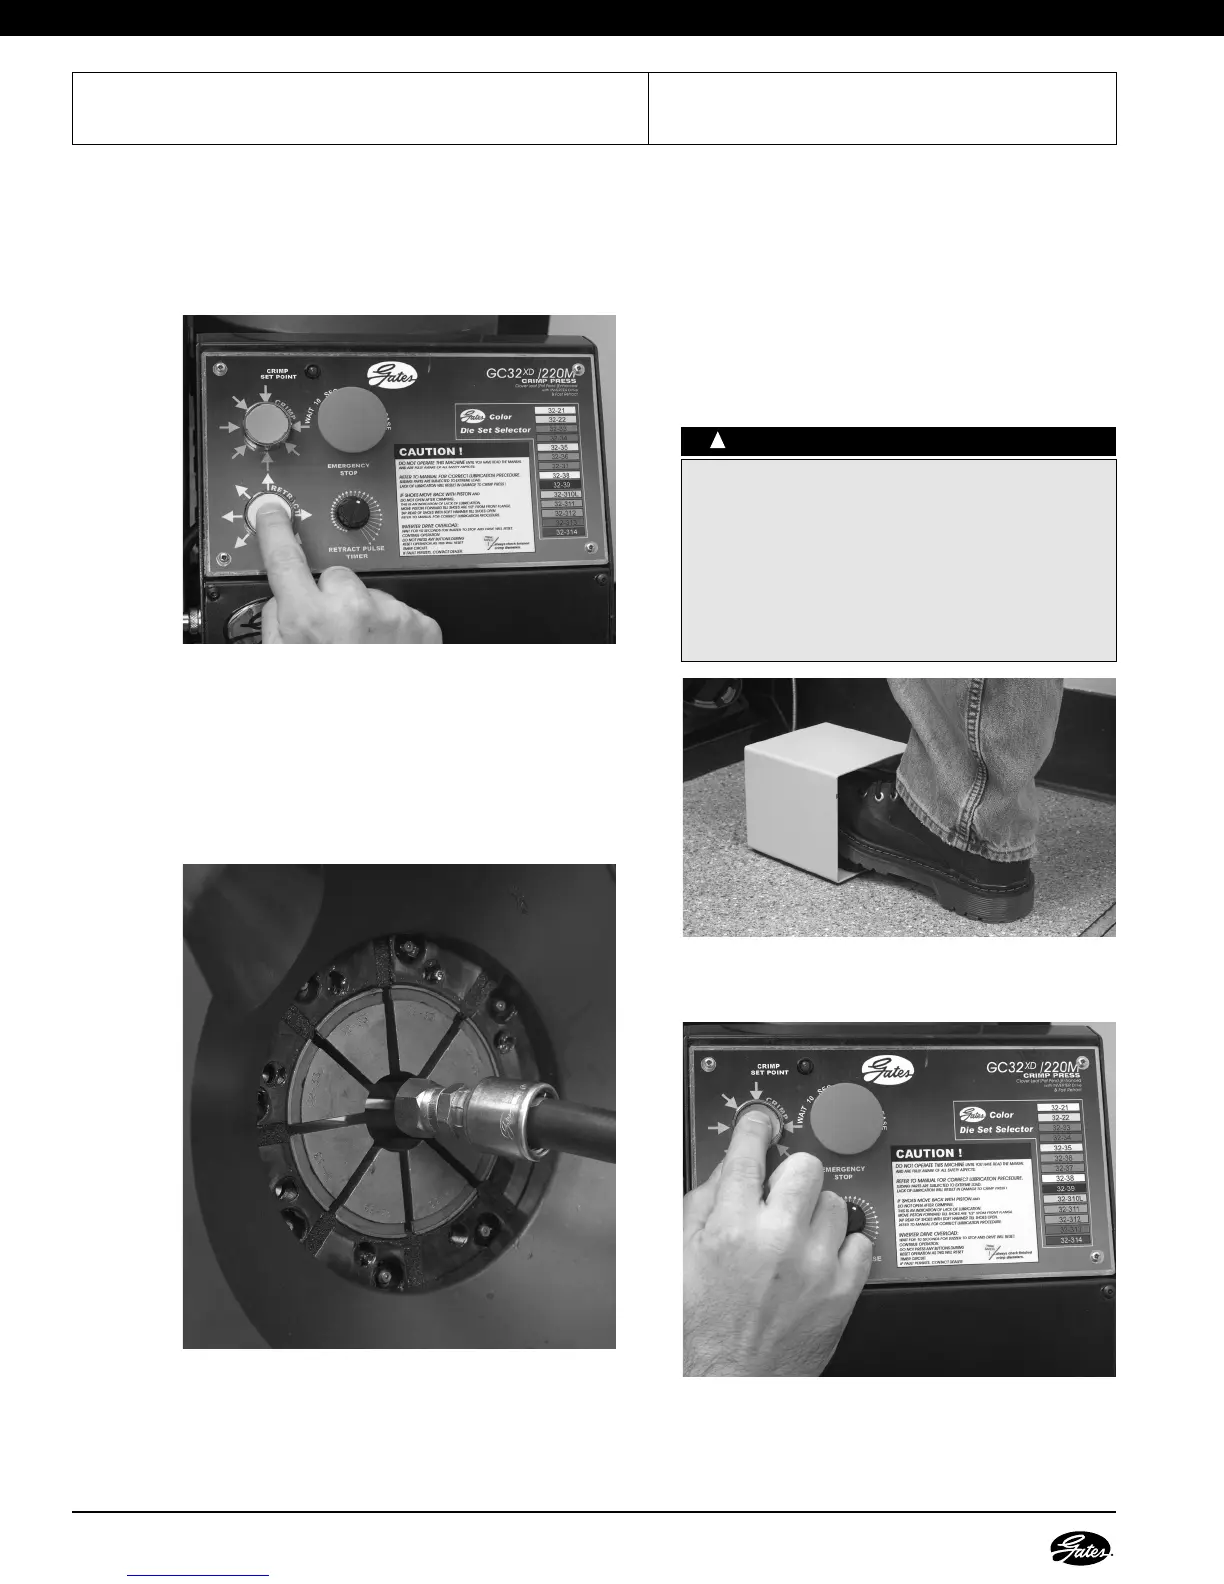
7. BEGIN THE CRIMP.
NOTE: CRIMP button and foot pedal operate on a
"dead man" control while in crimp mode. It only
operates as long as you depress the CRIMP button
or hold foot pedal down. It stops immediately when
switch is released. If using only the foot pedal, when
crimp setting is reached, crimper will momentarily
pause and automatically retract to the RETRACT
position whether the foot pedal is depressed or not.
•
Press and hold top blue CRIMP button or depress
foot pedal.
WWAARRNNIINNGG
::
!
To Prevent Serious Injury:
• Keep away from all moving parts! If bodily contact
should occur with a moving part, immediately
release CRIMP button, foot pedal or emergency stop.
• Do not operate crimper with hand, fingers, or any
body part in crimper mouth.
• Keep additional personnel away from crimper while
operating.