OPERATING INSTRUCTIONS
11
Gates Corporation
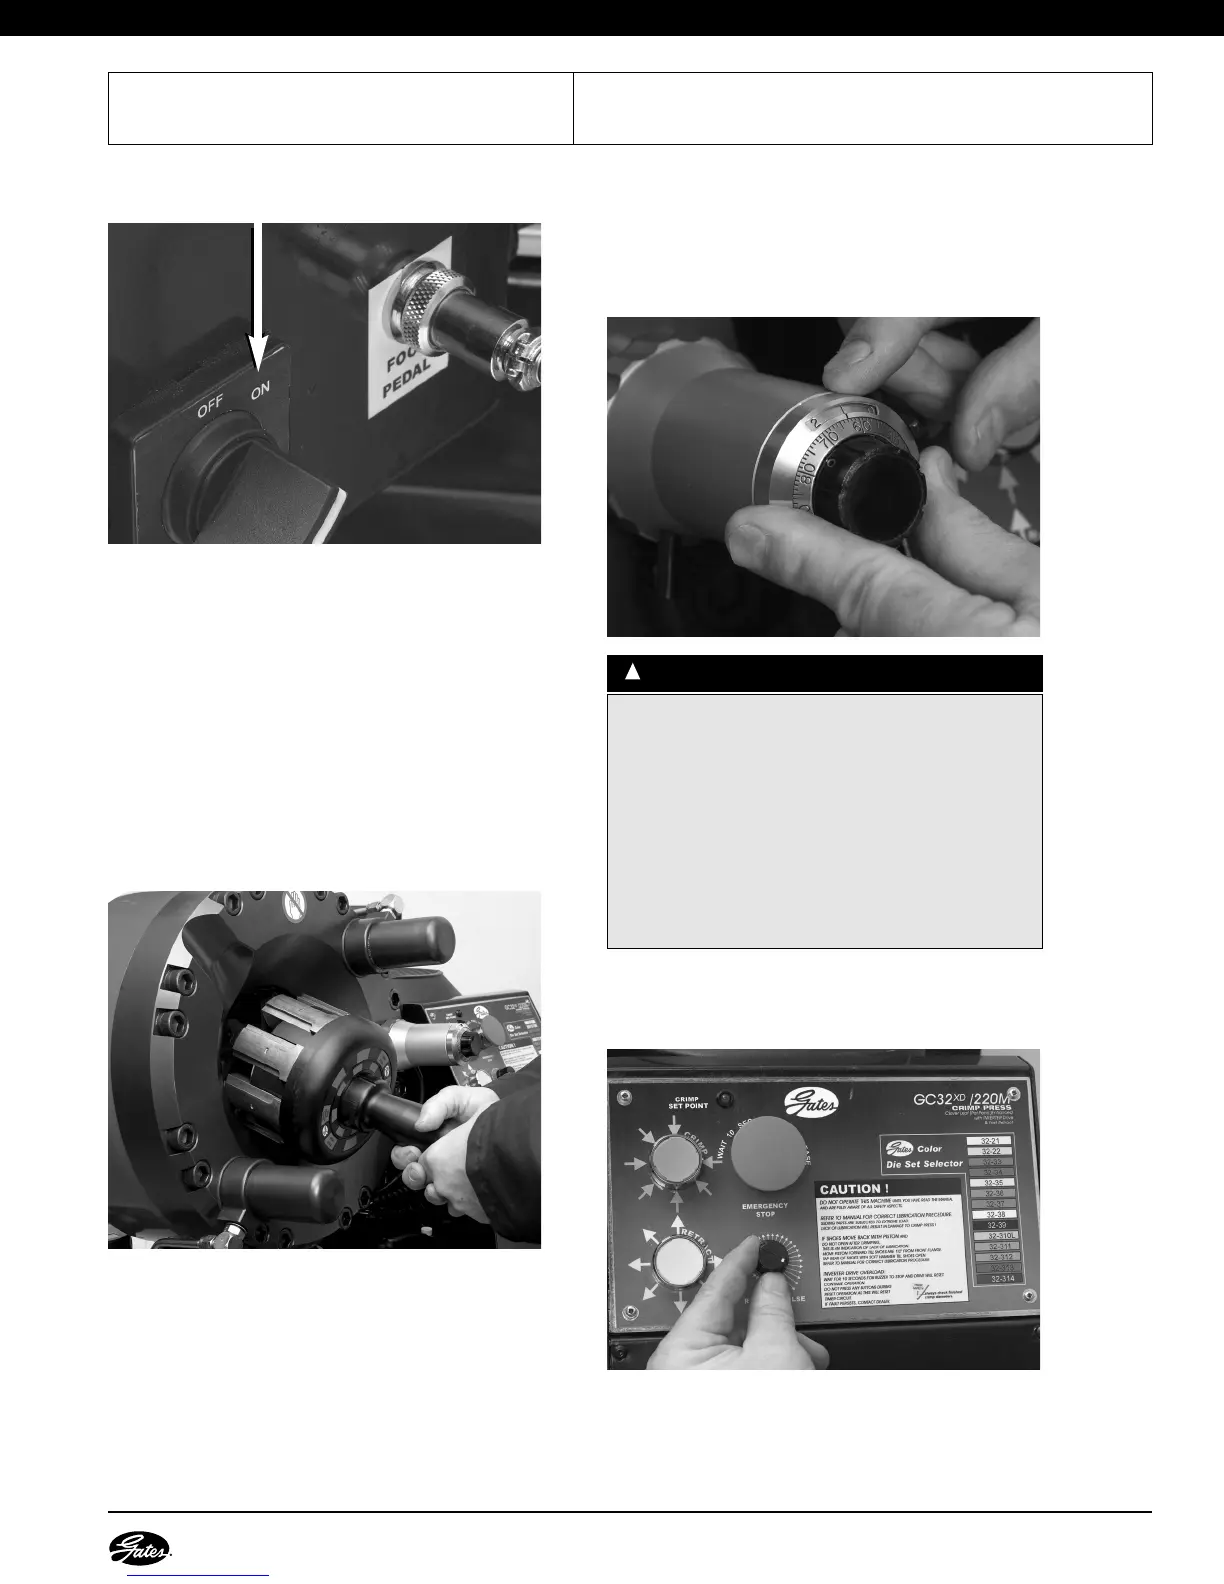
1.TURN POWER SWITCH ON.
2.SELECT CORRECT DIE SET.
Using Gates Crimp Data Manual, select correct die
set for the hose and coupling being crimped.
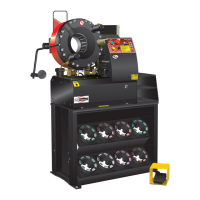
3.LOAD DIE SET.
•
Using the Gates Quick Change Tool (QCT),
select die.
• Align die finger dovetails with die shoe
receptacles in crimper head.
•
Press the QCT in until it bottoms out on the die
shoe surface. The die is then set. (Red aligns
with black on decal.)
• Release the QCT by twisting to the left, or
counterclockwise, until die fingers are disengaged.
(Red aligns with red on decal.)
• Withdraw the QCT.
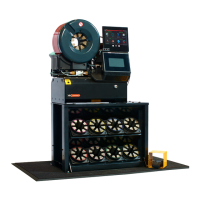
4.SELECT CORRECT SETTING.
•
Reference the GC32-XD crimp data manual.
•
Select the approximate dial vernier setting for the
specific hose/coupling combination.
• Dial this setting into the dial vernier.
5. SET RETRACT PULSE TIMER DIAL.
The RETRACT PULSE TIMER dial can be adjusted to
control the final die shoe position after crimping.
• Place an uncrimped coupling in front of the
crimper mouth.
• Adjust the RETRACT PULSE TIMER knob counter
clockwise for a smaller retract position (or a smaller
CCAAUUTTIIOONN
::
!
Improperly made assemblies could result in blowing
the hose out of the fittings at high pressure, risk of fire
and/or serious injury or death.
• Crimp MUST MEET specified crimp diameter. All
settings are approximate!
• Machine tolerances exist for each crimper, die set
and supporting piece of equipment, which will
affect your actual crimp setting.
• ALWAYS check the crimp diameter to ensure that it is
within published limits.