39
Replacing the LED indicator panel
www.gateway.com
Replacing the LED indicator panel
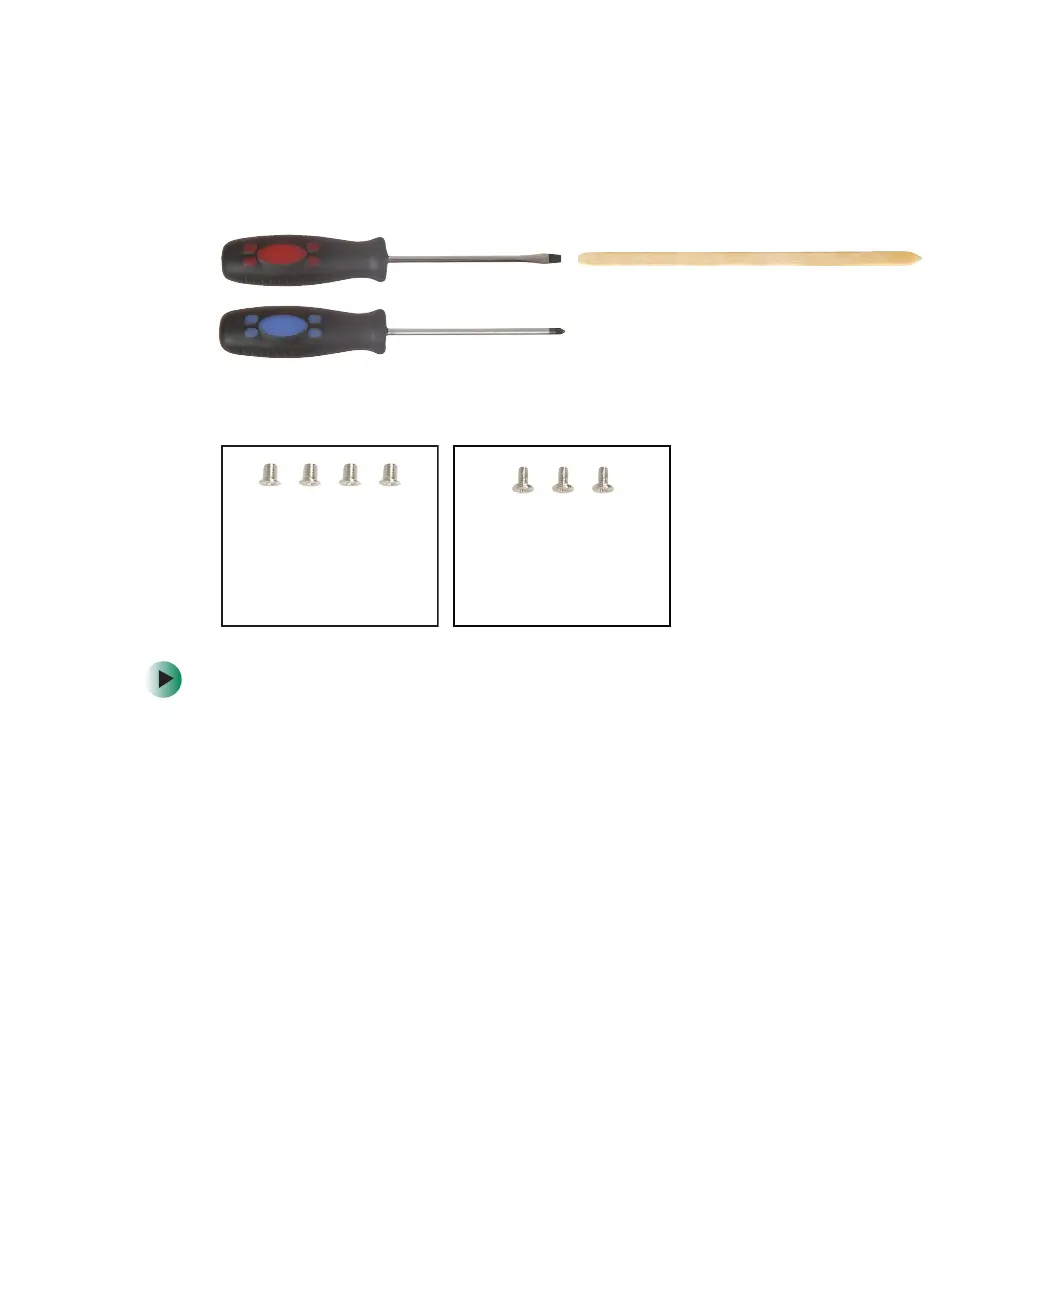
Tools you need to complete this task:
Screws removed during this task:
To replace the LED indicator panel:
1 Disconnect the AC adapter and modem and network cables and prepare
the notebook by following the instructions in “Preparing the notebook”
on page 6.
2 Disconnect the notebook from the optional port replicator by following
the instructions in “Disconnecting from the port replicator” on page 7.
3 Turn the notebook over so the bottom is facing up.
4 Remove the main and optional secondary batteries by following the
instructions in “Removing the batteries” on page 8.
5 Turn the notebook over so the top is facing up.
6 Remove the keyboard cover by following the instructions in “Replacing
the keyboard cover” on page 26.
7 Remove the keyboard by following the instructions in “Replacing the
keyboard” on page 29.
Flat-blade driver Scribe or non-marring tool- OR -
Phillips #0 screwdriver
4 chrome 2.5 × 2.5 mm
(keyboard)
3 chrome 2.5 × 4 mm
(LED indicator panel)
 Loading...