22 The Gateway 2000 Solo Multimedia Notebook
Memory
The system already has a minimum of 8MB of RAM on board. This memory capacity
can be upgraded by installing memory modules in the unit’s expandable memory
sockets, located on the underside of the unit. These sockets will accept 4, 8, or
16MB modules, but remember: If you upgrade the memory, the same type and
size module must be used in EACH socket! For instance, if you wish to install a
4MB module in one of the sockets, you MUST install an identical module in the
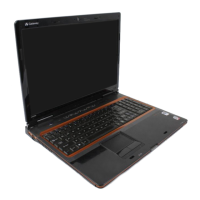
other socket. Memory modules are installed in the memory sockets as shown below:
Step 1:Step 1:
Step 1:Step 1:
Step 1:
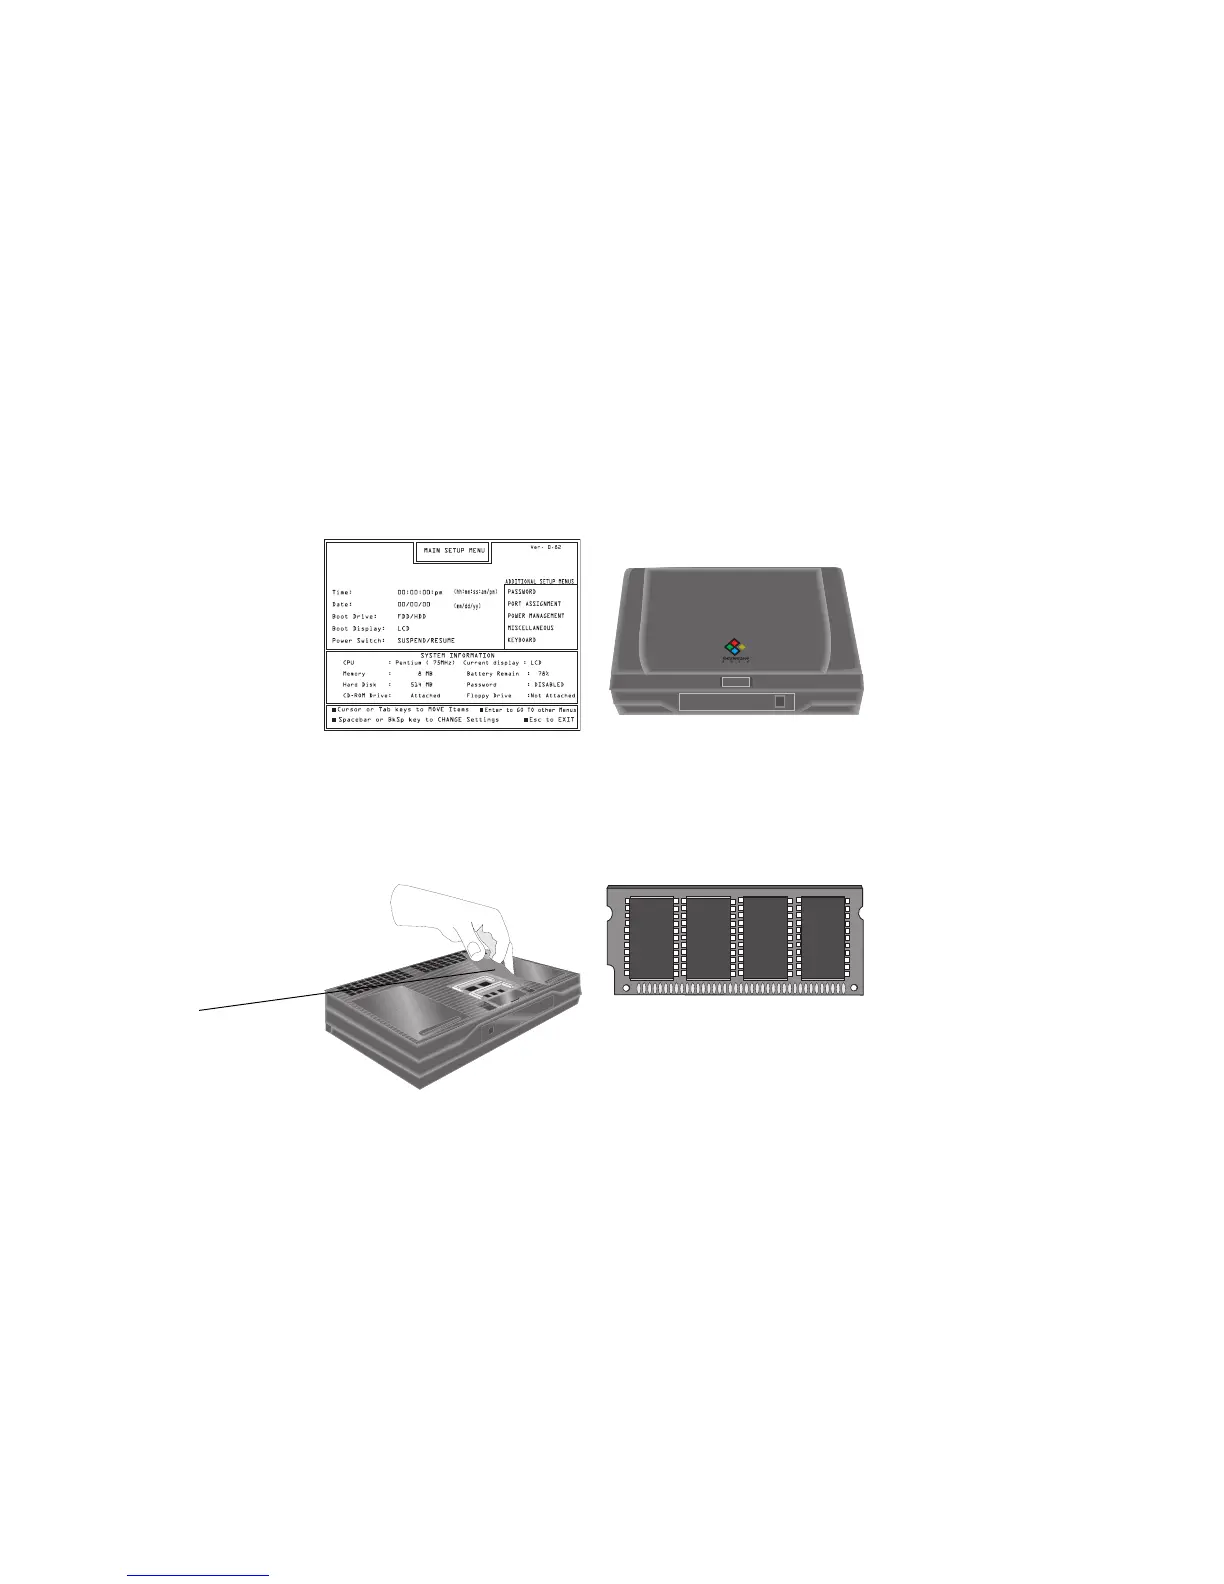
Enter the Main Setup Menu ,
set the power switch to ON/
OFF, and exit saving changes.
(See page 25 and 26.)
Step 2:Step 2:
Step 2:Step 2:
Step 2:
Press the Power button to
turn the unit off, close the lid,
disconnect the AC power, and
remove the battery.
Step 3:Step 3:
Step 3:Step 3:
Step 3:
Turn the unit over and lift away
the expansion memory access
panel.
Step 4:Step 4:
Step 4:Step 4:
Step 4:
Insert two memory modules,
one into each socket. They
must be identical. Close the
unit. (Feel free to re-enter the
Main Setup Menu and change
the power switch back.)
Memory accessMemory access
Memory accessMemory access
Memory access
panel:panel:
panel:panel:
panel: