3-6 ApexPro™ 2001989-351A
Installation and configuration
222A
For this cable, use stripper 3CSK-GN from Cooper/Xcelite. The stripper requires 2
blades.
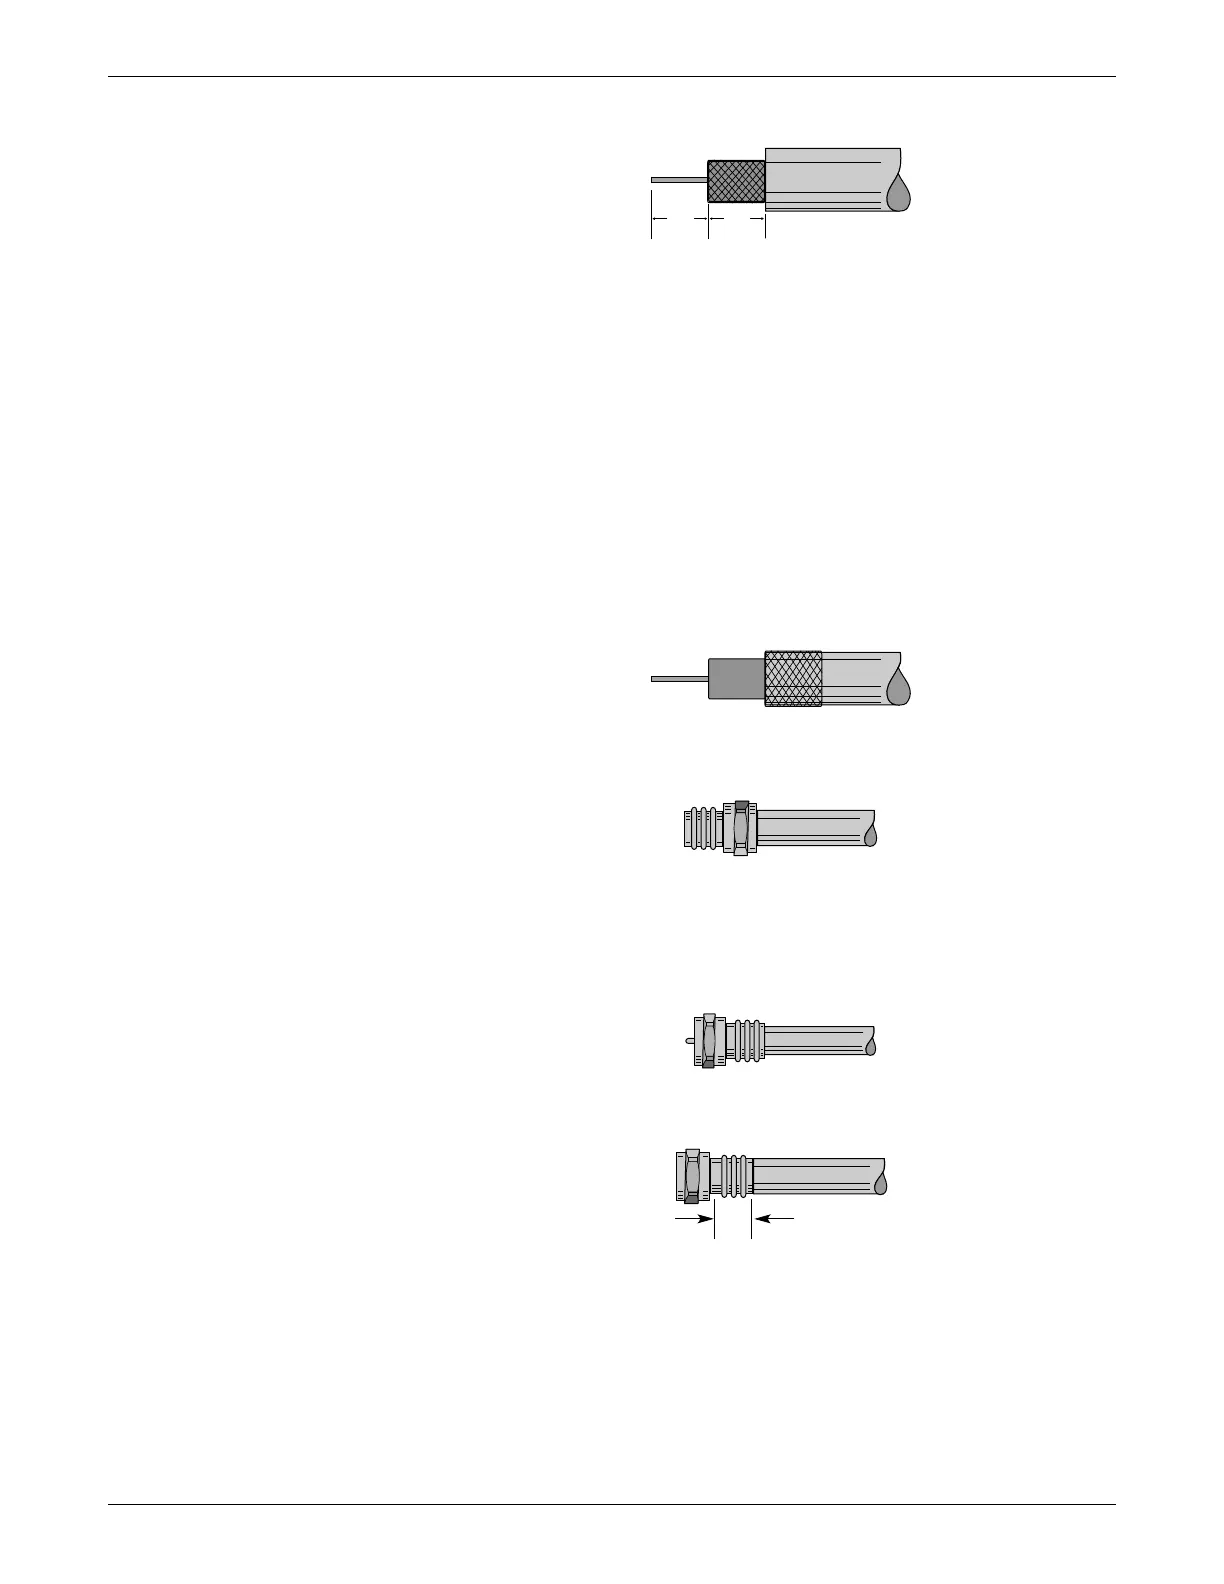
1. To start with a squarely-cut cable end, open the stripper and place the cable so
that 1/4 – 5/16 inch of cable extends past the first blade. Then close and latch the
stripper and rotate around the cable 3 – 4 times.
2. Open the stripper and adjust stripping blades until the correct dimensions are
achieved as shown in the figure above. Then strip the cabling.
a. Expose the center conductor 1/4 inch. Do not score the conductor.
b. Expose the braid another 1/4 inch. Do not score the braid.
c. Remove and discard excess dielectric, foil and braiding.
3. Fold the braid back over the jacket.
218A
4. Place the connector, reversed as shown below, over the cable end until it bottoms
against the braid.
219A
5. Remove the connector. Reverse it once more. Position the connector over the
cable end as shown below. Then push and rotate the connector until it bottoms.
The connector is properly positioned when the cable dielectric end is flush with
the connector post end.
223A
6. Crimp the collar once in the area shown below using a 0.360 inch hex crimp tool
224A
7. Wrench-tighten the connector.
RG-11 plenum cable preparation
Required stripping dimensions for RG-11 plenum cabling are shown below.
 Loading...


