– 33 –
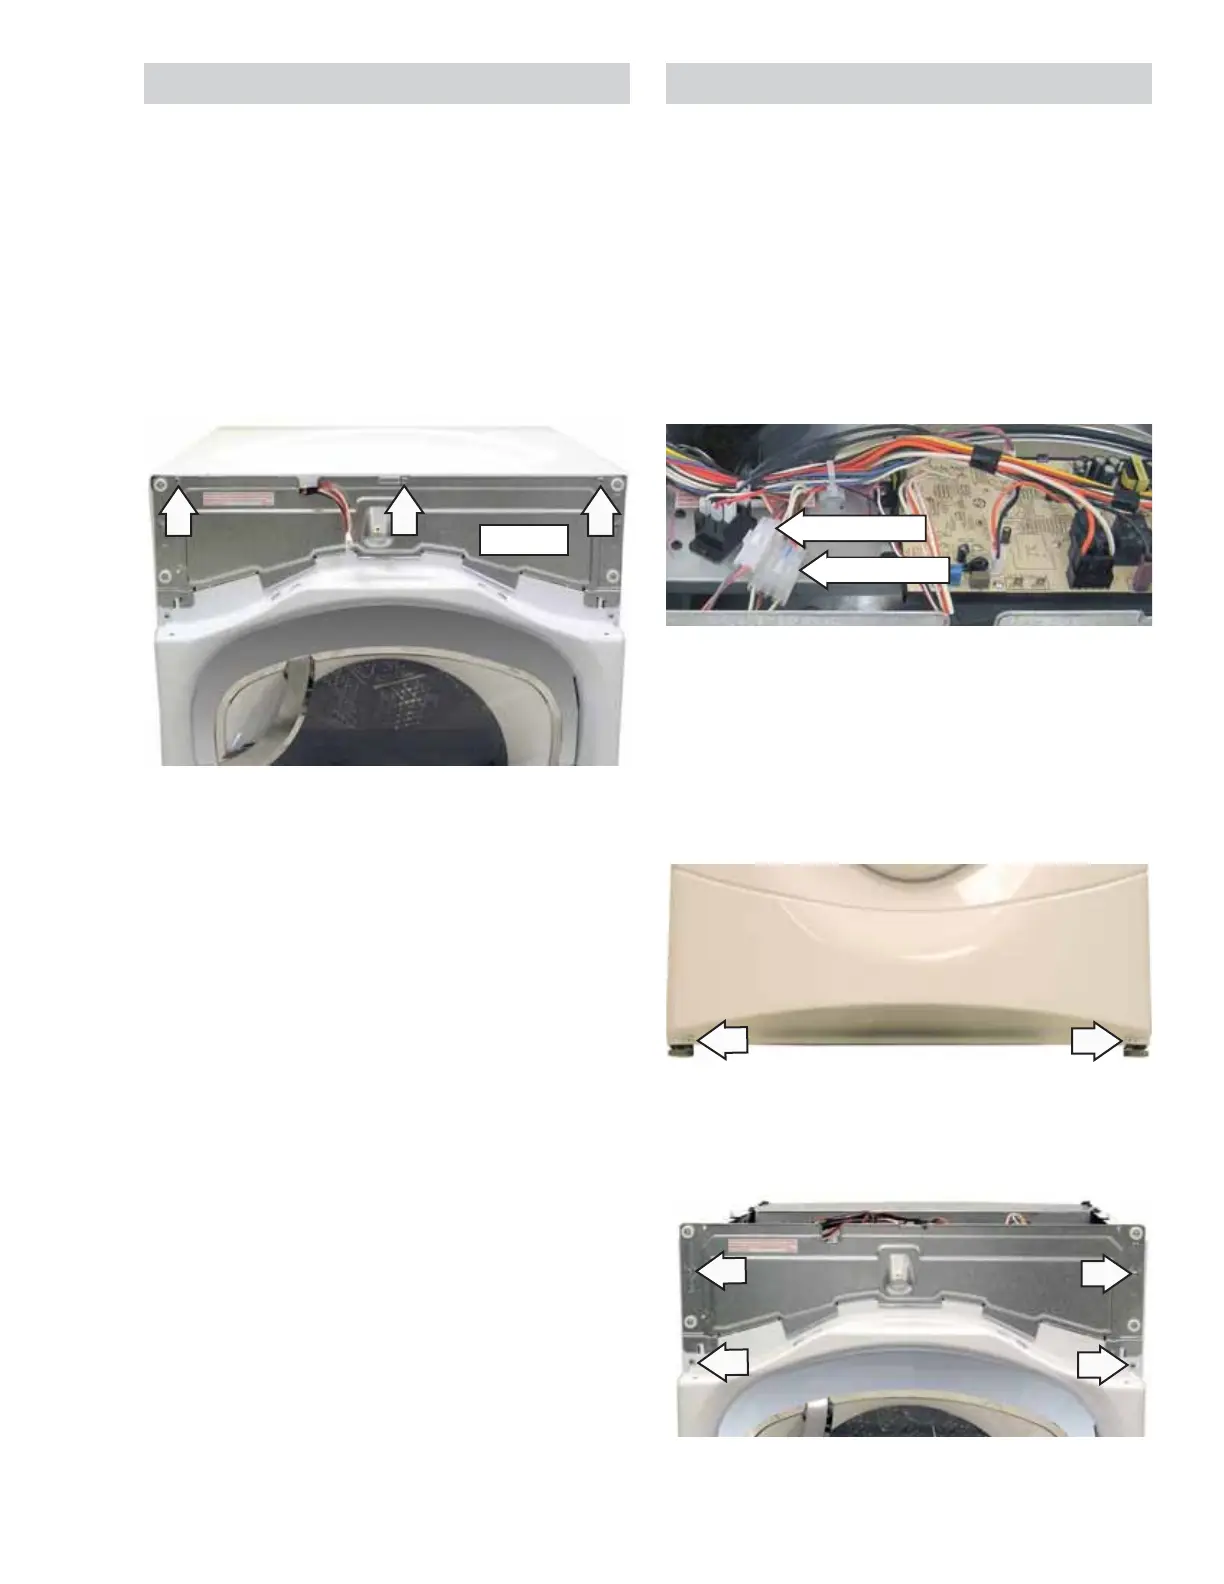
Shield
Front Panel
Removal of the front panel provides access to the
drum and drive belt. The front panel is held in place
by 6 screws.
To remove the front panel:
Remove the control panel. (See 1. Control Panel.)
Remove the top panel. (See 2. Top Panel.)
Disconnect the door switch wire harness and 3.
the sensor rod wire harness to the power board.
6. Grasp the front panel on both sides, tilt it out,
then lift the front panel vertically and remove.
5. Remove 2 Phillips-head screws from the shield
and 2 Phillips-head screws from the top of the
front panel.
Disconnect
Disconnect
Note: In the following step, it may be necessary to
raise the front of the dryer to gain access to the
screws.
4. Loosen, but do not remove, the 2 Phillips-head
screws that attach the bottom of the front panel
to the frame.
Top Panel
Removal of the top panel provides access to the
power board. The top panel is held in place with
3 Phillips-head screws in front and 2 tabs in back.
The control panel must be removed to access the
3 Phillips-head screws. (See Control Panel.) After
removing the 3 screws, the front of the top panel
can be raised approximately 3 inches, then pulled
forward to clear the rear tabs.





 To Next Page