Do you have a question about the GE GXK185KBL and is the answer not in the manual?
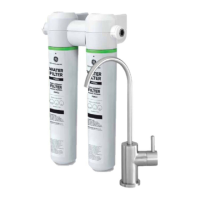
| Model Number | GXK185KBL |
|---|---|
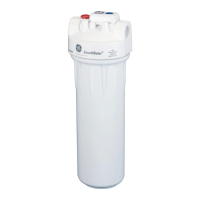
| Filtration Method | Carbon Block |
| Filter Life (Months) | 6 |
| Flow Rate | 0.5 gpm |
| Operating Temperature | 40-100 °F |
| Weight | 3.5 lbs |
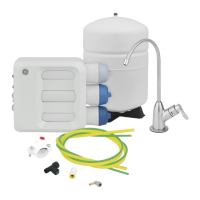
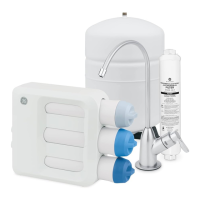
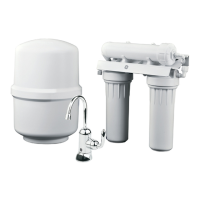
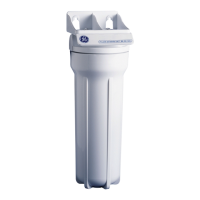
| Type | Undersink |
| Filter Life | 6 months |
Key safety precautions to follow when using the system to prevent fire, explosion, electric shock, or injury.
Detailed steps and diagram for connecting the system to the cold water supply line.
Finalizing the cold water line adapter connection and tubing setup.
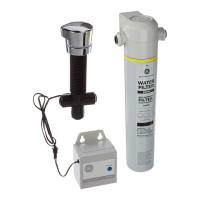
Steps for selecting a mounting location and installing the control valve assembly.
Securing the control valve, installing the decorative knob, and connecting the timer box.
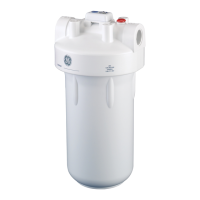
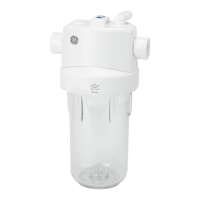
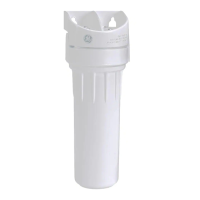
Guidance on selecting a location and mounting the main filtration system unit.
Procedure for removing old and installing new filter canisters to maintain the system.
Steps to flush the system after installation or filter replacement to remove carbon fines.
Explains causes for slow flow, such as filter age or clogging, and suggests replacement.
Advises checking tubing installation for leaks and ensuring proper connection.
Details what the warranty covers, including defects in materials and workmanship.
Lists items not covered by the warranty, such as filter canisters, batteries, and improper installation.