3
Installation Instructions
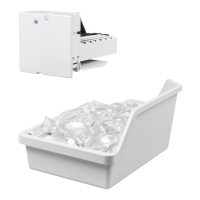
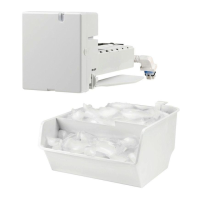
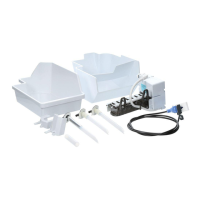
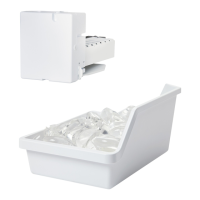
Ice Bucket
8
10
Phillips Head Screws,
for mounting icemaker (2)
(7/8”)
Warranty Label
7
ICEMAKER
WARRANTY VERIFICATION
Date Installed
Dealer
13
Icemaker Fill Cup
(side-mounted)
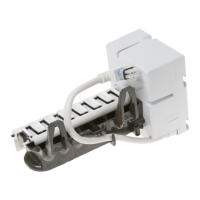
Icemaker
1
Follow these instructions using these
IM4D kit parts:
The IM4D kit is used for multiple models. You will have
parts leftover after completion of the installation.
Are you following the correct instructions?
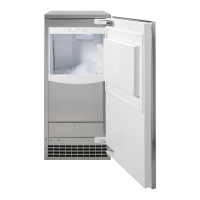
If your refrigerator’s freezer has a cover (A) in
the back left-hand corner as shown here, con-
tinue following these instructions. Otherwise,
follow the instructions
in the Installation
Instructions that come
with the IM4D kit.
BEFORE YOU BEGIN
Read each step thoroughly and remove all
packaging materials before proceeding.
WARNING
To eliminate the
risk of electric shock or injury during
installation, you must first unplug the
refrigerator before proceeding. Failure
to follow these instructions can result in
electrical shock.
Flat blade and Phillips
screwdrivers
1/4” Nutdriver
TOOLS YOU WILL NEED
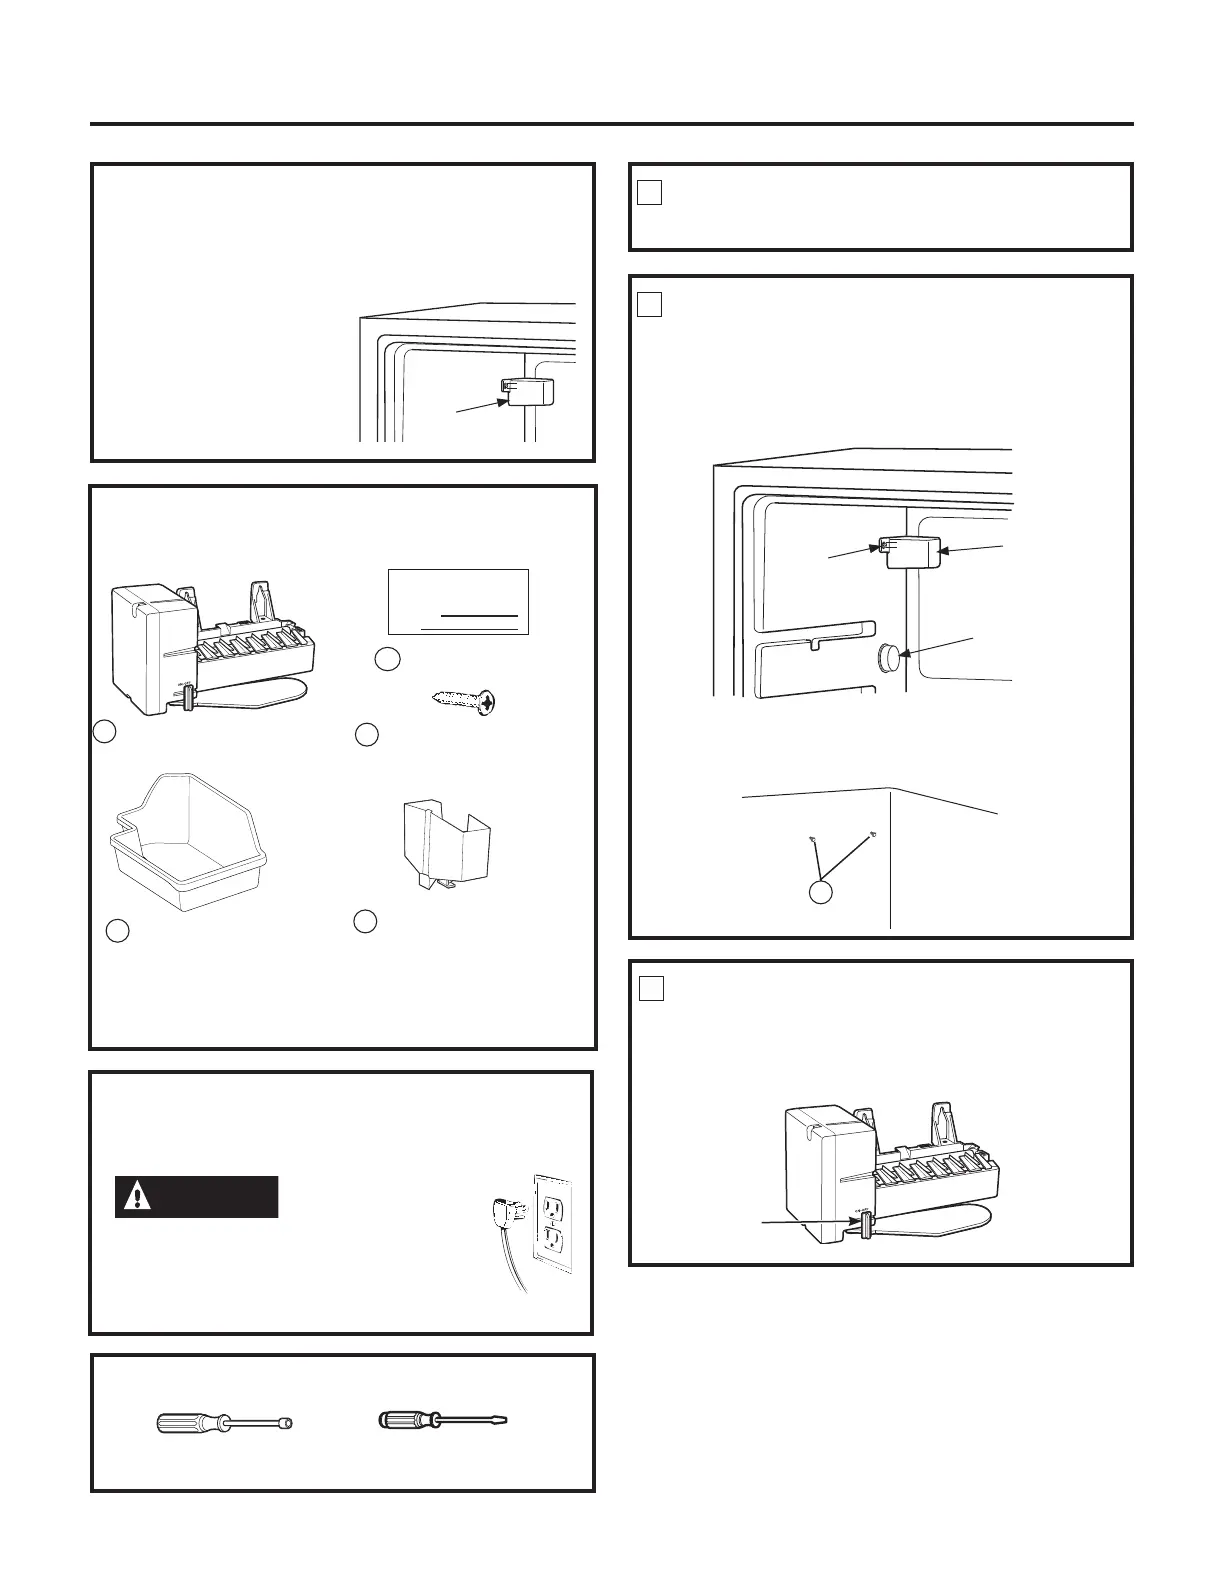
REPOSITION FREEZER SHELF
Make sure the freezer shelf is in the lowest position.
PREPARE FOR INSTALLATION
1. Inside the freezer, remove the screw (A) from the
cover (B) and the cover (B) as shown. Discard the
screw and cover.
2. Remove the icemaker plug (C) with a flat head
screwdriver and discard.
1
2
10
3. Insert the 2 Phillips head screws (10) as shown.
The screws should extend approximately 1/2” (13
mm) out from the freezer wall.
SET POWER SWITCH TO OFF
Set the icemaker power switch to OFF. Leave
the power switch in the OFF position until the
refrigerator is connected to the water supply
to prevent premature operation.
3
Power
Switch
OFF
A
B
C
A