48
CARE AND CLEANING
(continued)
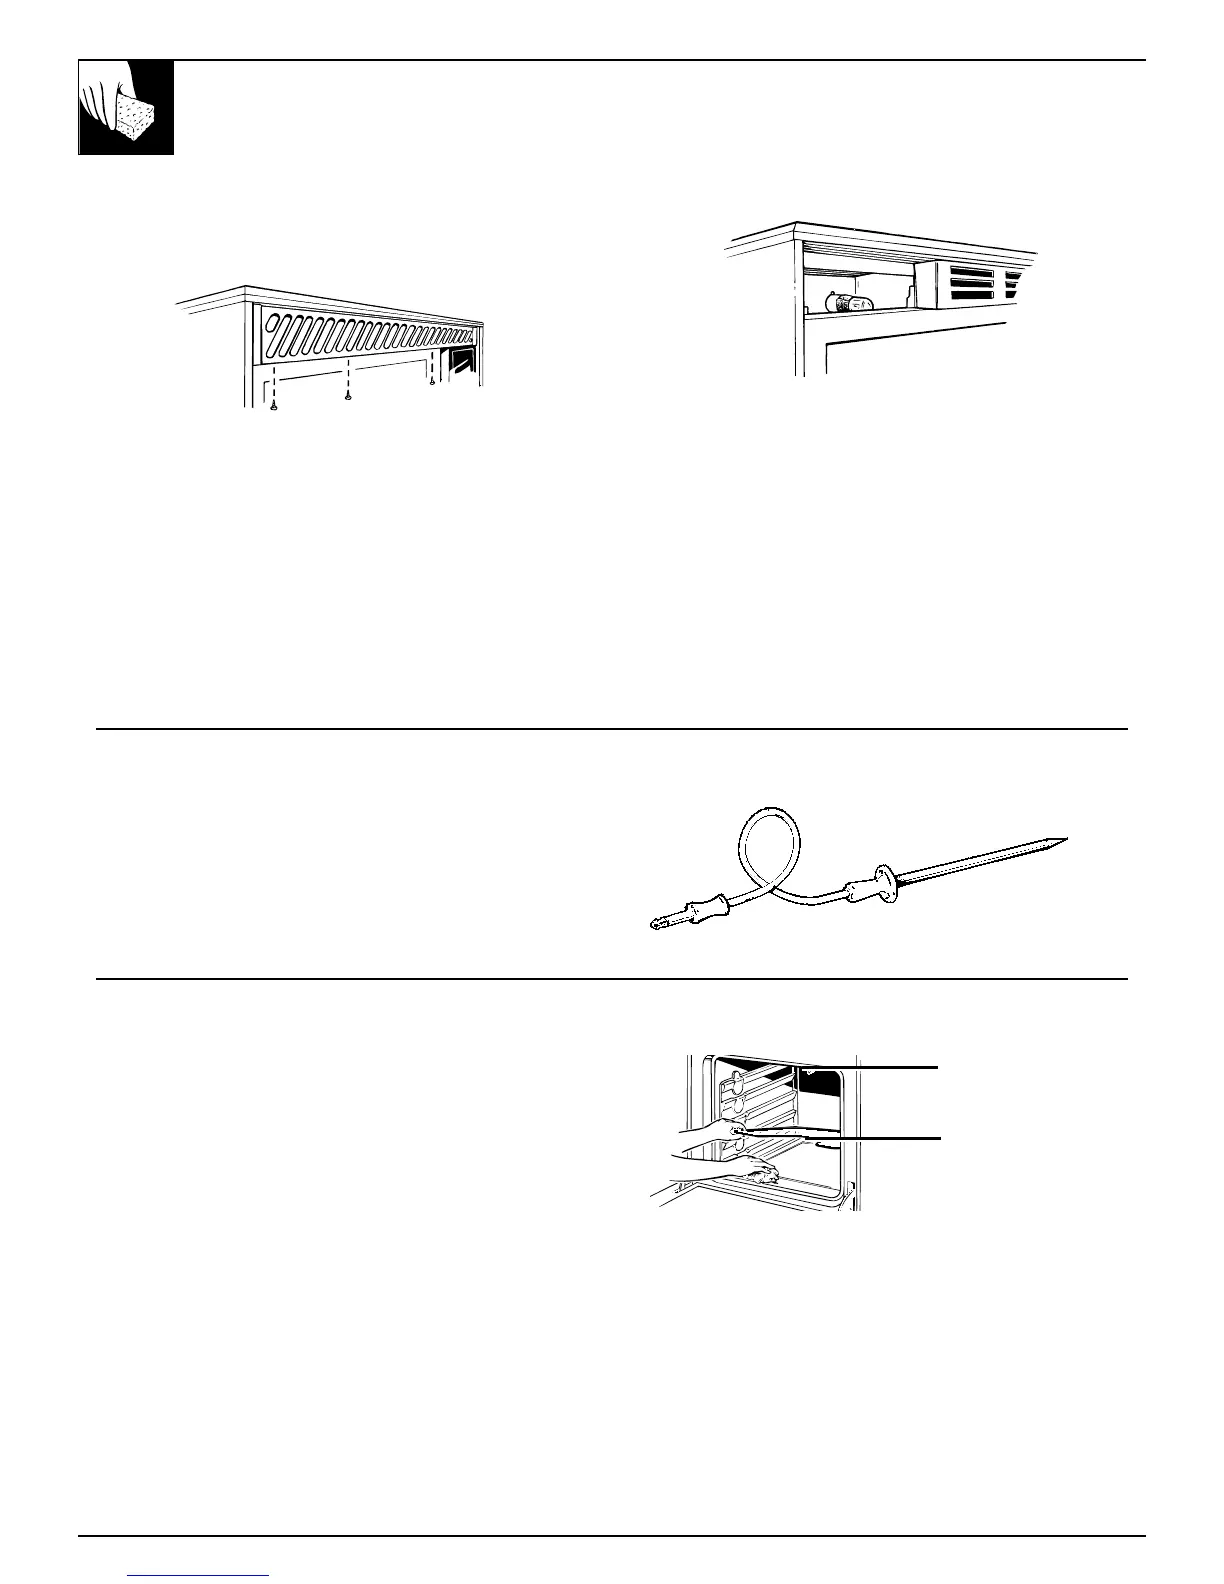
Microwave Oven Light
To replace microwave oven light, first disconnect
power at main fuse or circuit breaker panel.
1. Remove grill above microwave oven. To do so,
open microwave oven door, then remove the 3
screws from the bottom of the grill.
2. Remove the light cover by removing the 3 screws.
3. Remove the tape around the base of the light. The
tape is there to prevent the light from loosening
during shipment and door closings. Removing the
tape might be difficult.
4. Unscrew the bulb carefully. Use a cloth to protect
your hands in case the glass breaks.
NOTE: The light bulb is not standard. Replace it
with a similar 125-volt, 20-watt bulb, which is
available from your GE supplier.
5. Screw replacement bulb into socket and replace
light cover and grill. Reconnect power to
cooking center.
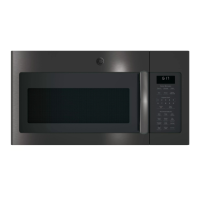
Lower Oven Heating Elements
Do not clean the bake element or the broil element.
Any soil will burn off when the elements are heated.
The bake element can be lifted gently to clean the
oven floor. If spillovers, residue or ash accumulate
around the bake element gently wipe around the
element with warm water.
Broil element
Bake element
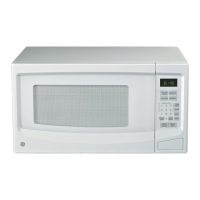
Microwave Oven Probe
The temperature probe may be cleaned with soap and
water or a soap-filled scouring pad. Cool the
temperature probe before cleaning. Scour stubborn
spots with a soap-filled scouring pad, rinse and dry.
Do not immerse the temperature probe in water. Do
not store the temperature probe in the oven.