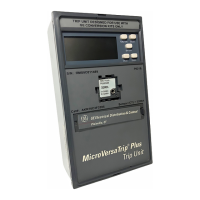
MicroVersaTrip Plus™ and MicroVersaTrip PM™ Trip Units
Chapter 2. Setup Mode
11
TT
TT
rr
rr
ii
ii
pp
pp
UU
UU
nn
nn
ii
ii
tt
tt
OO
OO
pp
pp
ee
ee
rr
rr
aa
aa
tt
tt
ii
ii
nn
nn
gg
gg
MM
MM
oo
oo
dd
dd
ee
ee
KK
KK
ee
ee
yy
yy
SS
SS
yy
yy
mm
mm
bb
bb
oo
oo
ll
ll
SS
SS
ee
ee
tt
tt
uu
uu
pp
pp
MM
MM
ee
ee
tt
tt
ee
ee
rr
rr
ii
ii
nn
nn
gg
gg
SS
SS
tt
tt
aa
aa
tt
tt
uu
uu
ss
ss
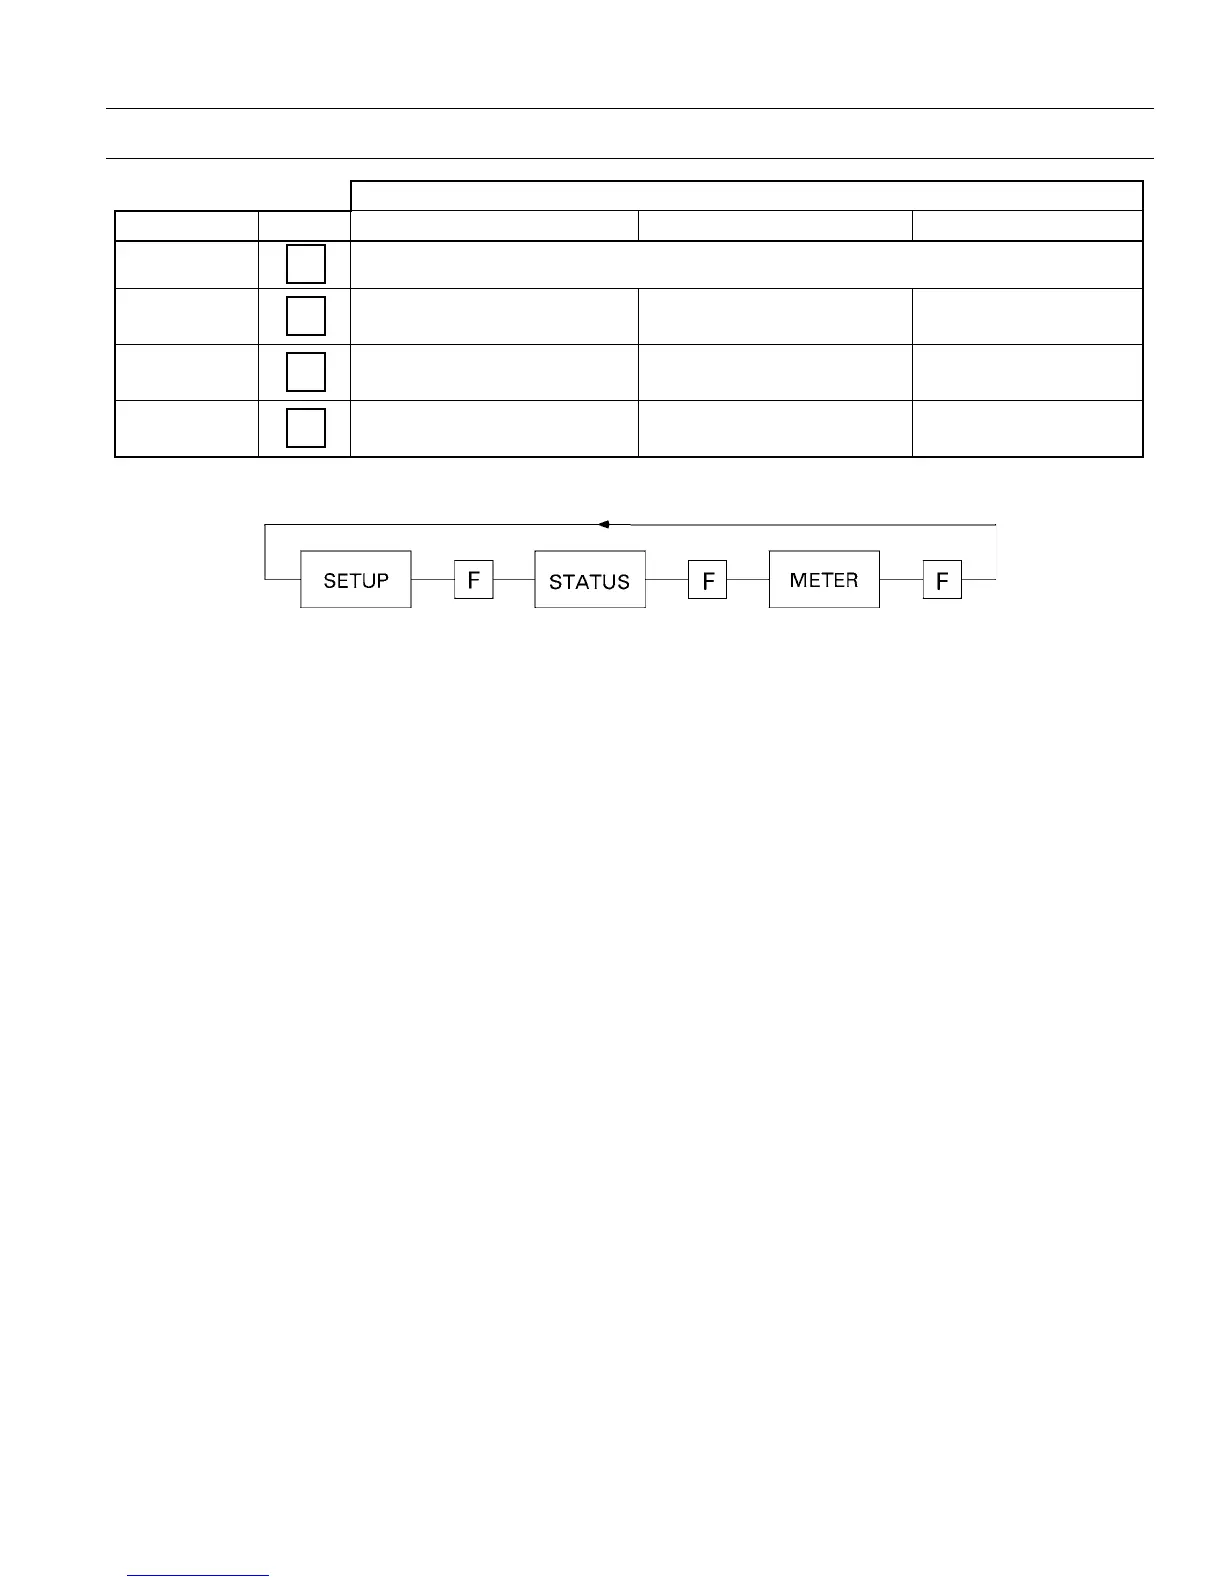
FUNCTION
F
Select one of three modes: Setup, Metering, Status
SELECT
S
Select next programming
display
Select next metering display Select next status display
VALUE
V
Display next set point or time-
delay value
Display next phase value No effect
ENTER
E
Store set point or time-delay
value into memory
No effect No effect
Table 10. Actions of function keys in Trip Unit operating modes.
Figure 8. Operation of FUNCTION key, showing progression among Trip Unit operating modes.
Set points are entered into memory in three steps:
display, select, and activate, as described below:
11
11
..
..
Press the
VALUE key until the desired set point
is displayed flashing on the LCD.
22
22
..
..
Press the
ENTER key to select this set point. The
displayed value stops flashing and the
SETUP
icon flashes on the LCD. This indicates that
the value has been stored in memory but is not
yet active. If a new set point is displayed but not
selected by pressing the
ENTER key (set point
value still flashing), then the displayed set
point is not entered into memory and the
original value is maintained. Multiple set point
changes can be made in this fashion without
changing the active settings. For each of these
changes, the
SETUP icon continues to flash.
33
33
..
..
Press the
FUNCTION key to activate these
settings in the Trip Unit. The
SETUP icon no
longer flashes, which indicates that any
selected settings are also currently active. The
FUNCTION key should always be pressed
following set point changes to ensure that the
active settings match the stored settings.
The set point change steps are summarized as
follows:
• Display set point – Press the
VALUE key until the
desired setting is flashing.
• Select set point – Press the
ENTER key; the setting
stops flashing and the
SETUP icon starts
flashing.
• Activate set points – Press the
FUNCTION key to
activate the settings; the
SETUP icon stops
flashing.
Always confirm settings on the Trip Unit after
making changes by exiting and re-entering Setup
mode and rechecking each changed setting.