– 12 –
PDW8900 Series
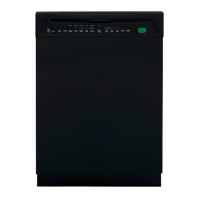
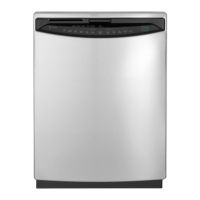
The door panel covers the main control board,
detergent cup, wire harness, Smart Dispense bottle,
Smart Dispense detergent sensor, and Smart
Dispense pump.
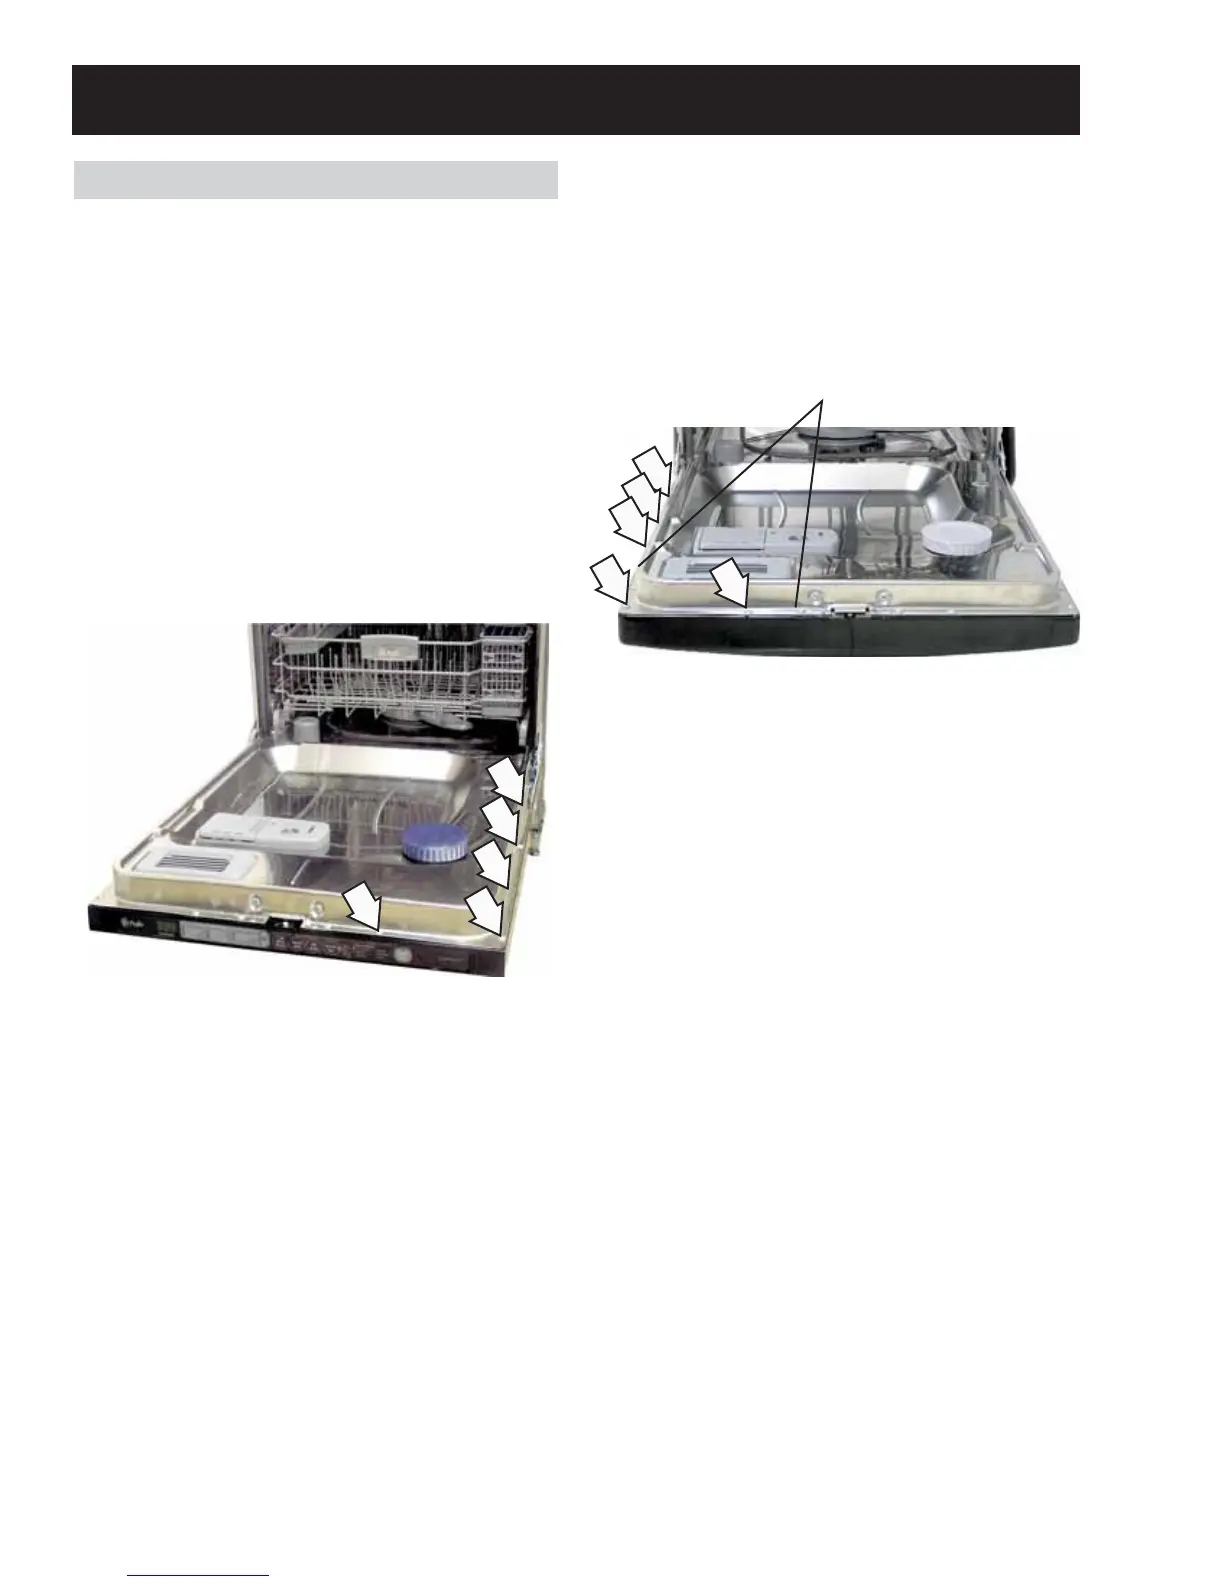
The outer door panel is held in place by 12 screws
(5 Phillips head screws per side and two
1
/
4
-in. hex
head screws at the bottom). The esutcheon keypad
is held on by 4 screws.
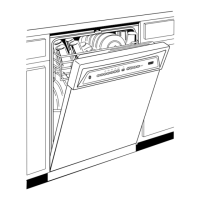
Note: When removing the outer door panel, be
careful not to remove the 4 screws (2 per side)
holding the escutcheon to the door assembly.
Remove these only to gain access to the control
module, active vent, fl apper, and door interlock
switch.
Dishwasher Components
Door Panel
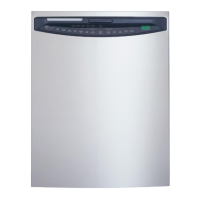
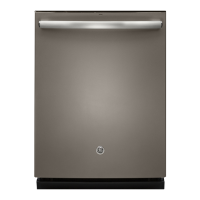
PDW9700 Series and PDW9900 Series
Note: For top control dishwashers, there must be
1
/
2
-inch clearance between the top of the door and
the counter top.
The door panel covers the main control board,
detergent cup, vent fan, motor, louver, wire harness,
Smart Dispense bottle, Smart Dispense detergent
sensor, Smart Dispense pump, and door-interlock
switch.
The outer door panel is held in place by 12 screws
(5 Phillips head screws per side and two
1
/
4
-in. hex
head screws at the bottom).
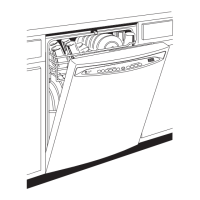
Note: A ribbon cable connects the keypad
membrane (3-digit display on some models) to the
control circuit board. Due to the ribbon length, care
must be taken when removing the door panel to
ensure that the ribbon cable is not damaged.
Escutcheon Keypad
Assembly Screws
 Loading...