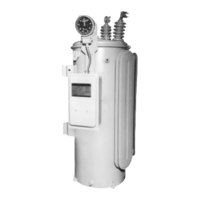
GEH-7299A: Installation, Operation and Maintenance Manual
for Type VR1™ Single-Phase, Step Type Regulators
prolec.energy/prolecge
30
Trouble Cause Remedy
Regulator
runs to
maxiumum
RAISE or
maximum
LOWER limit
Defective relays
If the sensing circuits are functioning properly, check for sticking relays. Replace
relays if they are defective.
Defective
line drop
compensation
circuit
of the sensing circuit. If incorrect, proceed below to 3rd Caurse/Remedy.
If the balance point is correct, turn the resistance and reactance adjustment to 0.
replace the LDC circuit board A2.
Loss of sensing
voltage from
T1 transformer
(Regulator runs
to maximum
raise)
Check C2 and lead voltage per Table 5. If voltage is correct, measure Q1
collector voltage per Table 5. If the voltage is correct, proceed to isolate the
problem to the component board by disconnecting R29 (the voltage level
rheostat) and R28 (the bandwidth rheostat). This is done by disconnecting the
multipin plug located in the upper right-hand corner of the A1 circuit board just
above the relays.
With a multi-purpose meter, check voltage level adjust rheostat R29 for a range
and rheostat terminals to make sure the terminals are not grounded. Replace
the rheostat if it is defective. Check each layer of the potentiometer R28 for
correct ranges and ground test, the sensing circuits locate don the board are
defective. Replace the component board.
Incorrect level
or control
cannot be
balanced.
Defective
sensing circuits
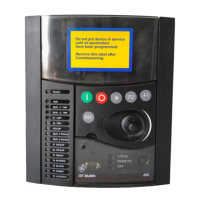
Check the circuits as in Illustration 2.
Check reference voltage which should be approximately 5.9 volts. Refer to Table 5.
Position-
indicator plug
not fastened
securely
If the position-indicator plug is not fastened securely so the shorting pin is not
spreading the CT shorting jack to break the short, a grounding of either side
of the CT will result. Check the position-indicator plug for proper alignment or
interference, and fasten securely.
 Loading...