4
Installation
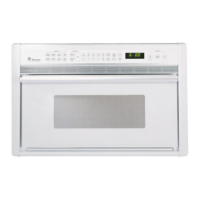
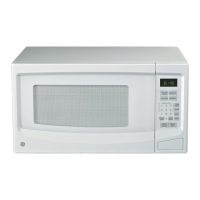
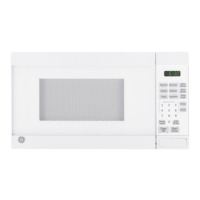
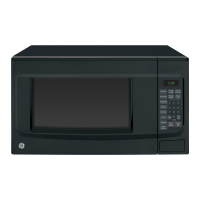
Built-In Microwave/Convection Oven
Installation
Options
These built-in ovens can be inset into the
cabinetry. In this installation the microwave is
recessed and flush with the front surface of
the cabinet.
A shadow box affect can be achieved by
installing a rail at the top and bottom of the
microwave to fill the cutout height. In this
•Lift and hold the oven up to the opening.
•Hold the oven at the 45° angle and plug in
the power cord.
•Carefully, slide the oven into the cabinet.
•Check to be sure that power cord is not
trapped under the bottom or the sides of the
oven.
Tools and Materials required:
•#2, Phillips screwdriver
•Hand held drill motor
•High speed drill bit, 1/8"
diameter
•2 each #8x1" - Round head
wood screws
•3/8", slothead screwdriver
Inset/Recessed Installation
•Cut 4 stopper strips, 13/16" square to frame
the opening, install the strips 13/16" from
the front edge of the opening. Oven overlap
will cover all 4 stopper strips.
Shadow Box Installation
•Cut top and bottom rail to fit the width of
the opening. Cut the height of the rails to fit
the cutout height. Use cleats to secure the
rails to the inside walls of the cabinets.
installation, exposed inside surfaces of the
cabinet should be finished to match the
cabinet surface.
•In both a recessed and shadow box
installation, the floor of the cutout must be
level and even with the bottom edge of the
cutout. Use runners inside the opening to
raise the floor to matching height.
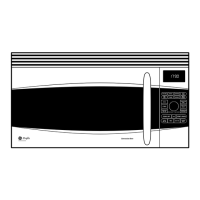
Step
1
Slide the
Microwave
into Cutout
Parts supplied:
•2 mounting screws
•4 extra side trim screws
•2 side trim pieces
18-5/8"
26-3/4"
26-3/4"
1"
13/16" x 13/16" Sq.
Stopper Strip 4 sides
11"
4-1/4"
Top
Rail
Bottom
Rail