5
Design Information
Built-In Microwave/Convection Oven
2
Step
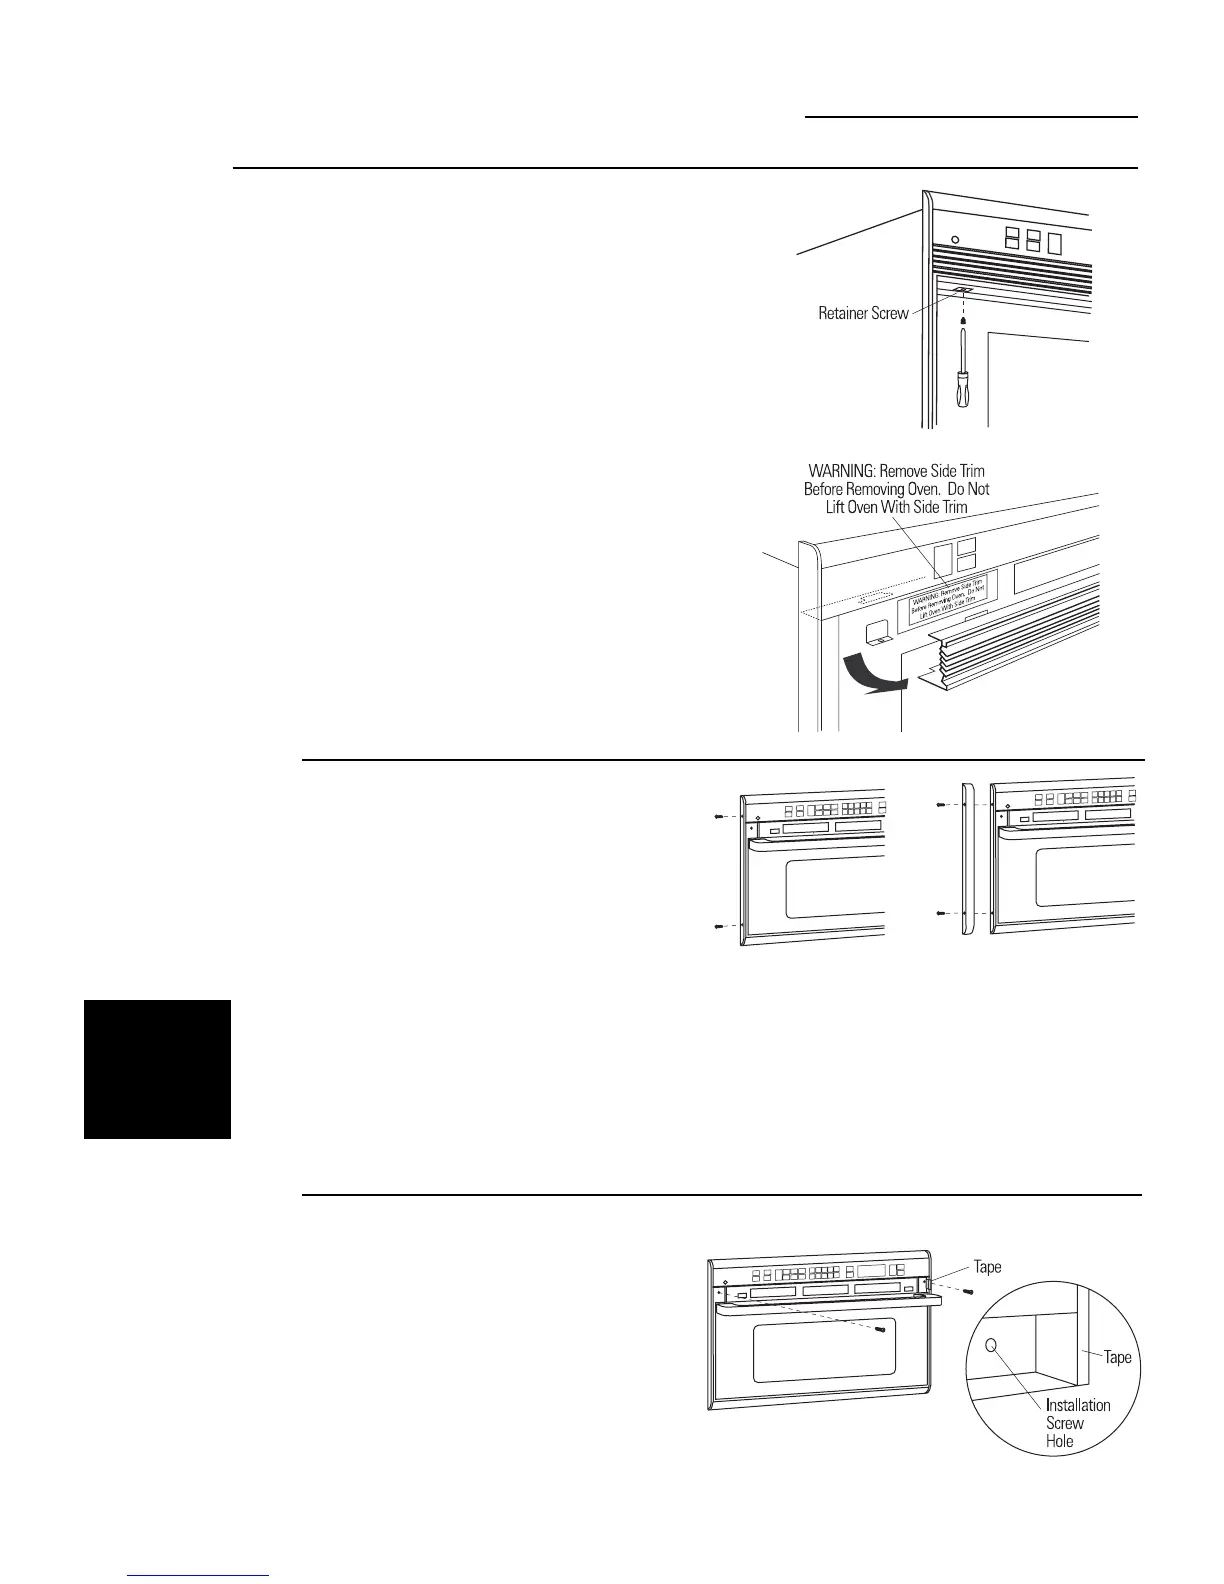
Remove Grille
Retainer Screws
•Open the door.
•Remove the two (2) retainer screws from the
bottom side of the grille (one at each side).
3
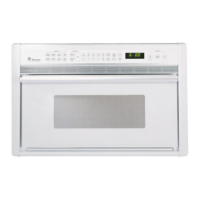
Step
Install Side
Trim for 30"
Appearance
•Roll the grille forward from the bottom.
•Disengage the locating tabs, and remove the
grille from the unit.
CAUTION:
Place tape or
cardboard over trim edges to
prevent damage while drilling
pilot holes.
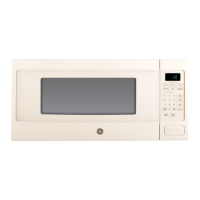
•Using the installation holes as a guide, drill
two (2) pilot holes (1/8" diameter) into the
cabinet.
•Install the two (2) installation screws.
4
Step
Drive
Installation
Screws
If you are installing in a 27" opening, skip this
step and discard the optional side trim.
For a 30" installation appearance:
•Slide one side of the oven out of the opening
about 4" to 5", leaving the opposite side
against the cabinet. The oven should be at
about 30° angle in the opening which will
allow easier access to the side trim screws.
•Remove the two side trim screws.
•Hold a side trim piece against the oven with
screw holes aligned. Reinstall original screws.
Note:
4 extra side trim screws are provided for your convenience.
•Lift the oven by the bottom, pull out and
turn the oven to expose the opposite side.
CAUTION: LIFT THE OVEN FROM THE BOTTOM. DO NOT
LIFT THE OVEN WITH THE SIDE TRIM.
Side trim will not support the weight of the oven.
•Remove the two side trim screws and install
the opposite side trim piece.
•Carefully, lift the oven by the bottom and
slide straight back into the opening. Check
to be sure power cord is not trapped beneath
the oven.
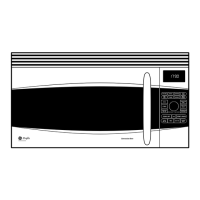
Note:
Grille appearance varies
depending on model.
SKIP THIS STEP
IF YOU ARE NOT
USING THE
OPTIONAL
SIDE TRIM.