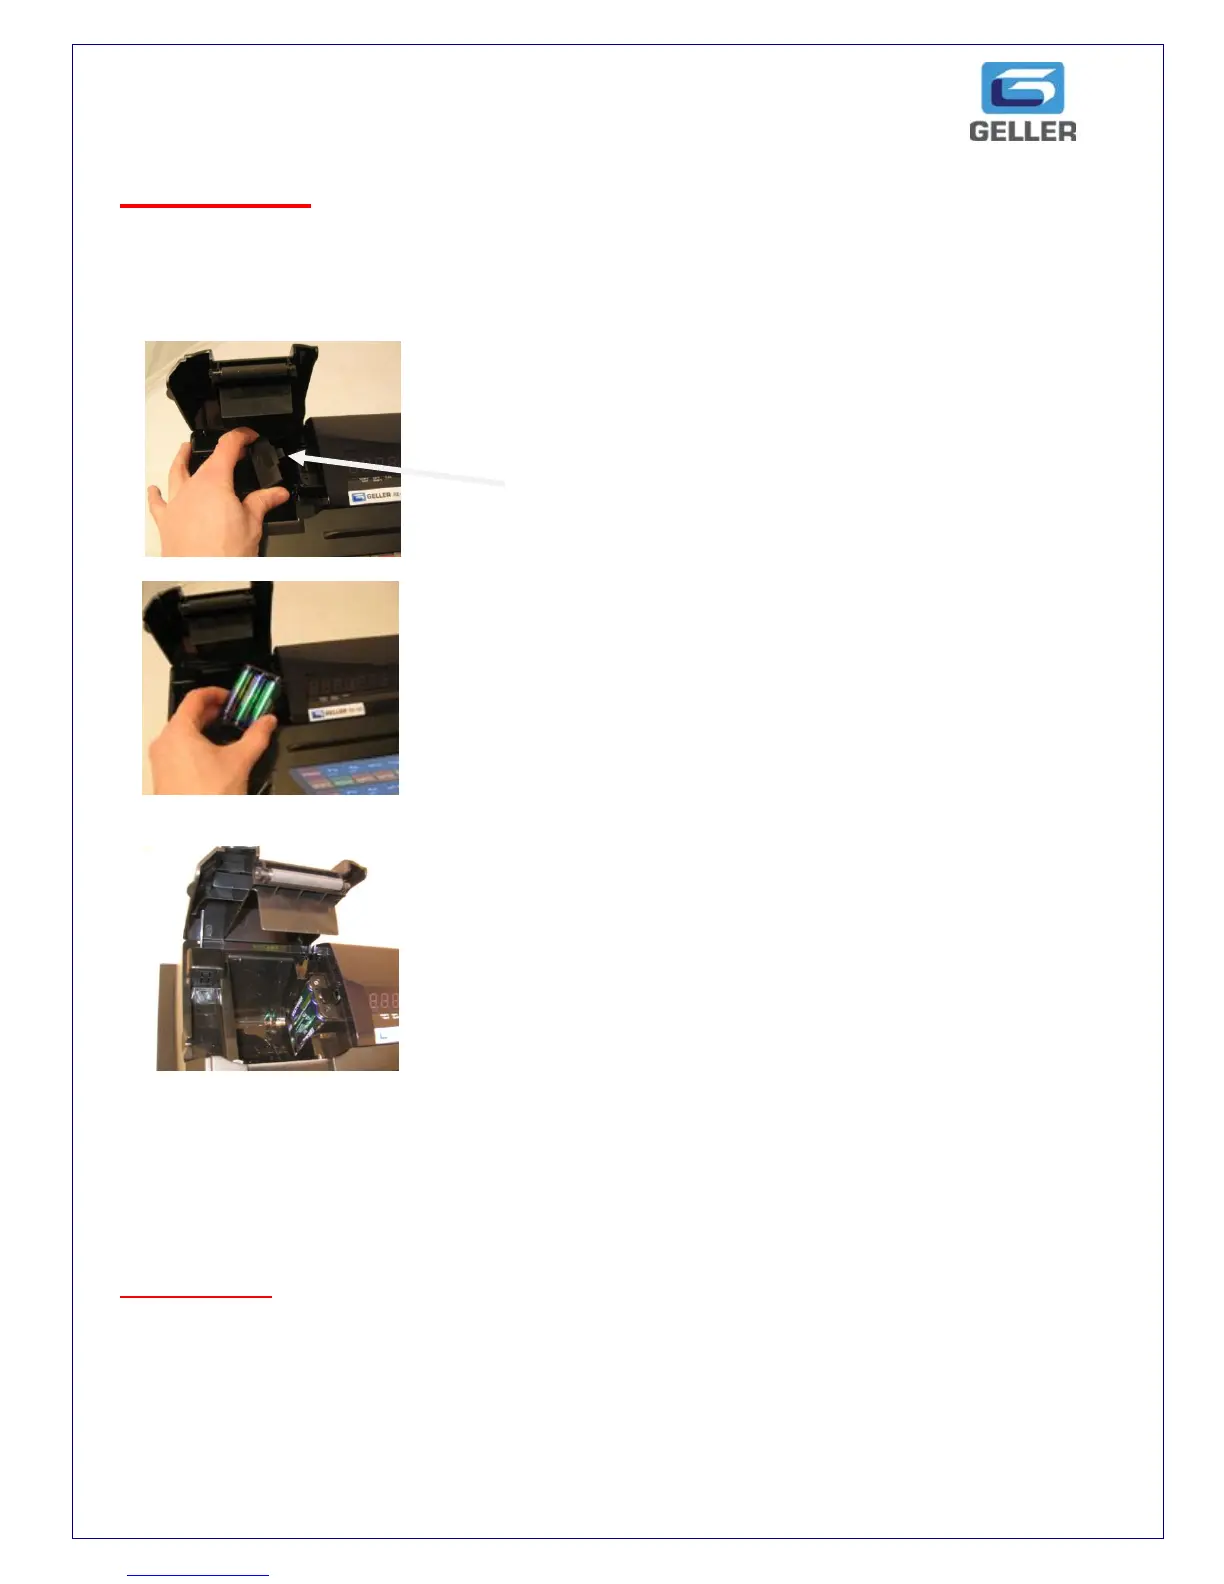
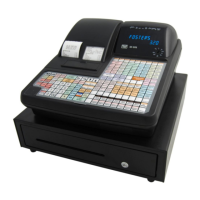
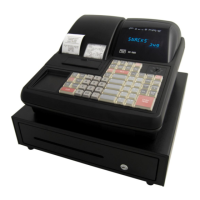
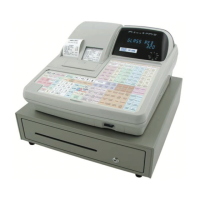
Installing/Changing the Battery
Important – When replacing batteries please ensure that the cash register is
connected to a power socket. This is to ensure that there is no loss of programming and
sales data during the process.
Installing the batteries - The AX-150 uses 3 AA size batteries.
Step 1
Lift up the receipt cover and locate the battery
Compartment
Battery Compartment shown here
Step 2
Remove the Battery cover as shown in the diagram
Insert the new batteries.
***
Step 3 Secure the battery pack and fit the cover
Take care to locate the 2 feet into the slot.
Install the paper roll. For further information on
Fitting the paper roll see page 5
IMPORTANT ensure that the Cash Register is connected to a live power socket at all
times, even when the cash register is not in use. If the Cash Register is disconnected from
the power supply, the back up batteries will protect the memory for 700 hours.
When the batteries on your cash register need replacing it will display the following errors.
“EB” = Battery low, please change your battery and “BATLO” = Battery too low, please
change your batteries immediately.