www.gemu-group.com18 / 29GEMÜ M75
10 Installation in piping
10.4 Installation with union ends
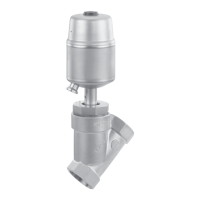
Fig.4: Threaded spigot
NOTICE
▶ The solvent cement is not included in the scope of deliv-
ery.
● Only use suitable solvent cement!
1. Carry out preparations for installation (see chapter "Pre-
parations for installation").
2. Depending on the application, comply with the welding
standards and the specifications of the solvent cement
manufacturer for adhesive bonds.
3. Screw the threaded connections into the piping in accord-
ance with valid standards.
4. Unscrew the union nut from the body of the product.
5. Reinsert the O-ring if necessary.
6. Push the union nut over the piping.
7. Connect the insert with the piping by solvent cementing/
welding.
8. Screw the union nut back onto the body of the product.
9. Connect the other side of the body of the product with the
piping in the same way.
10. Reactivate all safety and protective devices.
10.5 Installation with butt weld spigots
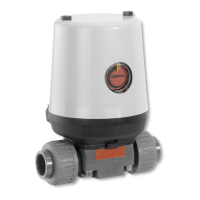
Fig.5: Butt weld spigots
1. Carry out preparations for installation (see chapter "Pre-
paring for installation").
2. Adhere to good welding practices!
3. Remove actuator A (see chapter "Removing the actuator").
4. Weld the body of the product in the piping.
5. Allow butt weld spigots to cool down.
6. Mount actuator A (see chapter "Mounting the actuator").
7. Re-attach or reactivate all safety and protective devices.
8. Flush the system.
10.6 Installation with threaded sockets
Fig.6: Threaded socket
NOTICE
Sealing material
▶ The sealing material is not included in the scope of deliv-
ery.
● Only use appropriate sealing material.
1. Keep thread sealant ready.
2. Carry out preparations for installation (see chapter "Pre-
paring for installation").
3. Screw the threaded connections into the pipe in accord-
ance with valid standards.
4. Screw the body of the product onto the piping using ap-
propriate thread sealant.
5. Re-attach or reactivate all safety and protective devices.
10.7 Installation with solvent cement sockets
NOTICE
▶ The solvent cement is not included in the scope of deliv-
ery.
● Only use suitable solvent cement!
1. Carry out preparations for installation (see chapter "Pre-
parations for installation").
2. Apply solvent cement on the inside of the valve body and
on the outside of the piping as specified by the solvent ce-
ment manufacturer.
3. Connect the body of the product with the piping.
4. Reactivate all safety and protective devices.
10.8 Orientation of the actuator
1. Hold actuator A in place.
2. Unscrew union nut 1.
3. Hold union nut in place and twist actuator clockwise.
4. Hold actuator in place.
5. Tighten union nut.