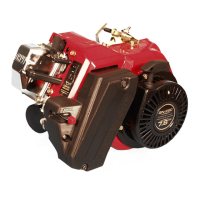
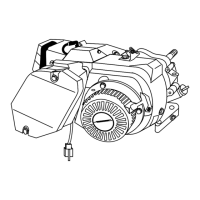
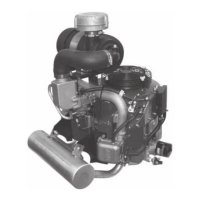
GGeenneerraacc GGNN--557700 EEnnggiinnee
— 7 —
CARBURETOR ADJUSTMENTS
The carburetor of your engine is preset at the factory. The
carburetor should not be tampered with because this will
void the emission control system warranty. If you experience
problems or your engine is used at an altitude in excess of
5,000 feet, contact the nearest authorized dealer regarding
high altitude setting changes.
CHECKING/ADJUSTING VALVE TO
ROCKER ARM CLEARANCE
Every 50 hours of operation, remove the rocker cover and
check the valve to rocker arm clearance.
When adjusting the clearance, the engine should be
at room temperature, and each piston should be at top
dead center (TDC) of its compression stroke (both
valves are closed). The correct clearance is 0.1-0.15 mm
(0.004-0.006 in.). Check and adjust the valve to rocker
arm clearance as follows:
1. Remove the two nuts and seals from the valve covers.
2. Remove the valve covers and gaskets.
Figure 7 – Valve Cover
3. With the spark plugs removed, rotate the crankshaft until the piston in
the cylinder you are checking is at TDC of its compression stroke (both
valves are closed).
4. Place a caliper end through the spark plug hole and continue turning
the crankshaft until the piston has moved 1/4 inch past TDC.
5. Check the valve clearance with a feeler gage between the valve stem
and rocker arm. (Figure 8).
Figure 8 – Adjusting Valve Lash
6. Adjust the valve so clearance is 0.1-0.15 mm (0.004-0.006 in.) for both
intake and exhaust valves.
7. Tighten each lock nut while holding the adjusting screw. Torque the
lock nut to 7 N-m (60 in.-lbs).
8. Reinstall the valve cover gaskets, valve covers, seals and nuts. Torque
the nuts to 3 N-m (25 in.-lbs).
RETORQUING THE HEAD BOLTS
After the first 50 hours of operation, retorque the head
bolts.
NOTE: Only perform this adjustment after the first 50 hours
of operation. The head bolts will need no further adjustment.
1. Remove the valve covers as described previously on this page.
2. Torque the head bolts in the sequence shown in Figure 9 to 19 N-m
(165 in.-lbs).
Figure 9 – Torquing Head Bolts
3. Reinstall the valve cover gaskets and valve covers as described
previously on this page.