19
English
9. Turntheswitchoff.
10.Afterbladehasstoppedcompletely,removethecutoffpiece.
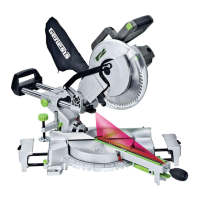
Rip Cutting (FIG 21)
WARNING: Make sure the blade guard
assembly is properly installed to avoid serious
personal injury.
1.RemovetheMiterGaugefromthetable.
2.Placetheripfenceonthedesireddistancefromtheblade.
Remembertoallowforthekerf.
3.Makesurealllooseitemshavebeenremovedfromthe
tableandthatworkpieceisnotcontactwiththeblade
4.Ifworkpieceislargerthan36”long,placeasupportwiththesameheightastablebehindthe
sawforthecutwork.
5.TurnON/OFFswitchtoONposition.
6.Positiontheworkpieceatonthetablewithedgeushagainstripfence.Waituntilblade
reachesfullspeedbeforefeedingtheworkpieceintotheblade.
7.Standslightlytothesideofbladetoreducetheriskofinjurycausedshouldkickbackoccur.
Usingapushstickorpushblock,slowlyfeedtheworkpiecetowardtheblade.
8.Oncetheworkpiecehasmadecontactwiththeblade,usehandclosesttotheripfencetoguide
it.Makesuretheedgeoftheworkpiecekeepsinsolidcontactwiththeripfenceandtable
surface.Ifrippingapiecenarrowerthan4”,useapushsticktomovethepiecethroughthecut.
9.Continuefeedingtheworkpieceintothebladeuntilthecuthasbeencompleted.
10.Oncethecuthasbeencompleted,grasptheworkpiecefromtheleadendandpullitoffthe
tablesurface.
11.Turntheswitchoff.
12.Afterbladehasstoppedcompletely,removethecutoffpiece.
WARNING:To avoid serious personal
injury, never push a small piece of wood into
the blade with your hand. Always use a push
stick or push block.
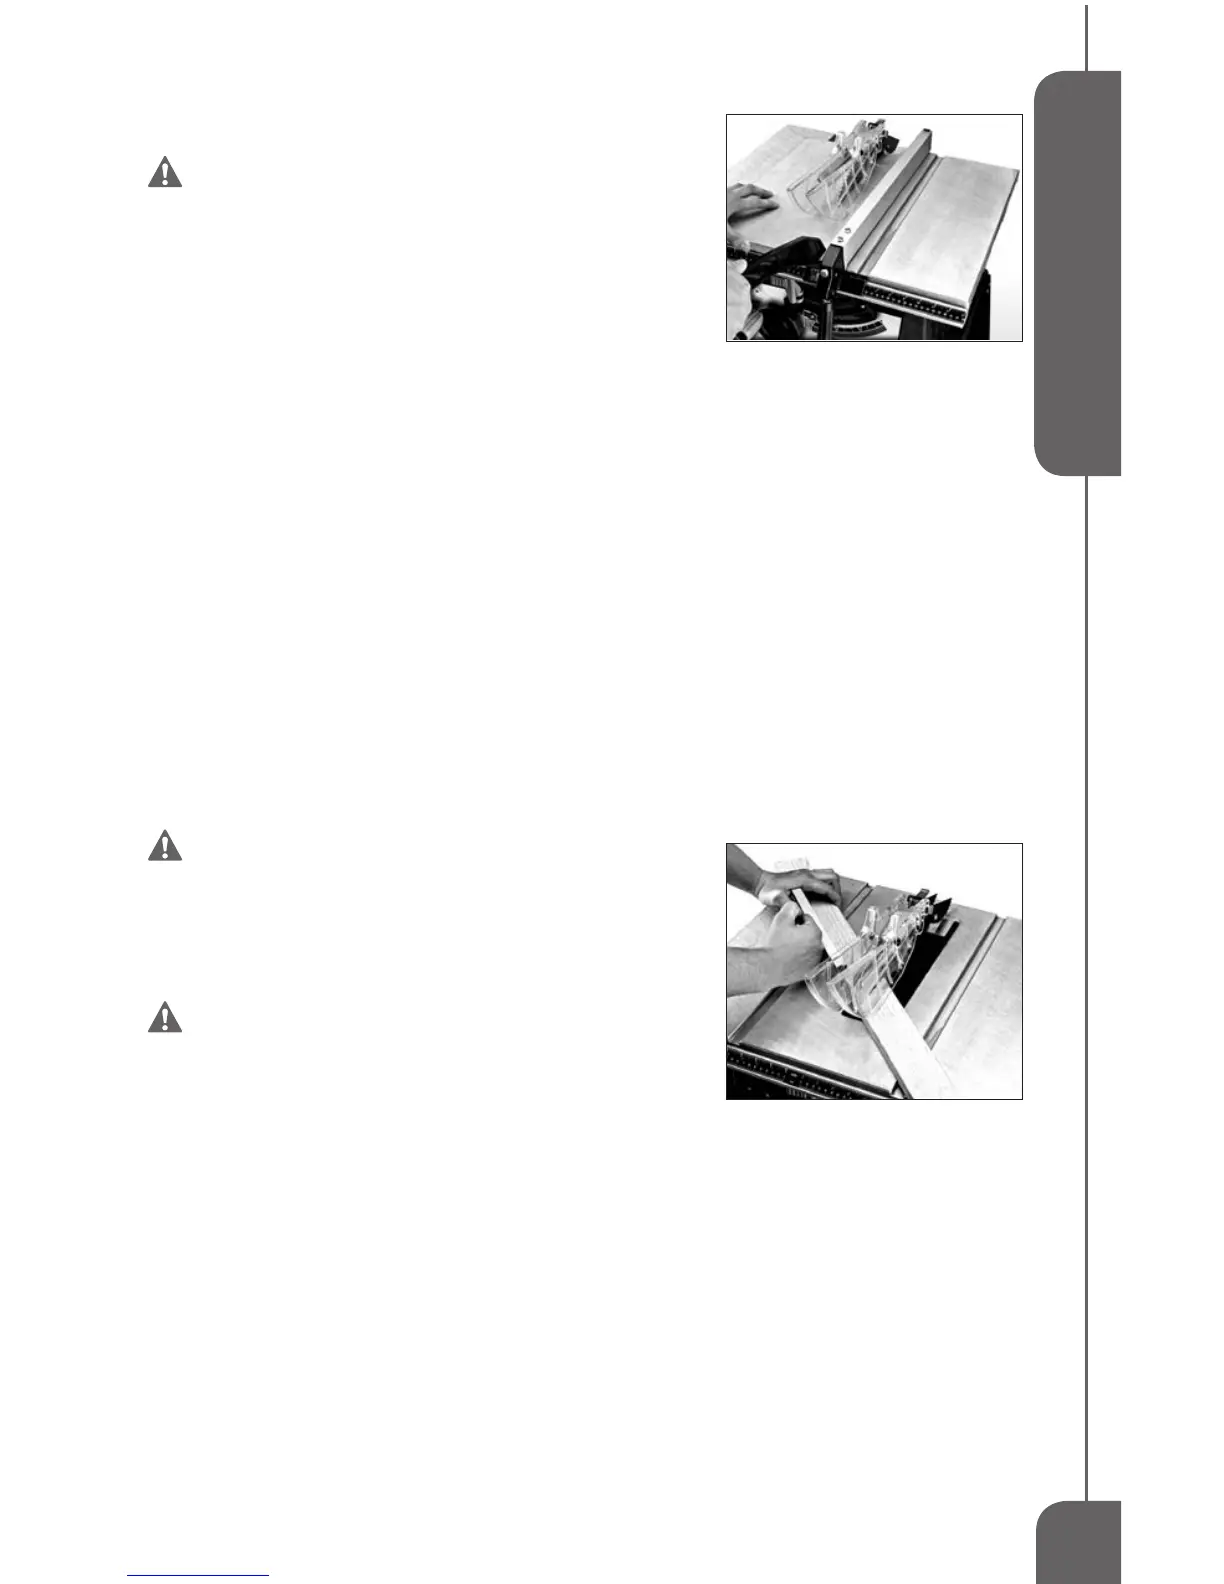
Miter Cross Cutting (FIG 22)
WARNING:Make sure the blade
guard assembly is properly installed to avoid
serious personal injury.
1.Removetheripfencefromthetablesurface.
2.PositionMiterGaugetothedesireddegree.(0°-60°).(RefertoMiterGaugeAdjustment).
3.Makesureallloosepieceshavebeenremovedfromthetablesurfaceandworkpieceisnotin
contactwithblade.
4.TurnON/OFFswitchtotheONposition.
5.Positiontheworkpieceatonthetablewithedgeushagainstmitergaugefence.Waituntil
bladereachesfullspeedbeforefeedingtheworkpieceintotheblade.
6.Usetwohandstoslowlyfeedtheworkpieceandmitergaugetowardtheblade.Usethehand
furthestfromthebladetokeeptheworkpieceushagainstmitergaugefenceanduseyour
otherhandtopushthemitergaugeandworkpiecetowardtheblade.Standslightlytothesideof
thebladetoreducetheriskofinjuryshouldkickbackoccur.
7.Continuefeedingtheworkpieceintothebladeuntilthecuthasbeencompleted.
8.Oncethecuthasbeencompleted,pulltheworkpiecebacktowardyou.
9.Turntheswitchoff.
10.Afterbladehasstoppedcompletely,removethecutoffpiece.
FIG 21
FIG 22
 Loading...