English
10" Table Saw
Operator’s Manual GTS10SB
12
ASSEMBLY AND ADJUSTMENT
WARNING: DO NOT connect to power source until assembly is
complete. Failure to comply could result in accidental starting and serious
personal injury.
WARNING:If any part is missing or damaged, do not attempt to
assembly the table saw, plug in the power source, or turn the switch on until the
missing or damaged part is obtained and it installed properly.
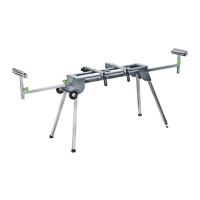
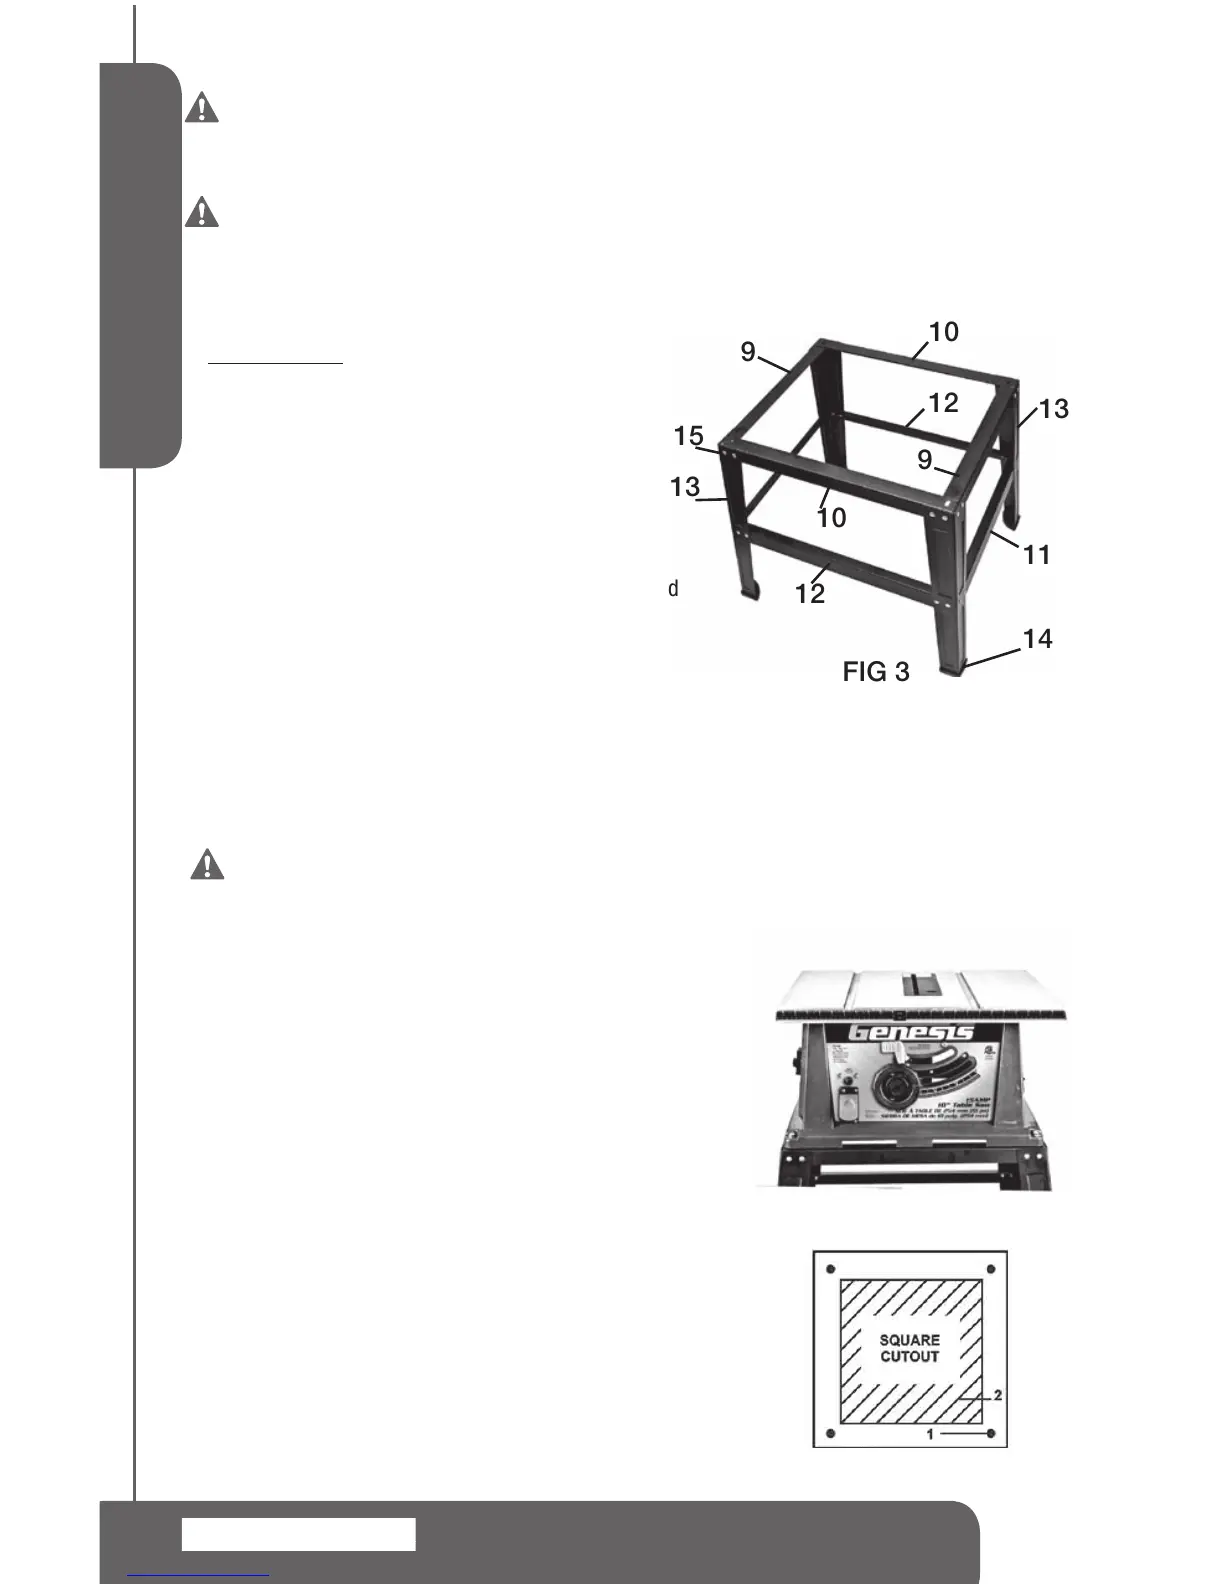
WORK STAND ASSEMBLY
Part Needed
9. ShortTopBrackets(A) 2
10.LongTopBrackets(B) 2
11.ShortSupportBracket(C) 2
12.LongSupportBracket(D) 2
13.StandLegs 4
14.RubberFeet 4
15.Screws,Washers&Nuts 32sets
UseScrews,WashersandNuts(15)toattachthestand
pieces.Donottightenthescrewscompletelyuntilleg
standiscompletelyassembly.(SeeFIG.3)
1.Attachtheshorttopbrackets9(A)tothestandlegs13.
2.Attachthelongtopbrackets10(B)tothestandlegs13
3.Attachtheshortsupportbrackets11(C)tothestandlegs13
4.Attachthelongsupportbrackets12(D)tothestandlegs13
5.Tapthefourrubberfeet14ontothebottomofthestandlegs13
6.Tightenallfasteners.
WARNING: After completing adjustments, securely tighten all fasteners.
An unstable stand may shift in use and cause serious personal injury.
MOUNTING THE TABLE SAW ON STAND
1.Placethetablesawontotheassembledstandsothatthe
fourmountingholesinthebaseofthesawareoverthe
fourmountingslotsonthestand.
2.Securethetablesawtothestandbyusingthefourbolts,
washersandnutsprovided.(SeeFIG.4)
MOUNTING THE TABLE WITHOUT STAND
When mounting table saw to a work bench or plywood,
holesshouldbedrilledthroughthesupportingsurfacetothe
workbenchorplywoodandanopeningmustbemadethe
samesizeastheopeninginthebottomofthesawusingthe
dimensionsillustratedsothesawdustcandropthrough.
1.Place the saw on the mounting surface, and mark the
locationofthefour3/8”mountingholes.
2.Removethesaw.Drill3/8”holesinthemountingsurface
3.Markan11”x11”squarecenteredbetweenfourmounting
holes.
 Loading...