English
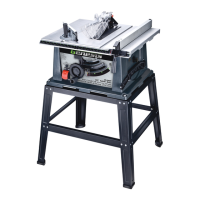
10" Table Saw
Operator’s Manual GTS10SB
18
1.TurntheON/OFFswitchtotheOFFposition.
2.Waitaboutveminutesforthemotortocooldown.
3.Pushintheresetbutton(4-FIG19).
4.TurntheON/OFFswitchtotheONposition.
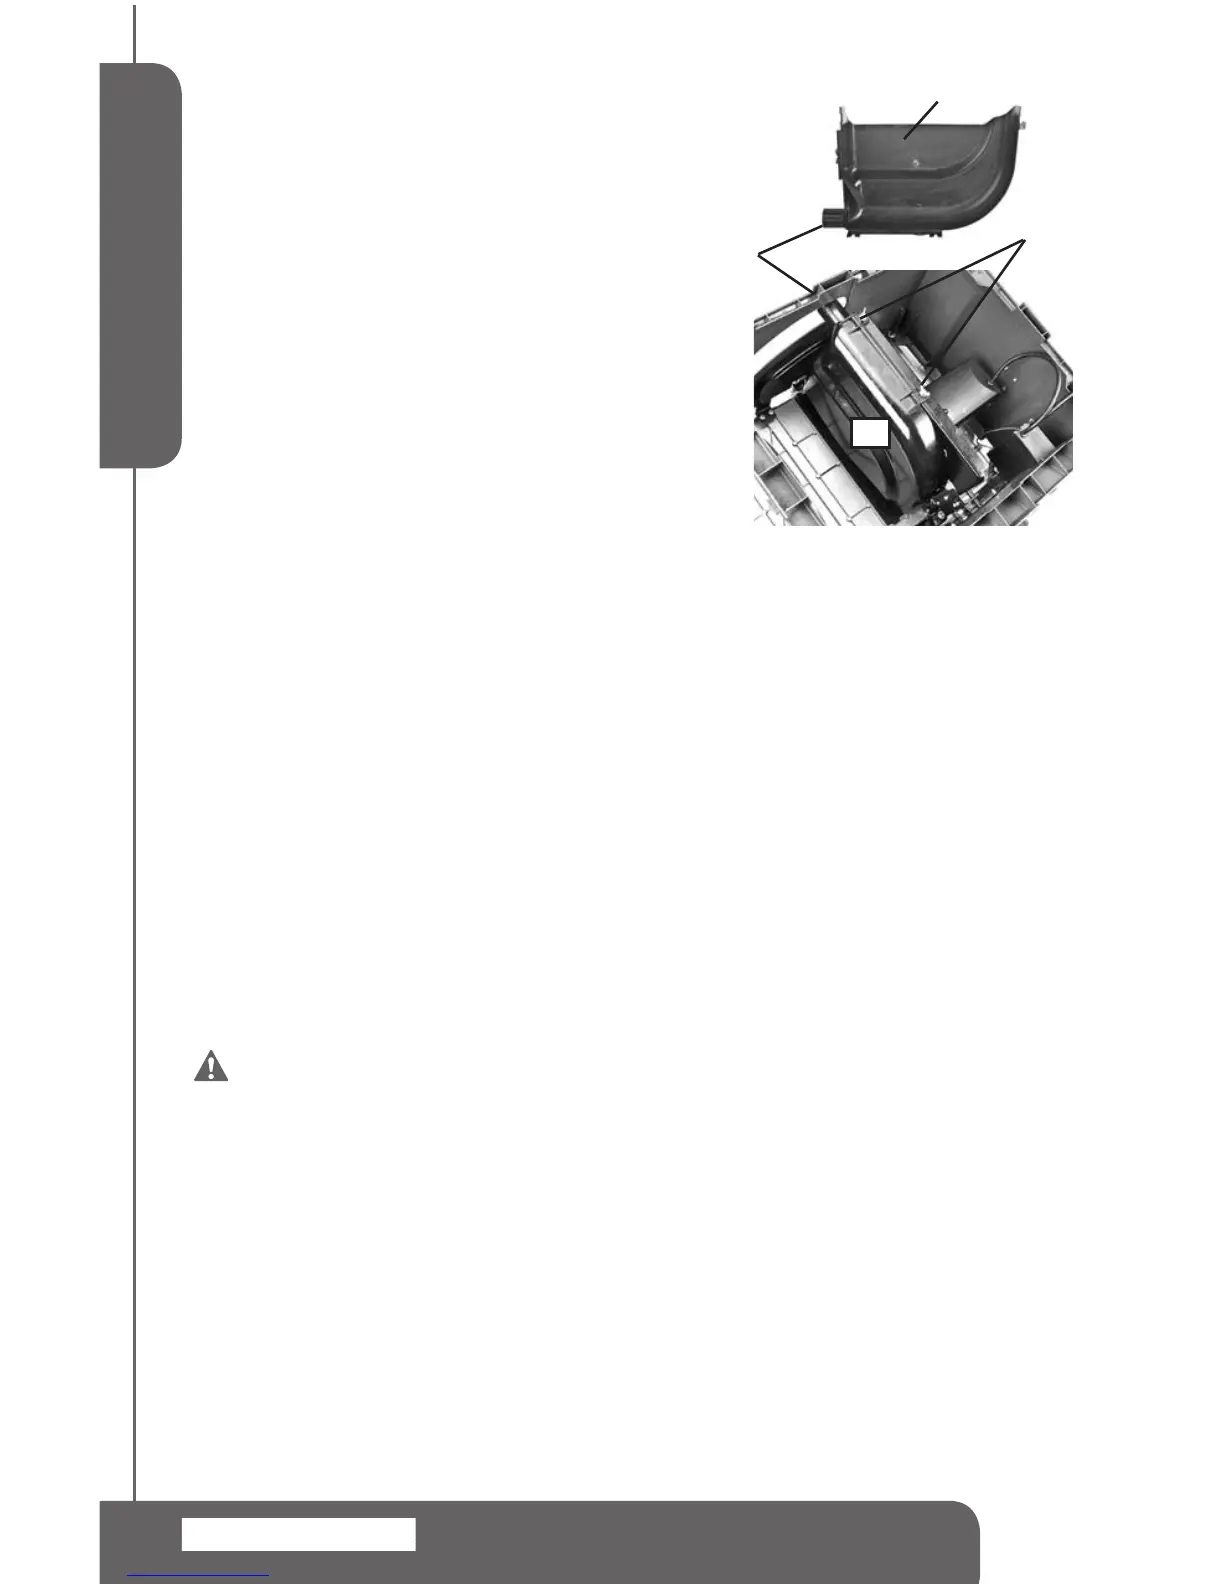
SAWDUST COLLECTION (FIG 20)
Thistablesawisequippedwitharemovablesawdustcollector
(1).SeeFIG20.Adustcollectionsystemcanbeattachedto
thedustport(2)tohelpremovesawdustfromtheworkarea.
Toremovethesawdustcollector,simplyloosentwobuttery
nuts(3)andremovethecollectorfromthesaw.
PUSH STICK AND PUSH BLOCK
Aplasticpushstickissuppliedforripcuttingwidthsof2”to6”
Use auxiliary fence and push block for rip cutting widths
narrowerthan2”.Whenripping,applythefeedforcetothe
sectionoftheworkpiecebetweenthesawbladeandtherip
fence.
APPLICATIONS
Cutting Tips
1.Makesurethekerfismadeonthescrapsideofthemeasuringline.
2.Cutthewoodwiththenishsideup.
3.Alwayshaveapropersupportforthewoodasitcomesoutoftheblade.
4.Makeatestcutforimportantcuts.
5.Alwaysusethecorrectbladedepthsetting.TheTopofthebladeteethshouldcleartheworkpiece
by1/8”(3mm)to¼”(6mm).
6.Inspecttheworkpieceforknotsornailsbeforebeginningacut.Removeanylooseknotsornails
withahammer.
7.Alwaysuseclean,sharp,properly-setblades,Nevermakeacutwithdullblade.
8.Whenmakingacut,usesteady,Evenpressure,Neverforceacut.
9.DoNOTcutwetorwarpedlumber.
10.Alwaysholdyourworkpiecermlywithbothhandsorusepushstickorpushblock.
Cross Cutting
WARNING:Make sure the blade guard assembly is properly installed
to avoid serious personal injury.
1.Removetheripfencefromthetablesurface.
2.PositionMiterGaugeto0°.
3.Makesureallloosepieceshavebeenremovedfromthetablesurfaceandworkpieceisnotin
contactwithblade.
4.TurnON/OFFswitchtotheONposition.
5.Positiontheworkpieceatonthetablewithedgeushagainstmitergaugefence.Waituntil
bladereachesfullspeedbeforefeedingtheworkpieceintotheblade.
6.Usetwohandstoslowlyfeedtheworkpieceandmitergaugetowardtheblade.Usethehand
furthestfromthebladetokeeptheworkpieceushagainstmitergaugefenceanduseyourother
handtopushthemitergaugeandworkpiecetowardtheblade.Standslightlytothesideofthe
bladetoreducetheriskofinjuryshouldkickbackoccur.
7.Continuefeedingtheworkpieceintothebladeuntilthecuthasbeencompleted.
8.Oncethecuthasbeencompleted,pulltheworkpiecebacktowardyou.
FIG 20
1
3
1
2
 Loading...