1
English
Getting Started
Unpacking
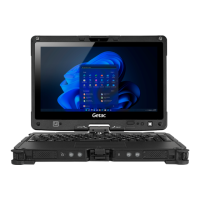
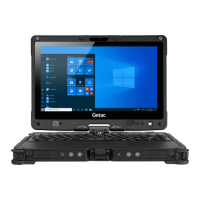
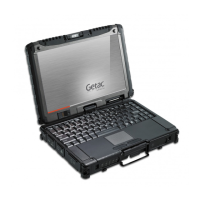
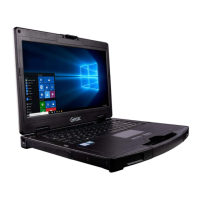
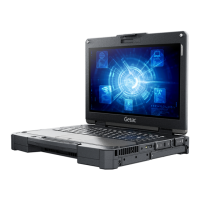
V110 notebook computer
AC adapter AC power cord
Battery pack x 2
Carrying strap
- or -
Carrying handle
- or -
Stylus
Tether
Document(s)
Driver disc (optional)
NOTE: This packing list applies to standard
models. Select models may have different
items.
Installing the Battery Packs
The computer supports two battery packs
(one at the left and one at the right side).
1. Slide the cover latch toward the unlocked
position ( ) (
) and then lift up the tab
(
) to release the cover.
2. Noting the orientation, insert the battery
pack all the way into the slot.
3. Hold the battery latch and slide it toward
the left to the locked position. (Never use
the ribbon strip to pull the battery latch.)
4. When closing the cover, push the tab
downward until the cover clicks into place
and then slide the latch toward the locked
position ( ).
CAUTION: Make sure the latch is correctly
locked, not revealing the underneath red
part.
5. Proceed with the other battery pack.
Connecting to AC Power and
Starting Up
The first time you use your computer, connect
the AC adapter.
1. Plug the DC cord of the AC adapter to the
power connector of the computer (
).
2. Plug the female end of the AC power cord
to the AC adapter and the male end to an
electrical outlet (
).
3. Pull loose the cover latch (
) and release
the clamp (
). Lift up the cover (
).
4. Press the power button ( ) to start up.
5. The operating system, Microsoft Windows,
should start.
When turning on your computer for the
very first time, you will be guided through
a setup process. Follow the onscreen
instructions to complete.
 Loading...