- 13 -
1-3 Installing the APU and APU Cooler
1-3-1 Installing the APU
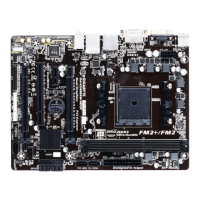
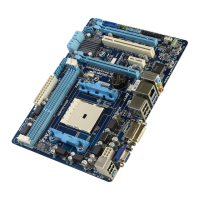
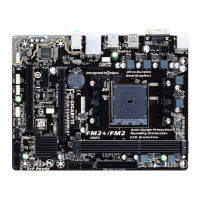
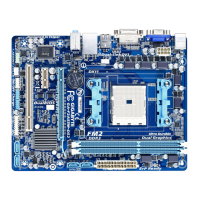
A. Locatethepinone(denotedbyasmalltriangle)oftheAPUsocketandtheAPU.
ReadthefollowingguidelinesbeforeyoubegintoinstalltheAPU:
• Make sure that the motherboard supports the APU.
(GotoGIGABYTE'swebsiteforthelatestAPUsupportlist.)
• Always turn off the computer and unplug the power cord from the power outlet before installing the
APU to prevent hardware damage.
• Locate the pin one of the APU. The APU cannot be inserted if oriented incorrectly.
• Apply an even and thin layer of thermal grease on the surface of the APU.
• Do not turn on the computer if the APU cooler is not installed, otherwise overheating and damage
of the APU may occur.
• SettheAPUhostfrequencyinaccordancewiththeAPUspecications.Itisnotrecommended
thatthesystembusfrequencybesetbeyondhardwarespecicationssinceitdoesnotmeetthe
standard requirements for the peripherals. If you wish to set the frequency beyond the standard
specications,pleasedosoaccordingtoyourhardwarespecicationsincludingtheAPU,graphics
card, memory, hard drive, etc.
APU
A Small Triangle
Marking Denotes
APU Pin One
A Small Triangle
Marking Denotes Pin
One of the Socket
FM2+ Socket
Please visit GIGABYTE's website for details on hardware installation.
 Loading...