.
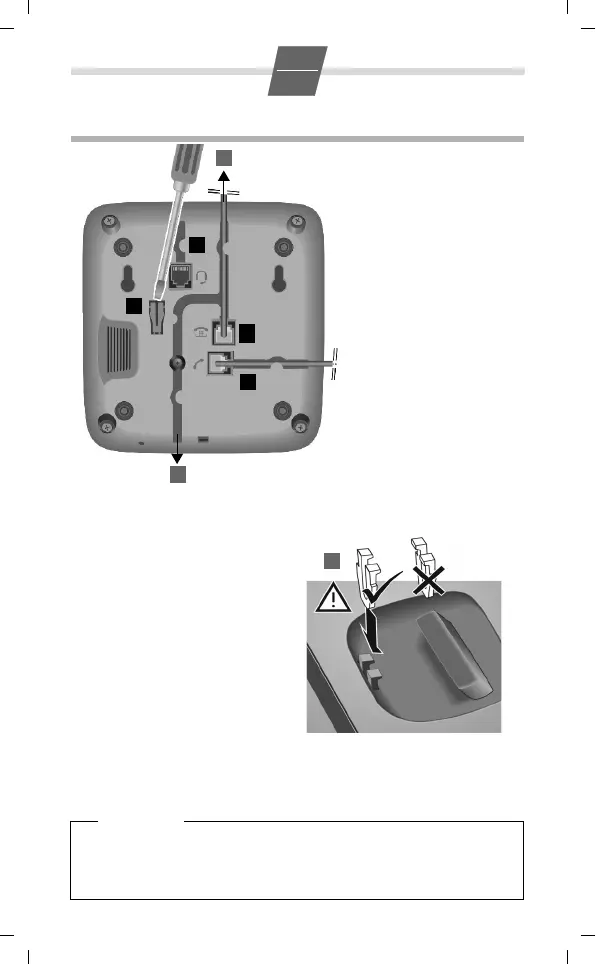
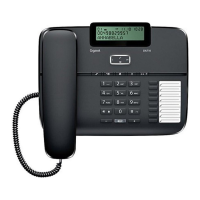
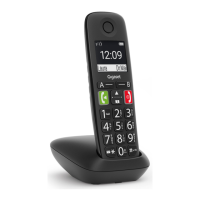
Connecting the headset
Connect a headset with RJ9 plug,
e.g. a Gigaset ZX410, to the socket (5).
Wall mounting
¤ Drill two dowel holes into the wall
at a distance of 99.4 mm and fix
two screws.
¤ Lift out the handset bracket (6)
with a screwdriver and clip it into
the handset cradle (7).
¤ Hang the telephone on the pro-
jecting screw heads.
Please note: The handset bracket
must be placed in the
cradle with the slanting
edge facing forwards (see graphic), as otherwise the handset
will not be properly secured.
¤ Connect the telephone connector (1)
to the main phone socket using
the supplied telephone cable.
4
1
6
2
3
5
¤ Guide the cable through
the cable channel of the
handset cradle: upwards
for operating the phone
on the table (2); down-
wards when mounting
the phone on the wall (3).
¤ Connect the handset to
the telephone using the
coiled cable (4).
7