The symbol indicates that the cable and accessories are designed to have special protection against electric
shocks, and is defibrillator proof.
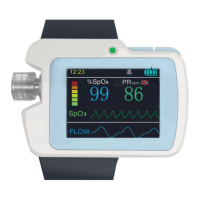
3.4.3 SpO
2
Sensor Connection
The SpO
2
sensor is very delicate. Please follow the steps and procedures below when useing it as failure to do so
correctly can cause damage to the SpO
2
sensor.
Operation procedure:
1. Connect the SpO
2
sensor to the connector labeled “SpO
2
”. When unplugging the probe, be sure to hold
the head of the connector and pull it out.
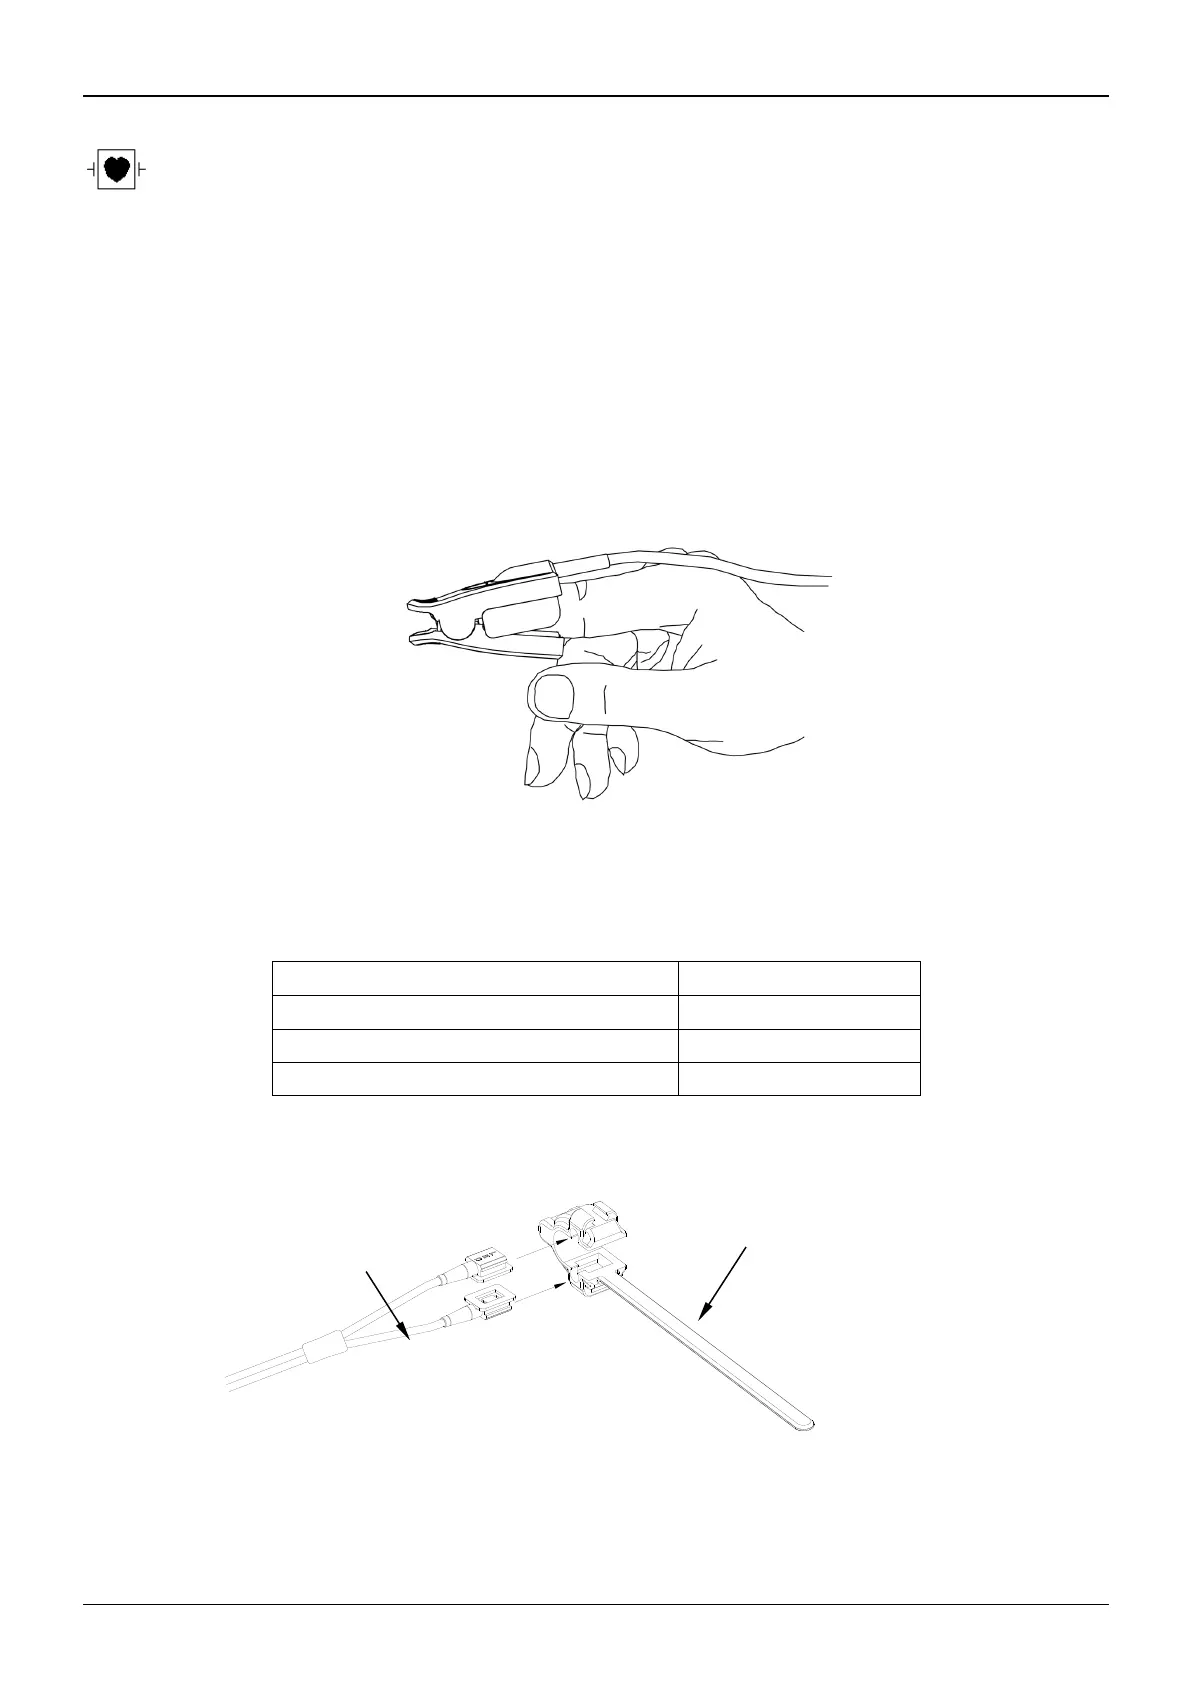
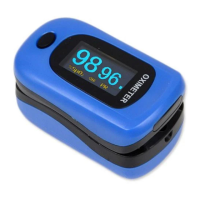
2. If the finger clip SpO
2
sensor is used, insert one finger into the sensor (index finger, middle finger or ring
finger with short nail length) as shown in the figure below.
Figure 3.9 Finger clip SpO
2
sensor placement
When selecting a sensor, consider the patient’s category, adequacy of perfusion, availability of probe site and anticipated
monitoring duration. Use only SpO
2
probes provided by our company with this monitor. Read the following table for
SpO
2
probe information. Refer to Chapter 11.5 for the detailed instructions of each SpO
2
probe.
SpO
2
Finger Clip Sensor (reusable)
SpO
2
Finger Rubber Sensor(reusable)
SpO
2
Finger Clip Sensor(reusable)
3. If the neonate SpO
2
sensor is used, please follow Figure 3.10 to connect.