EasyManua.ls Logo

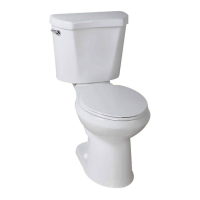
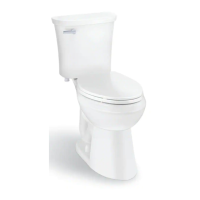
Glacier bay 635675 User Manual

Glacier bay 635675
20 pages
To Next Page IconTo Next Page
Page #1 background imageLoading...
Page #1 background image
Item #'s 635675,
1000633237,1000633239,
1001362803
Model #N2420
THANK YOU
We appreciate the trust and confidence you have placed in Glacier Bay through the purchase of this toilet. We strive to
continually create quality products designed to enhance your home. Visit us online to see our full line of products available for your home
improvement needs. Thank you for choosing Glacier Bay!
USE AND CARE GUIDE
HIGH EFFICIENCY ELONGAGED 1 PIECE DUAL FLUSH TOILET
Questions, problems, missing parts? Before returning to the store,
call Glacier Bay Customer Service
8 a.m. - 6 p.m., EST, Monday-Friday
!"#$$"%&%"$''%(
)*+,-,.*/01*+(

Questions and Answers:

Glacier bay 635675 Specifications

General IconGeneral
BrandGlacier bay
Model635675
CategoryToilets
LanguageEnglish

Summary

Safety Information

Warranty

Pre-Installation

Planning Installation

Ensure all parts are present and contact customer service for missing or damaged parts before assembly.

Tools Required

List of tools needed for installation, including putty knife, level, and supply line.

Hardware Included

Detailed list and quantity of hardware components included with the toilet.

Installation

Removing the Old Toilet

Steps to safely disconnect and remove the existing toilet and prepare the mounting area.

Installing the Floor Bolts

Procedure for inserting and securing floor bolts into the toilet flange.

Installing the Wax Ring

Instructions for applying the wax ring to the toilet bowl outlet for a proper seal.

Installing the Toilet

Guide for positioning the toilet bowl over the floor bolts and flange.

Securing the Toilet

Steps to fasten the toilet bowl to the floor using provided hardware.

Installing and Adjusting the Flush Button

How to install and adjust the dual flush button mechanism in the tank lid.

Connecting the Water Supply Line

Instructions for connecting the water supply line and filling the tank.

Installing the Seat with Lid

Steps for attaching the toilet seat and lid to the bowl.

Care and Cleaning

Troubleshooting

Removing Valve Cap Assembly

Detailed steps on how to remove the valve cap assembly from the flush valve.

Flushing Out Debris

Procedure for cleaning debris from the flush valve assembly.

If Replacing Seal

Guidance on using a specific genuine Fluidmaster 242 seal for replacement.

Replacing Valve Cap

Instructions on how to correctly reassemble the valve cap.

Replacement Parts List

Related product manuals