Do you have a question about the Glacier bay BECK and is the answer not in the manual?
Ensure water inlet pipe and floor discharge drain are installed according to drawing for proper toilet setup.
Install the floor flange according to manufacturer's recommendations for a secure base.
Position fixing bolts correctly and use plastic nuts to immobilize them for subsequent steps.
Firmly push the seal ring onto the toilet's drain, fixing it to the ceramic for a tight seal.
Position the toilet onto the floor flange, aligning fixing bolts with the toilet's holes for proper alignment.
Use an adjustable wrench to screw nuts tightly to fixing bolts and cover holes with provided covers.
Install flush button, adjust push rod length for smooth flushing by turning the lock-nut and rod.
Install the rubber ring under the tank and then install the tank onto the toilet body.
Install the 3 nuts under the toilet to securely fix the tank to the toilet body.
Install seat cover, fixing hardware, and decorative caps, adjusting pegs for desired seat position.
Insert the seat onto the toilet by pushing the buttons and securing it to the fixing pegs.
Pull locking bar and side button to adjust water level by moving the floater up for more water or down for less.
All replacement parts are available at any plumbing retailer; contact your local retailer for assistance.
Use mild, nonabrasive soap and warm water for general cleaning; avoid abrasive cleaners and in-tank cleaners.
Details the limited warranty for ceramic components and exclusions for improper installation or use.
Explains the procedure for making a warranty claim, including providing proof of purchase and product details.
States limitations on remedies and damages, excluding incidental or consequential damages.
| Brand | Glacier Bay |
|---|---|
| Model | BECK |
| Category | Toilets |
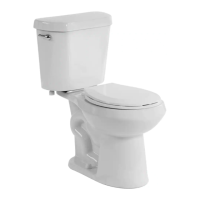
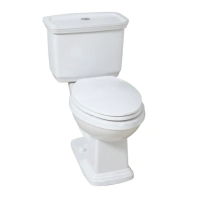
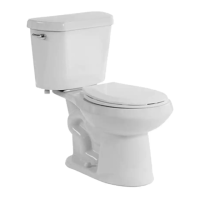
| Type | Two-Piece |
| Material | Vitreous China |
| Color | White |
| Flush Valve Size | 2 inches |
| Rough-In Size | 12 inches |
| Water Consumption | 1.28 gallons per flush (GPF) |