
S
sandra08Aug 7, 2025
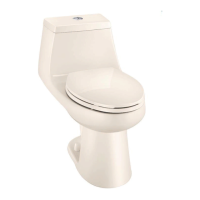
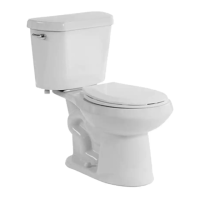
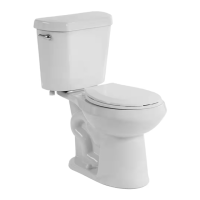
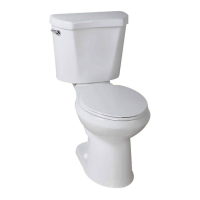
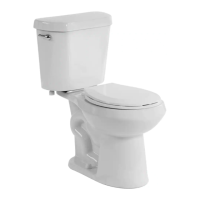
What to do if water continues to run in Glacier Bay Toilets?
- Ttravis71Aug 7, 2025
If water continues to run in your Glacier Bay toilet, ensure the rubber seal gasket on the flush valve is completely closed. Clear any debris from the gasket surface and sealing area of the flush valve that may be preventing it from fully closing.