Getting Started GlideScope
®
System
page 22 User’s Manual
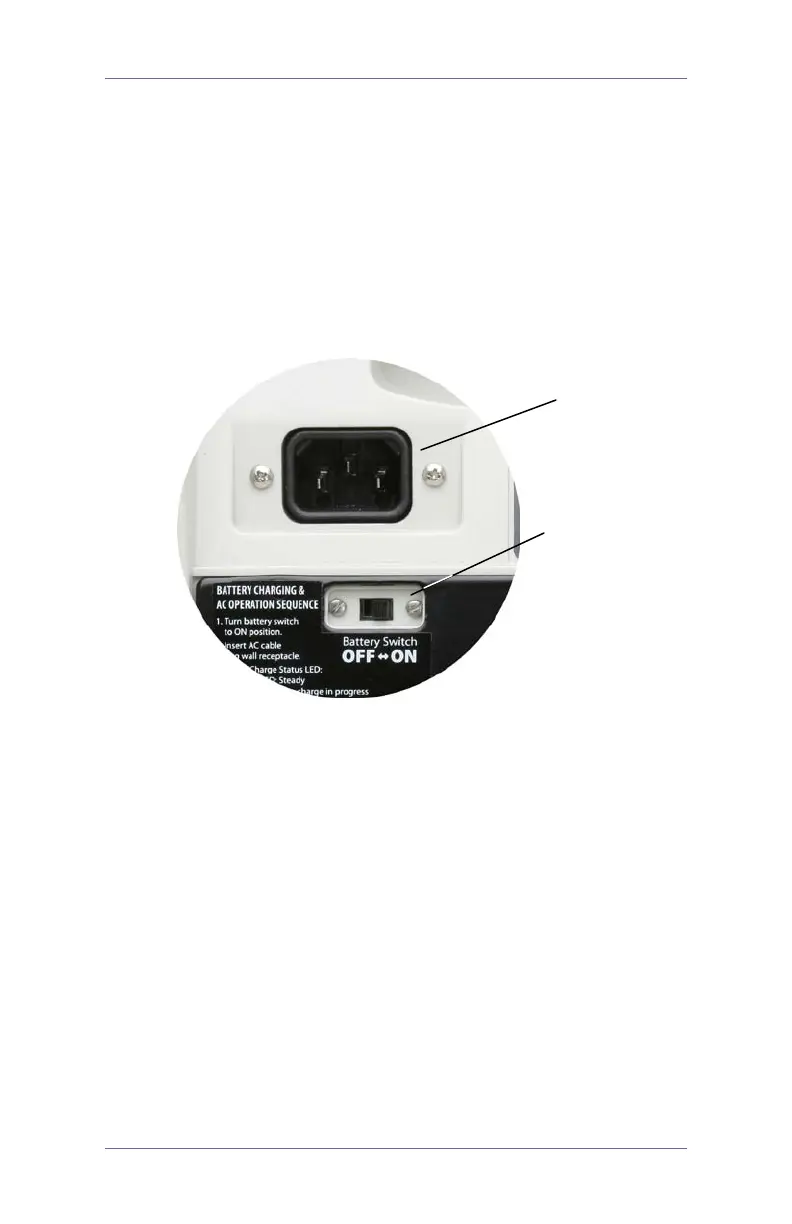
IMPORTANT! Before beginning, make sure the AC power cord is
disconnected and the battery switch (on the monitor rear panel)
is in the
OFF position (to the left).
1. Slide the battery switch to the
ON position (to the right)
(Figure 9).
2. Insert the female end of the power cord into the power
cord connector on the back of the monitor (Figure 9).
Figure 9. Rear panel detail: AC power cord connector and
battery switch in the ON position.
3. Insert the other end of the power cord into a wall outlet
or appropriate AC power source.
NOTE: For power supply compatibility information,
please refer to the label on the back of the monitor.
4. The charge status
LED will turn orange, indicating that
the charging cycle has begun. When the battery is fully
charged, the charge status
LED will turn green
(Figure 10)
At this point the system is fully functional on battery
power.
Figure 10. The charge status LED will turn green when
the battery is fully charged.
connector
the ON position
 Loading...