11
SWITCH PLATE AND ROTARY
KNOB REPLACEMENT
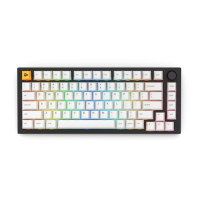
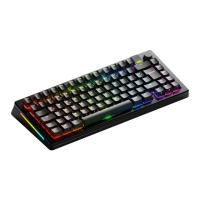
For further customization of the look and feel of the GMMK PRO, additional switch
plates and rotary knobs are available for purchase separately.
Note: step by step instructions for replacing the switch plate and rotary knob can be
found at:
• pcgamingrace.com/switch-plate-guide
• pcgamingrace.com/rotary-guide
Switch Plates:
Switch Plates are available in two materials in addition to the default aluminum:
brass and polycarbonate plastic. Brass will provide a sturdier, stiffer feel, while the
polycarbonate plate is for greater flexibility in the typing experience and better
illumination of the LEDs through the plate.
To replace the switch plate on the GMMK PRO:
1. Remove all keycaps and switches from the keyboard and pull out the rotary
knob. Instructions for removing the keycaps and switches can be found
above in this manual.
2. Remove the 8 screws on the bottom of the keyboard using a
Philips head screwdriver.
3. Carefully separate the bottom chassis from the rest of the keyboard, ensuring
that the wire connecting the USB C PCB to the main PCB is not damaged. While
holding the chassis in place close to the rest of the keyboard, unplug the USB C
PCB connector from the main PCB.