13
221691B
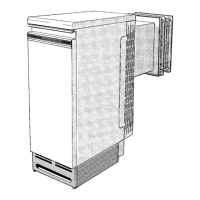
SIDE VENT GRILLE
Diagram 5.1
SIDE VENT GRILLE
(If required, will fit to
left or right side casing)
PLASTIC PEG
SIDE CASING
(R.H. SHOWN)
0885
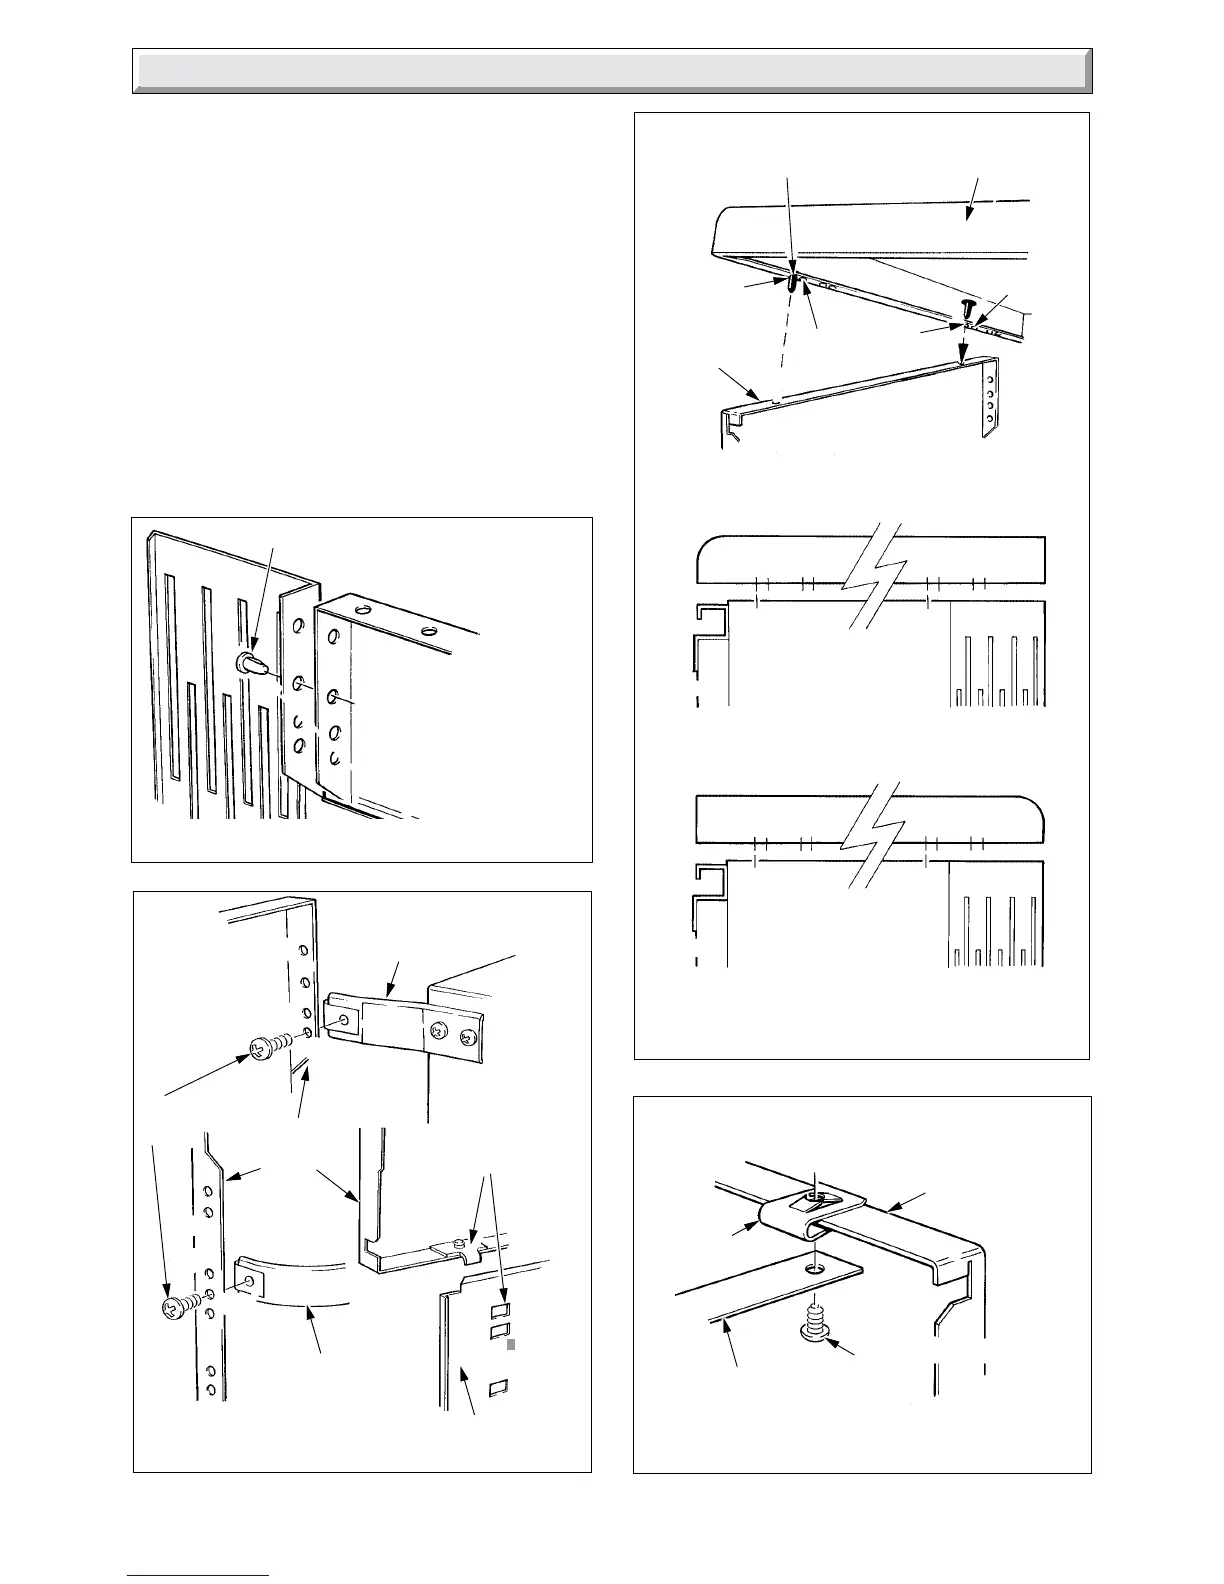
5 Casing Location / Fitting
5.3 Top Casing
Fit four plastic pegs into the appropriate holes in the top casing,
if being fitted, see diagram 5.3. The plastic pegs are a tight fit
and are best pushed home with a flat faced tool. The top casing
can be arranged to fit flush with or overhang the door. The top
casing is reversible to match, when level with, square or rolled
edge work surfaces.
Push the top casing on to all four side casing locations. From
inside the casing check that all rivets have located correctly.
For boilers fitted under work tops, not using the top casing, the
strap should be fitted using two No.8 screws, see diagram 5.4.
TOP CASING FITTING
Diagram 5.3
STRAP FITTING (No top casing)
Diagram 5.4
0909
PEG POSITIONS IN TOP CASING
A = FRONT EDGE FLUSH
B = 10mm (
3
/
8
in) FRONT OVERHANG
AB
AB
SIDE CASING
DOOR
BOILER SHOWN WITH
ROLLED EDGE FLUSH
SIDE CASING
DOOR
BOILER SHOWN WITH
SQUARE EDGE FLUSH
AB
AB
No.8 SECURING
SCREW
SIDE CASING
(R.H.)
CAPTIVE
NUT
STRAP fitted when no
top casing
B
A
B
A
SIDE
CASING
(L.H.)
TOP CASING
PLASTIC PEG (4)
0914
SIDE CASINGS FITTING
Diagram 5.2
MAX.
MIN.
MID.
MAX.
SIDE
CASING
(L.H.)
MAX.
MID.
MIN.
MIN.
BOILER PLINTH
FRONT
CASING
BRACKET
MID.
No. 8 SCREW
(4)
UPPER
CASING
BRACKET
LOCATING
LUG AND SLOTS
0886
 Loading...


