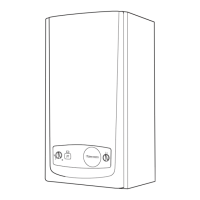
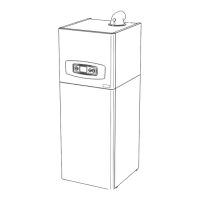
Diagram 12.5
13515
12 Servicing
12.3 Servicing
Note: If the Combustion & Gas rate checks did not
require adjustment then it will not be necessary to
service the Combustion Chamber, Heat Exchanger or
Burner. Complete this section, 12.4 and then proceed to
12.9.
All routine servicing requirements can be achieved by the
removal of the front and inner panels, see diagram 12.1.
Position the control box into the service position, see
diagram 12.3.
Before commencing with a service or replacement of parts.
The boiler should be isolated from the electrical and gas
supplies. Remove the base cover, diagram 11.2 to gain
access to the gas service isolation valve, see diagram 12.4.
12.4 Spark Electrode
Disconnect the spark electrode plug and earth lead. Remove
the two securing screws and withdraw the spark electrode
carefully from the combustion chamber, see diagram 12.5.
Inspect the tips for damage.
Clean away any debris and check the spark gap is 3.5 to 4.5
mm.
Check the electrode gasket for signs of damage and replace
if necessary.
NOTE: If the burner is not to be serviced, do not perform the
following instructions 12.5, 12.6, 12.7 and 12.8 but continue
to section 12.9 to complete the servicing.
13516
Diagram 12.4
13518
Diagram 12.6
13517
 Loading...
