EasyManua.ls Logo

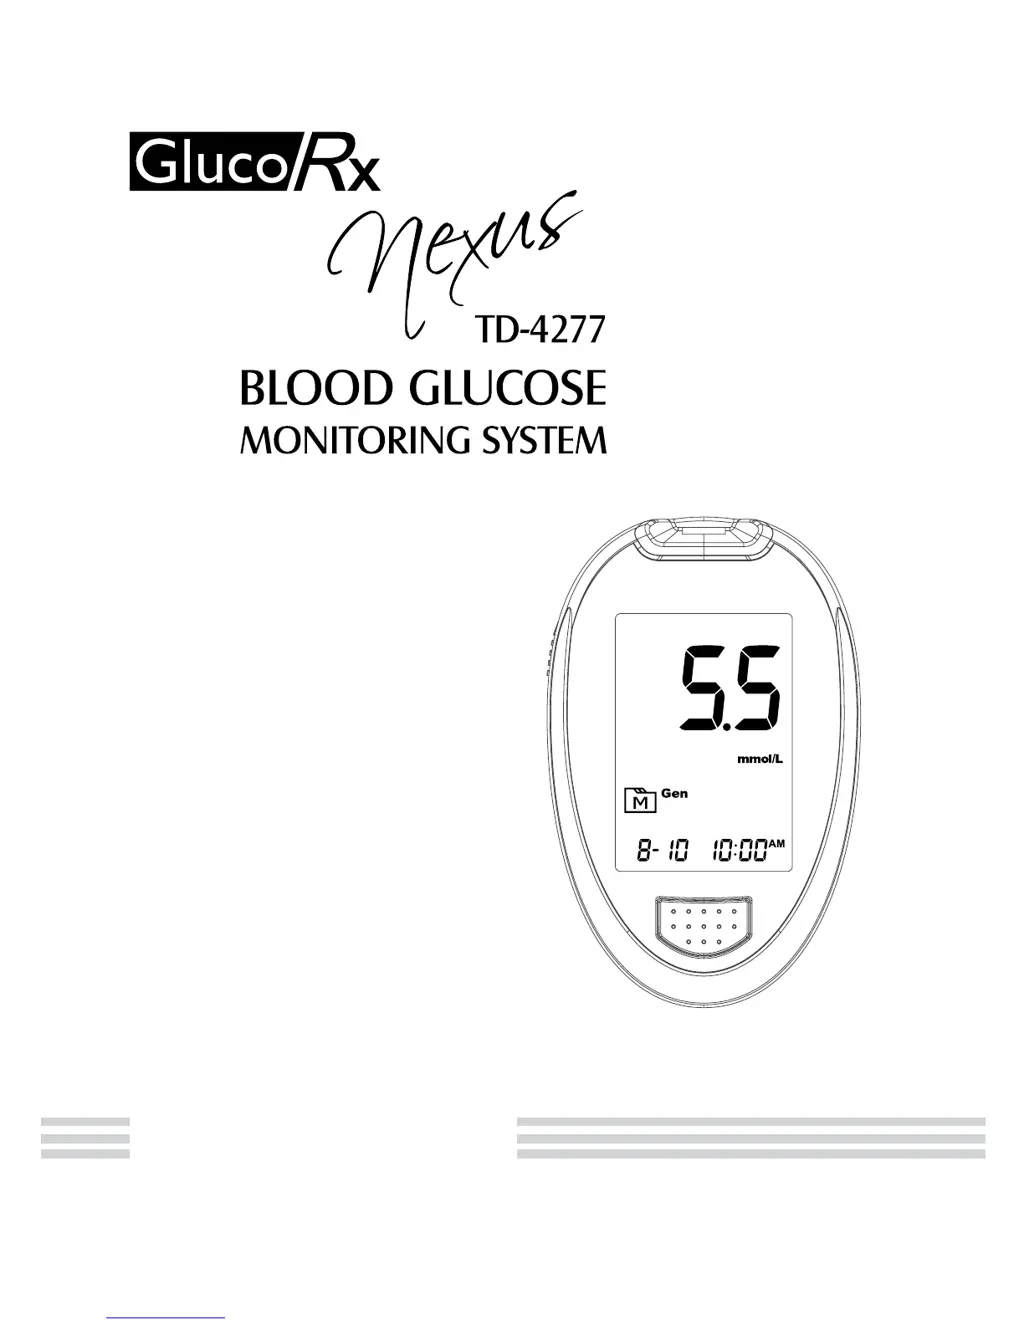
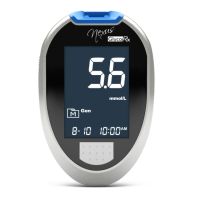
GlucoRx Nexus TD-4277 - User Manual

GlucoRx Nexus TD-4277
44 pages
Print Icon
To Next Page IconTo Next Page
Loading...
MANUAL
OWNER'S

Other manuals for GlucoRx Nexus TD-4277

Questions and Answers

  • H
    Hector BrownJul 31, 2025
    How to fix a GlucoRx Blood Glucose Meter control solution testing result that is out of range?
    • D
      Danielle PonceJul 31, 2025
      If your control solution test result is out of range, consider these possibilities: * There might have been an error in performing the test. Read the instructions thoroughly and repeat the test. * The control solution vial may not have been shaken well. Shake the control solution vigorously and repeat the test. * The control solution could be expired or contaminated. Check the expiry date. * The control solution might be too warm or too cold. Ensure the control solution, meter, and test strips are at room temperature (20°C-25°C / 68°F-77°F) before testing. * The test strip could be defective. Repeat the test with a new test strip.
  • D
    David BergAug 11, 2025
    What to do if the GlucoRx Nexus TD-4277 Blood Glucose Meter test doesn't start after applying the sample?
    • A
      Andrew MartinezAug 11, 2025
      If the test doesn't start, it might be due to several reasons: * An insufficient blood sample. In this case, repeat the test using a new test strip with a larger volume of blood. * A defective test strip. If so, repeat the test with a new test strip. * The sample was applied after the meter switched off automatically. Repeat the test with a new test strip, and apply the sample only when the flashing symbol appears on the display.
  • P
    patricia42Aug 19, 2025
    Why does my GlucoRx Nexus TD-4277 Blood Glucose Meter not display a message after inserting a test strip?
    • S
      scottstevenAug 19, 2025
      If your meter isn't displaying a message, it could be due to the following: * The batteries might be exhausted, so try replacing them. * The test strip might be inserted upside down or incompletely. Ensure you insert the test strip with the contact bars end first and facing up.

Summary

Important Safety Precautions

Before You Begin

Important Information

Provides crucial details for proper usage and potential user conditions.

Intended Use

Specifies the device's purpose for home and clinical use by diabetics.

Test Principle

Explains how the system measures glucose via electrical current from strip reaction.

Meter Overview

Test Strip Usage

Proper Insertion Technique

Ensures correct orientation and full insertion of the test strip.

Setting the Meter

Setting the Date

Procedure to set the current year, month, and day on the meter.

Setting the Time Format

Option to select between 12-hour and 24-hour time display.

Setting the Time

Procedure to set the current hour and minute on the meter.

Setting the Reminder Alarm

Configuration of up to four daily reminder alarms for testing.

Before Testing

Control Solution Testing

Ensures meter and strips are working correctly by testing with known glucose levels.

Performing a Control Solution Test

Step-by-step guide to conduct a control solution test.

Getting a Blood Sample

Setting up the Lancing Device

Instructions for inserting a lancet and preparing the device.

Preparing the Puncture Site

Fingertip Testing Procedure

Steps for using the lancing device to prick the fingertip.

Performing a Blood Glucose Test

Obtaining a Blood Sample

Guidance on collecting sufficient blood sample volume.

Reading and Recording Results

Meter Memory Management

Reviewing Test Results

Steps to access and view stored blood glucose readings.

Reviewing Blood Glucose Day Average Results

Accessing 7, 14, 21, 28, 60, and 90-day average readings.

Meter Maintenance

Replacing the Battery

Step-by-step guide for changing meter batteries.

Device Care and Storage

Caring for Your Test Strips

Guidelines for storing test strips to maintain their integrity.

Important Control Solution Information

Control Solution Storage and Usage

Details on control solution expiry, opening date, and temperature.

System Troubleshooting

Result Readings Interpretation

Interpreting specific readings like Lo, Ketone?, and Hi.

Error Message Guide

Explains common error codes and recommended actions.

Troubleshooting Guide

Meter Not Displaying Message

Solutions for when the meter shows no response after inserting a strip.

Test Not Starting After Sample Application

Troubleshooting insufficient sample or incorrect strip application.

Control Solution Result Out of Range

Steps to resolve inaccurate control solution test results.

Detailed Information

Reference Values

Normal blood glucose ranges for people with diabetes.

Specifications

Operating and Storage Conditions

Recommended environmental parameters for operation and storage.

GlucoRx Nexus TD-4277 Specifications

General IconGeneral
CategoryBlood Glucose Meter
Sample Size0.5 µL
Blood SampleCapillary whole blood
Test Time5 seconds
Battery2 x AAA Batteries
DisplayLCD
ModelNexus TD-4277
Test Range1.1 - 33.3 mmol/L
Memory1000 test results
Operating Temperature10°C - 40°C
Operating Humidity10% - 90% RH
Automatic Shut-offYes (after 2 minutes of inactivity)

Related product manuals