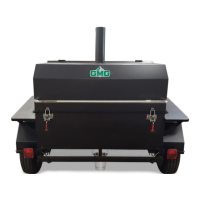
Bolt the chimney into position. Make sure the
rain cap is always wide open when cooking.
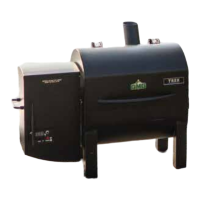
Reverse the handle so it attaches outside
the grill’s lid. Make sure the thermal
isolation washers go between the metal
trim ring and the lid on the outside, and
between the washer and lid on the inside.
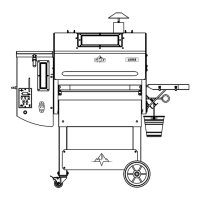
Charge the firebox by pouring in
the contents of the Zip-Lock bag.
Insert the bottom half of the grease
tray. (Half-moon cutout goes to the left,
and the long leg goes to the right. The
sensor should be centered in the
half-moon cutout.)
Insert the heat shield. (Large holes
to the left.)
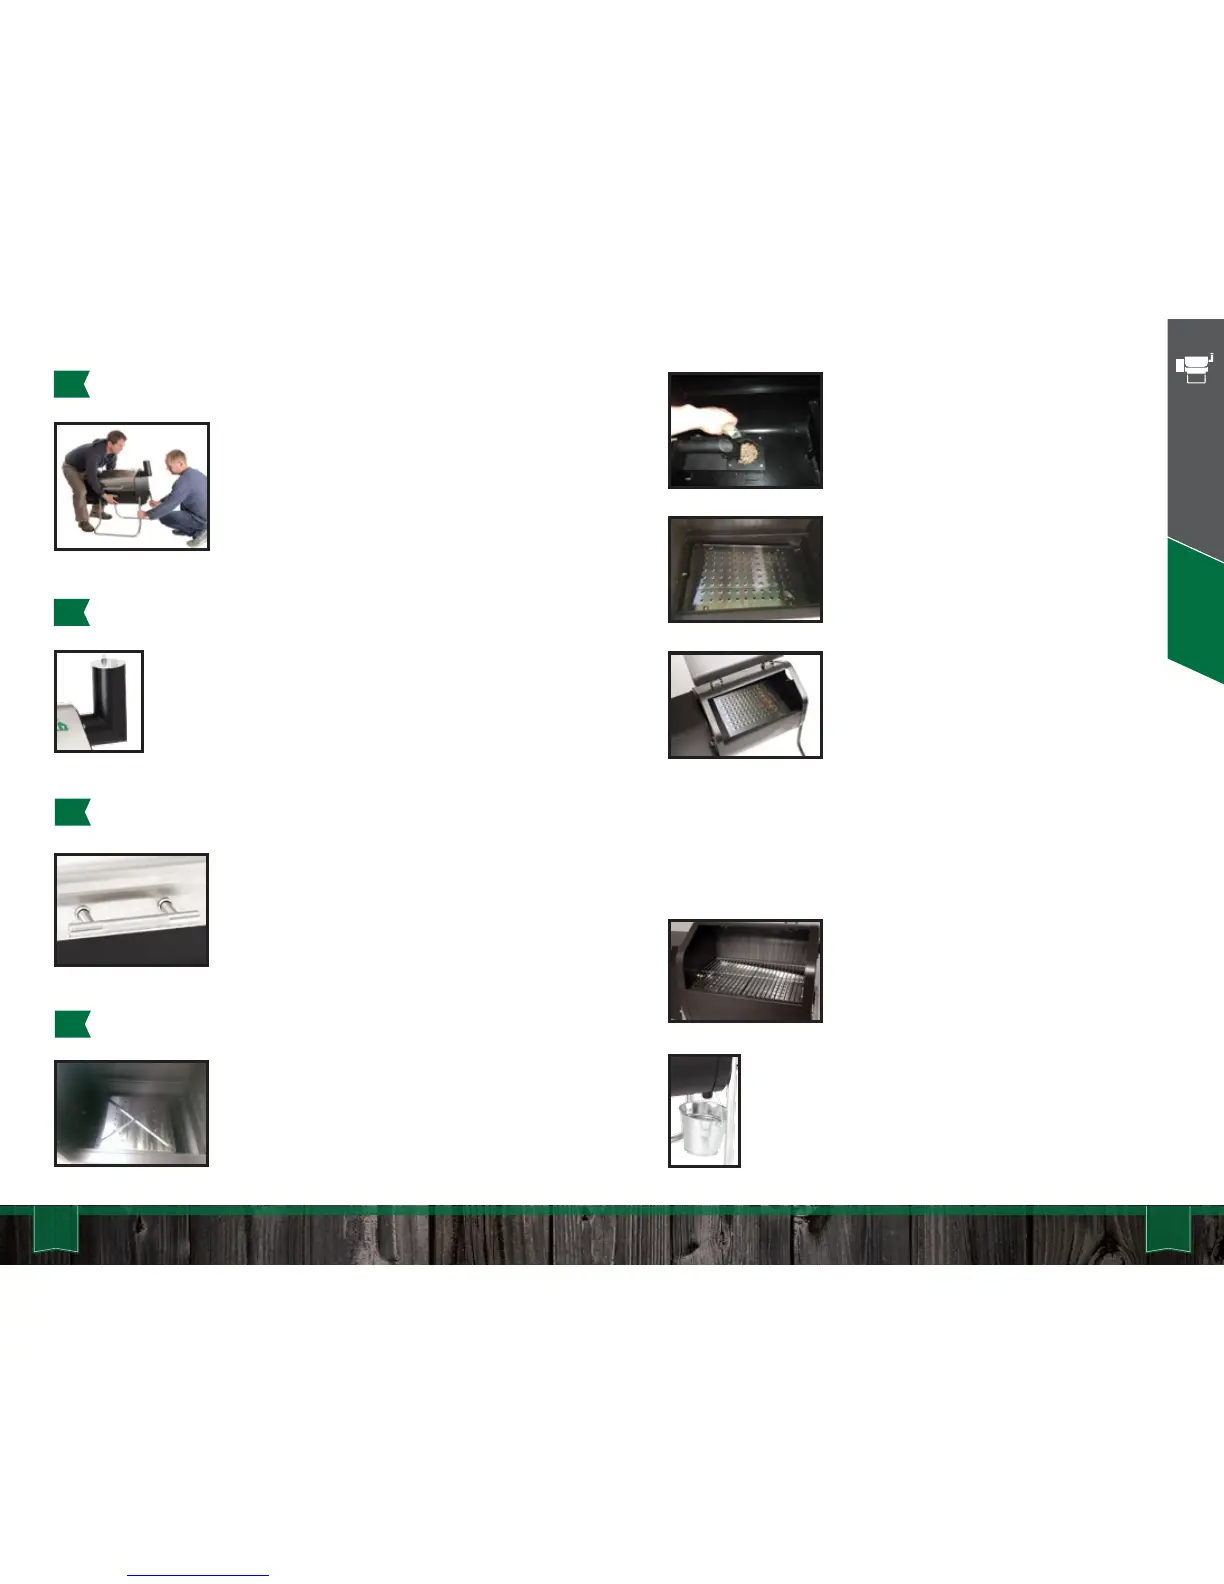
Alway use two people, one on each end,
to fold open or close the legs. This is not
a one-person job. If you plan to leave the
grill more or less permanently placed on a
table, then you might find it more
convenient just to remove the legs.
Install the grates.
Hang the grease pail on the right side of the grill.
* With the slider holes open, direct ame will contact your food.
Holes should be opened only at temps of 350+. Adjust grilling
technique accordingly. With holes open, digital temperature
readout will be inaccurate. Ambient conditions may aect grill
temperatures, holes open or not.
Insert the top half (slider) of the
grease tray.* The holes should close
when you slide the top half to the
right. (Slider handle to the right.)
31 32
Davy Crockett - Assembly
Davy Crockett Assembly
INSTALL THE LEGS1
2
INSTALL THE CHIMNEY
3
REVERSE THE HANDLE
4
INSERT THE PARTS