Remove the two bolts from the handle and
install it on the outside of the grill.
Important: If you purchased a
cover for your grill, you will need
to fold the tray down to install it.
Bucket: Hang the bucket from the spout
underneath the side tray.
Side tray: Line up the bullets
with the pins on the side of the
grill and slide to the right. Lift the
side tray support up underneath
the side tray and push the side
tray down to snap it into place.
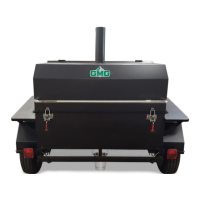
Grates: Insert the grates as pictured.
Make sure that you put a thermal isolation
washer between the stainless handle base on
the outside and the metal lid. Insert another
one between the bolt and metal lid on the
inside. This will prevent the handle from
becoming too hot.
Important: Pour the contents of the Ziploc bag
into the firebox before you install the rest of the
parts. This is part of the initial starting procedure.
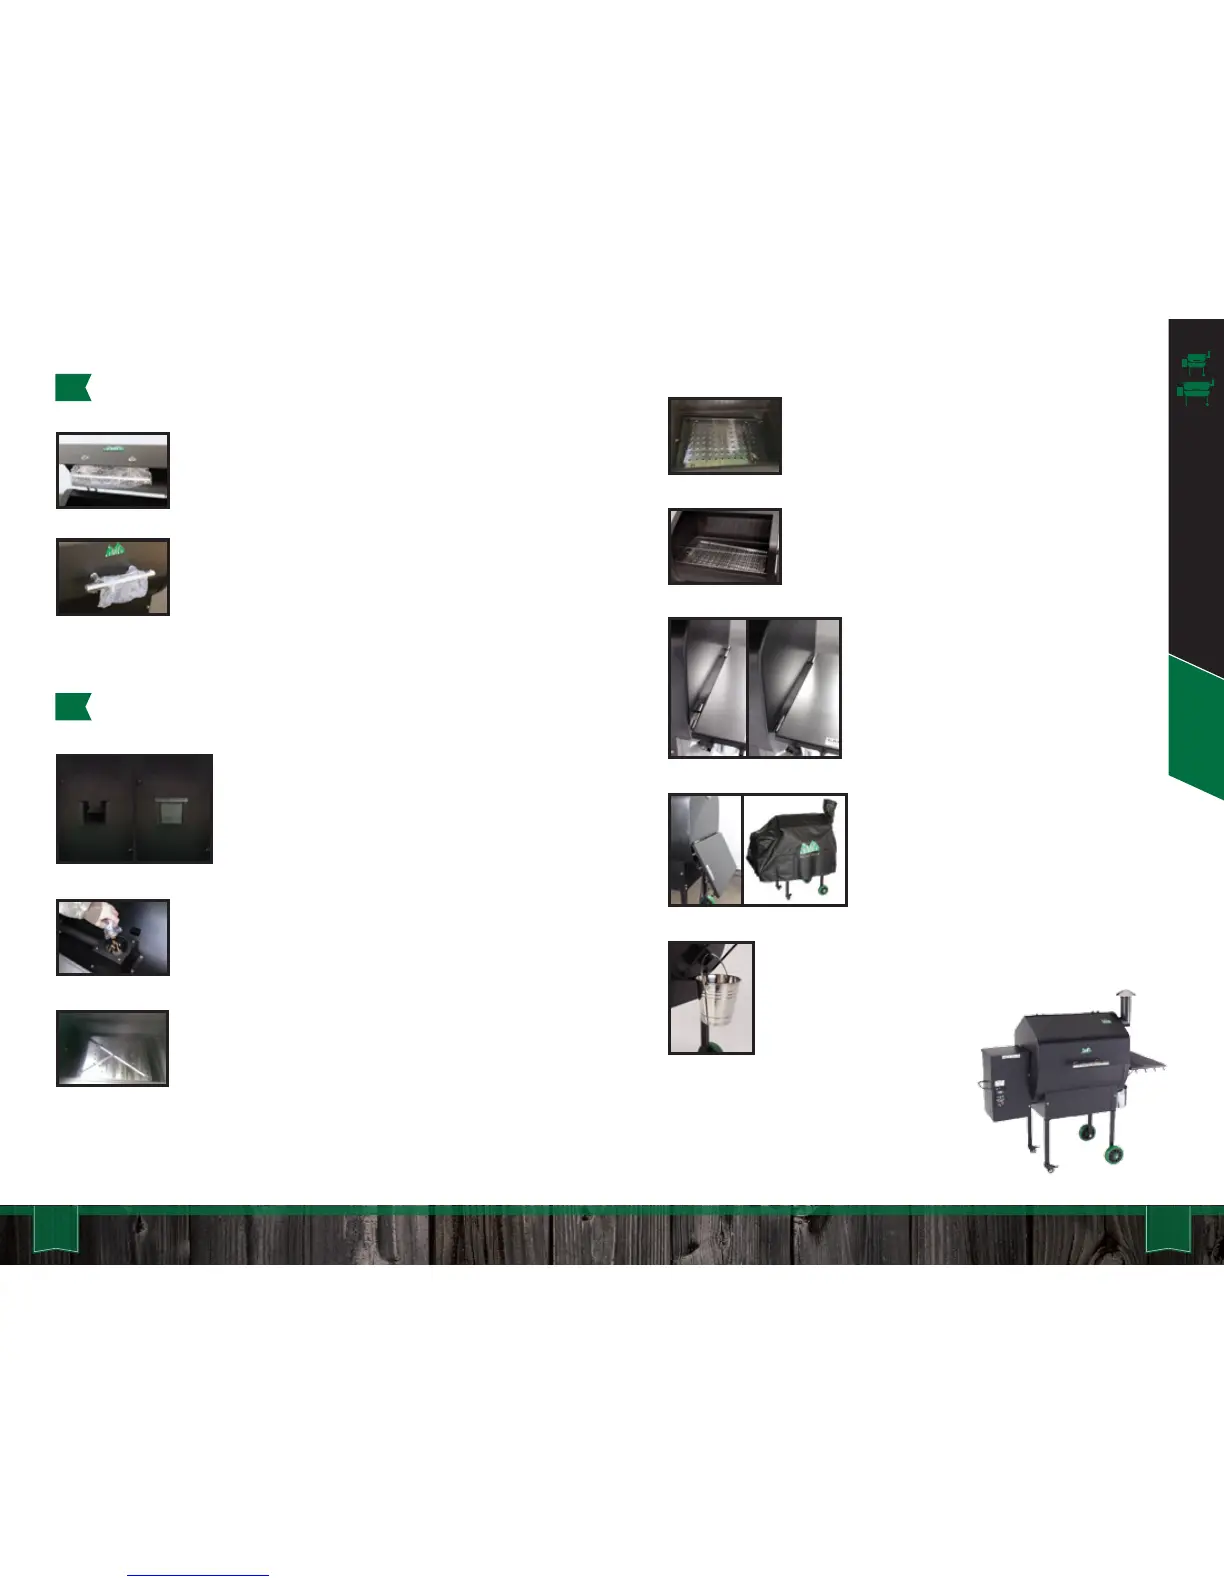
Pellet Dump: Please make certain that
the stainless steel pellet dump slider is in
place before filling the hopper with pellets.
Heat Shield: The slots go in the front and rear
to match the metal strips inside the grill which
hold it in place.
*DB Heat Shield only: If you are experiencing larger left to right
temperature discrepancies, the heat shield can be moved along
the belly of the grill left or right to assist with these differences.
Grease tray: Install the grease tray with the
half-moon cutout to the left. The right leg sits
in the trough.
15 16
Daniel Boone & Jim Bowie - Assembly
Daniel Boone & Jim Bowie Assembly
3
REVERSE THE HANDLE
4
INSERT THE PARTS