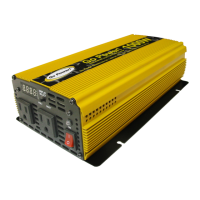
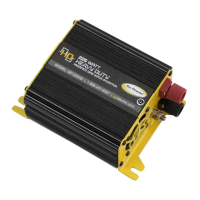
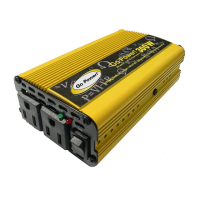
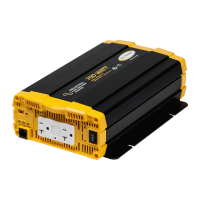
Go Power! GP-SW3000, GP-SW2000, GP-SW1000and GP-SW600
Owner’s Manual
15
4. Installation
4.1 Where to install
The power inverter should be installed in a location that meets the following requirements:
Do not connect this inverter and another AC source (generator or
utility power) to the AC wiring or AC loads at the same time. Doing so
will destroy the inverter and void the warranty, regardless of the
inverter’s on or off status. If you are using more than one AC source
for the AC wiring or AC loads, it is highly recommended that you install
an automatic transfer switch (GP-TS), available from Go-Power.
Dry – Do not allow water to drip or splash on the inverter.
Cool – Ambient air temperature should be between 32 and 104 °F (0 and 40 °C) (the
cooler the better).
Ventilated – Allow at least two inches of clearance around the inverter for airflow. Ensure
the ventilation openings on the rear and bottom of the unit are not obstructed.
Safe – Do not install the inverter in the same compartment as batteries, or in any
compartment capable of igniting flammable liquids such as gasoline.
Inverter should be located within 10 feet (3 m) of the batteries.
4.2 Hook-up and testing
A reverse polarity connection will blow a fuse in the inverter and may
permanently damage the inverter. Damage caused by reverse polarity
connection is not covered by warranty.
For hook-up, please follow these guidelines:
1. Unpack and inspect your Go Power! Inverter, then check to see that the power switch
is in the OFF position. Set up your power output according to Section 10, Configuring
your Sine Wave.
2. Insert DC inverter cables (not included) to the power input terminals on the rear panel
of the power inverter. The red terminal is positive (+) and black terminal is negative (-).
Connect the cables into the terminals and tighten the terminal screw to clamp the
wires securely.
3. Connect the cable from the negative terminal of the inverter to the negative terminal of
the battery. Make a secure connection.
Loose connections result in excessive voltage drop and may cause
overheated wires and melted insulation.
4. Before proceeding further, carefully check that the cable you have just connected
connects from the negative terminal of inverter to the negative terminal of the power
source (battery).
You may observe a spark when you make this connection since
current may flow to charge capacitors in the power inverter. Do not
make this connection in the presence of flammable fumes, as
explosion or fire may result.

 Loading...