
M
Michael DiazJul 30, 2025
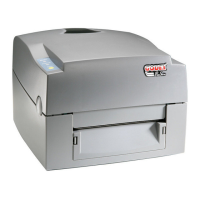
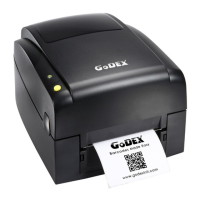
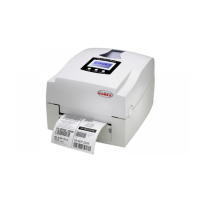
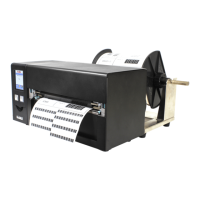
Why is my Godex EZ-1200 Printer printing blank labels?
- CCurtis TranJul 31, 2025
If your Godex Printer starts printing, but nothing appears on the label, first check if the label is placed upside down or if it is suitable for the intended use. Ensure that you have selected the correct printer driver, label type, and print type in your settings.