32 33
1. Press function button 2<SYNC> so that the < > icon is displayed on the
LCD panel.
2. Press OK or <
> button on Olympus camera or MENU button on Panasonic
camera to set flash mode setting and choose fi ll-flash. Then set camera
shutter after <
> is displayed.
1. With high-speed sync, the faster the shutter speed, the shorter the effective
flash range.
2. To return to normal flash, press <SYNC> button again. Then <
> will
disappear.
3. Multi flash mode cannot be set in high-speed sync mode.
4. Over-temperature protection may be activated after 60 consecutive high-speed
sync flashes.
5. In the wireless remote control mode, using high-speed sync flash with
Panasonic camera may occur out of sync.
Note:
Second-Curtain Sync
With a slow shutter speed and second-curtain sync, you can create a light
train following the subject. The flash fi res right before the shutter closes.
Press OK or <
> button on Olympus camera or MENU button on Panasonic
camera to set second-curtain mode. And set camera shutter after <
>
mode is displayed.
Flash Mode — M: Manual Flash
The flash output is adjustable from 1/1 full power to 1/256 power with 1/10
increment each step. To obtain a correct flash exposure, use a hand-held
flash meter to determine the required flash output.
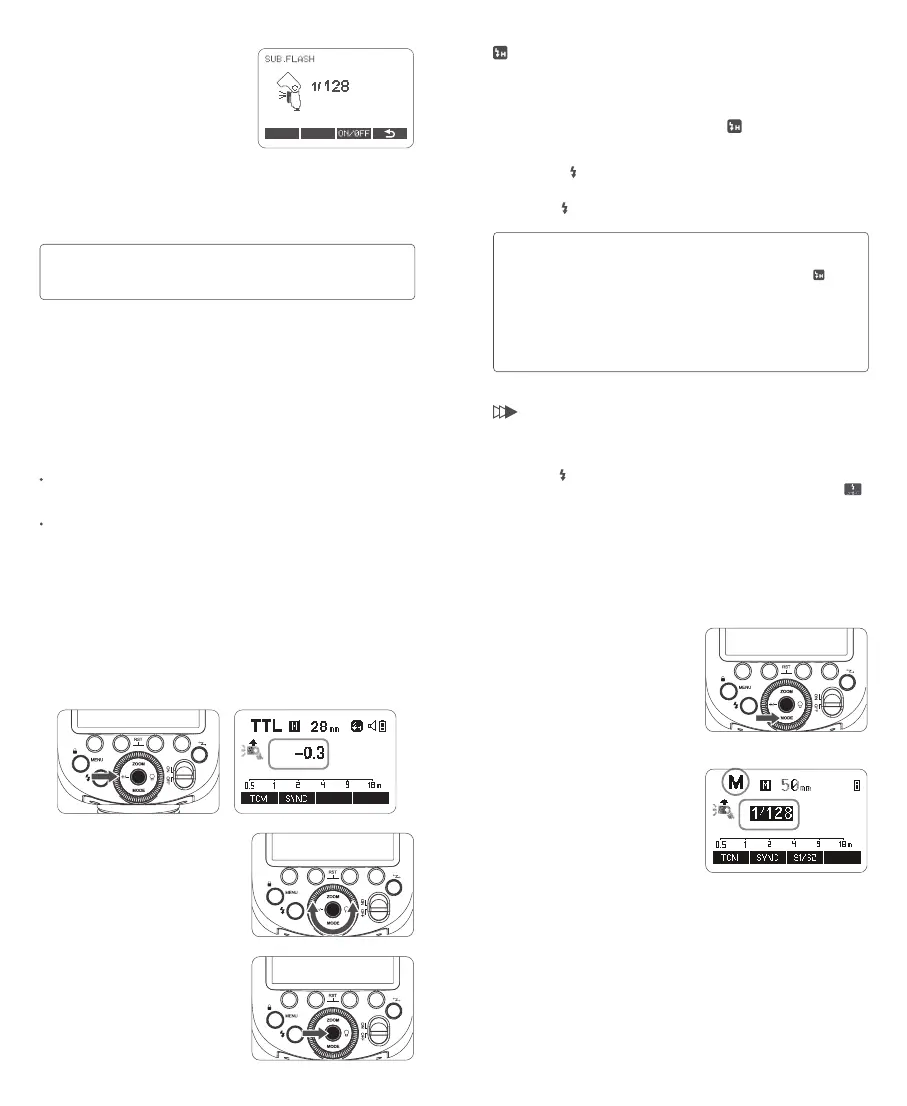
1. Press <MODE> mode button so that
<M> is displayed on the LCD panel.
2 Press the <+/-> button to select flash
output amount, then turn the select dial
to adjust it. Press the set button again
to confi rm the setting.
S1 Optic Control Unit Setting
In M manual flash mode, press <S1/S2> button so that this flash can function
as an optic S1 secondary flash with optic sensor. With this function, the flash
will fi re synchronously when the main flash fi res, the same effect as that by
the use of wireless triggers. This helps create multiple lighting effects.
3. Press set button again to confi rm
the setting.
Flash Mode — TTL: Auto Flash
In TTL mode, the camera's metering system detects the flash reflected from
the subject and automatically adjusts the flash output so that the subject
and background are evenly exposed. In this mode, multiple functions are
available: FEC, HSS, second curtain sync, etc.
Press < MODE > mode button to enter TTL mode, the LCD panel will display
<TTL>.
Press the camera shutter halfway to focus. The aperture value and
effective flash range will be displayed in the LCD panel.
When the shutter is fully pressed, the flash will fi re a pre-flash that the
camera will use to calculate exposure and flash output the instant before
the photo is taken.
2. Turn the select dial to set the
FEC amount.“0.3”means 1/3 step,
“0.7”means 2/3 step.To cancel the
FEC, set the amount to “0”.
FEC (Flash Exposure Compensation)
With FEC function, this flash can adjust from -3 to +3 with 1/3 increment each
step. It is useful in situations where minor adjustment of the TTL system is
needed based on the environment.
1. Press the <+/-> button, FEC amount will be highlighted on the LCD panel.
Setting FEC Amount
High-Speed Sync
High speed sync (FP flash) enables the flash to synchronize with all camera
shutter speeds. This is convenient when you want to use aperture priority for
fi ll-flash portraits.
1. SU-1 is not useable in wireless transmission shooting.
2. SU-1 is not useable in high-speed sync.
3. The flash head need to be uplifted in order to use SU-1 properly.
Note
:
Instructions for Using
Mount SU-1 directly to the external flash
interface of V1Pro O, press the function
button 1<MODEL> to set the flash to M
(manual) flash/TTL auto flash mode,
then press function button 4 <SUB> to
enter sub flash settings interface, and
press function button 3 <ON/OFF> to
turn on/off.
When the sub flash is turned on, turn the
select dial can adjust flash output of the
sub flash from 1/128 to 1/1 in 22 flash
steps, with +1/3 increment each step.